DIY Yin Yang Nails: Step-by-Step Guide
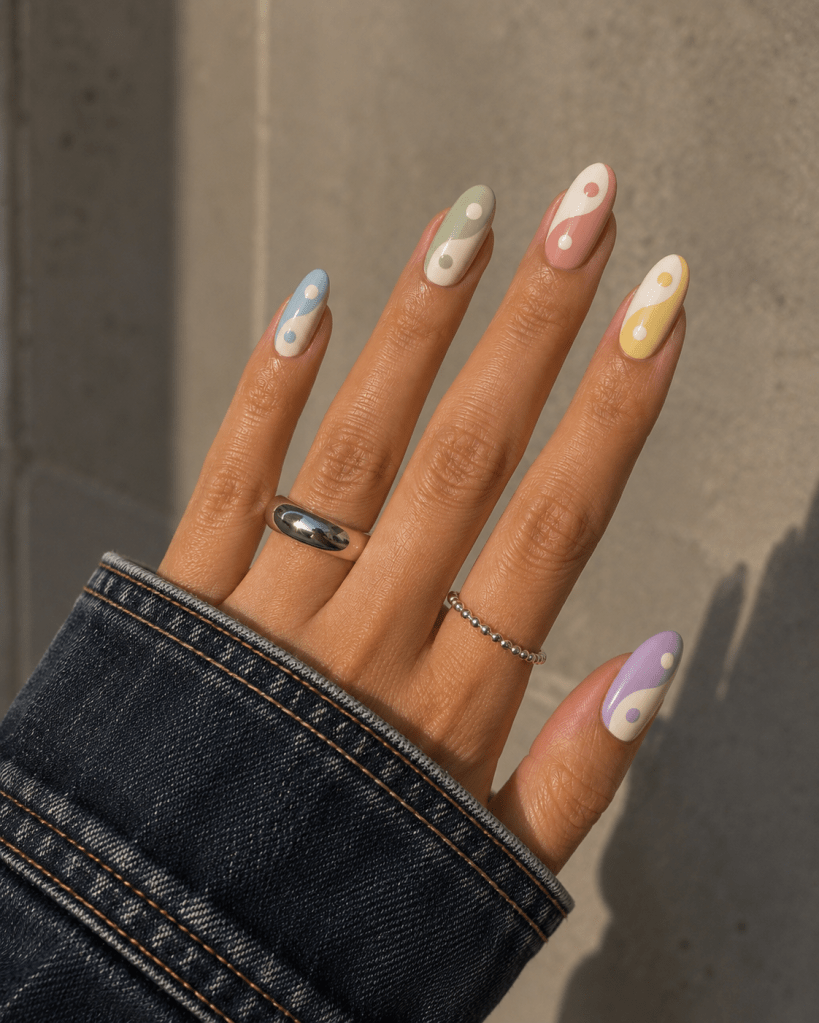
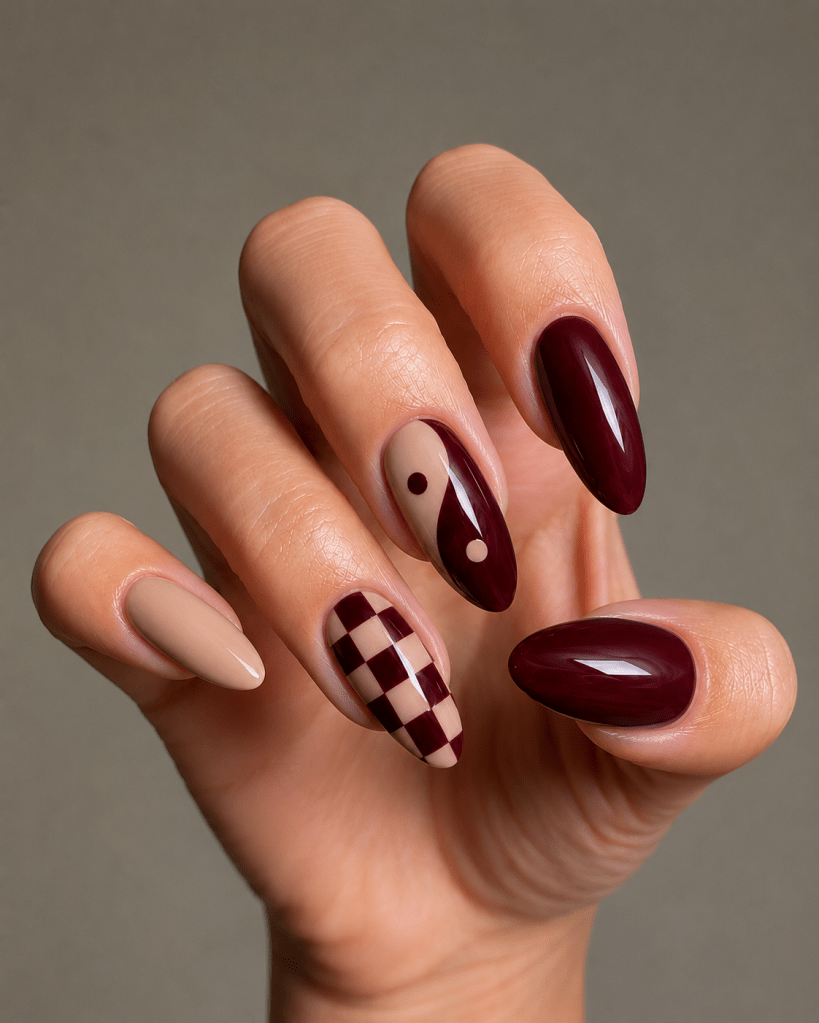
Yin yang nails look detailed, but the design is surprisingly simple once you break it down into a few small steps. You only need two contrasting colors, a thin nail art brush and a little patience.
What You’ll Need
- Two or more shades of nailpolish
- Thin nail art brushes and dotting tool
- Nail polish remover and a small clean-up brush
- Base coat and Top Coat
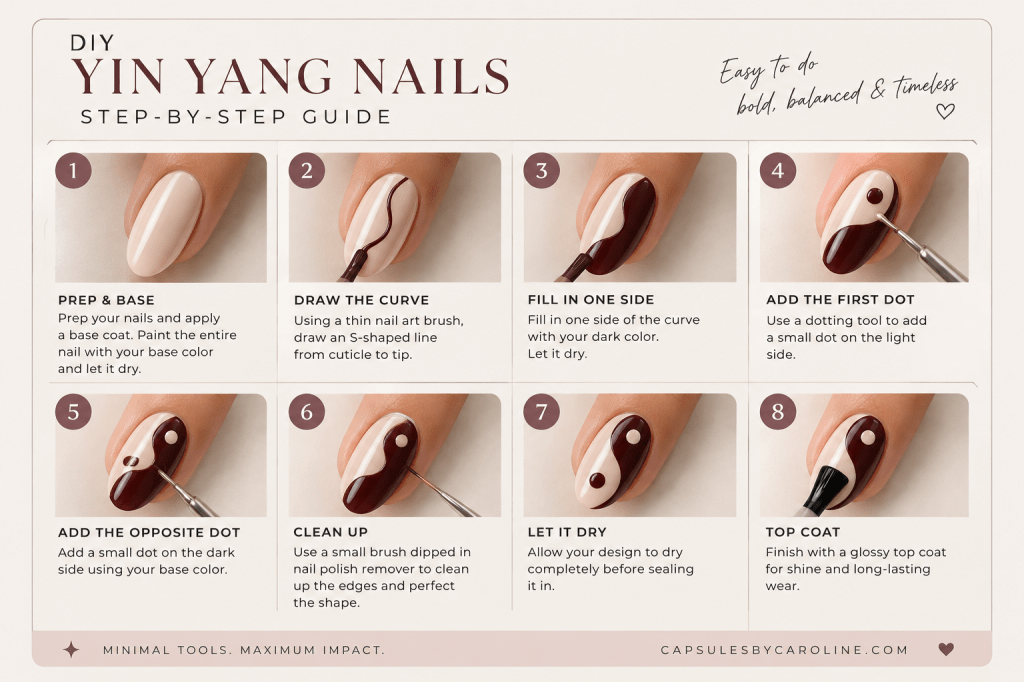
Step 1: Prep Your Nails
Start with clean, shaped nails. Gently push back the cuticles if needed and remove any oil from the nail plate. Apply a thin layer of base coat and allow it to dry.
Step 2: Apply Your Base Color
Paint the entire nail with your lighter shade, such as nude, beige or creamy white. One to two thin coats usually works best.
Let the polish dry well before you start the design. This makes it much easier to correct mistakes without ruining the base underneath.
Step 3: Draw the Yin Yang Curve
Using a thin nail art brush and your burgundy polish, draw a soft S-shaped line from the cuticle area toward the tip of the nail.
Don’t worry about making it perfectly symmetrical. A slightly organic curve often looks better than an overly precise one.
Step 4: Fill in One Side
Fill one side of the S-shaped line with burgundy polish.
Use the thin brush around the curved edge and then fill the larger area with your regular polish brush. Add a second coat if you need more opacity.
Step 5: Add the First Dot
Place a small burgundy dot on the light side of the design.
A dotting tool makes this easiest, but you can also use the rounded end of a small brush, hairpin or similar tool.
Step 6: Add the Opposite Dot
Now add a small cream or nude dot on the burgundy side.
Try to position the two dots roughly opposite one another to create the recognizable yin yang shape.
Step 7: Clean Up the Design
Dip a small angled brush into nail polish remover and carefully clean around the cuticle and sidewalls.
You can also use the brush to gently sharpen the curved division between the two colors.
Step 8: Add a Glossy Top Coat
Once the design is completely dry, seal everything with a generous layer of glossy top coat.
This smooths out the individual layers of polish and gives the design that shiny, almost glass-like finish.
Tips for Getting the Curve Right
- Use very little polish on your detail brush when drawing the S-shape.
- Draw the curve in one light movement rather than repeatedly going over it.
- If you’re new to nail art, sketch the line first and gradually make the burgundy section wider.
- Let each layer dry slightly before adding the next detail to prevent the colors from dragging into each other.
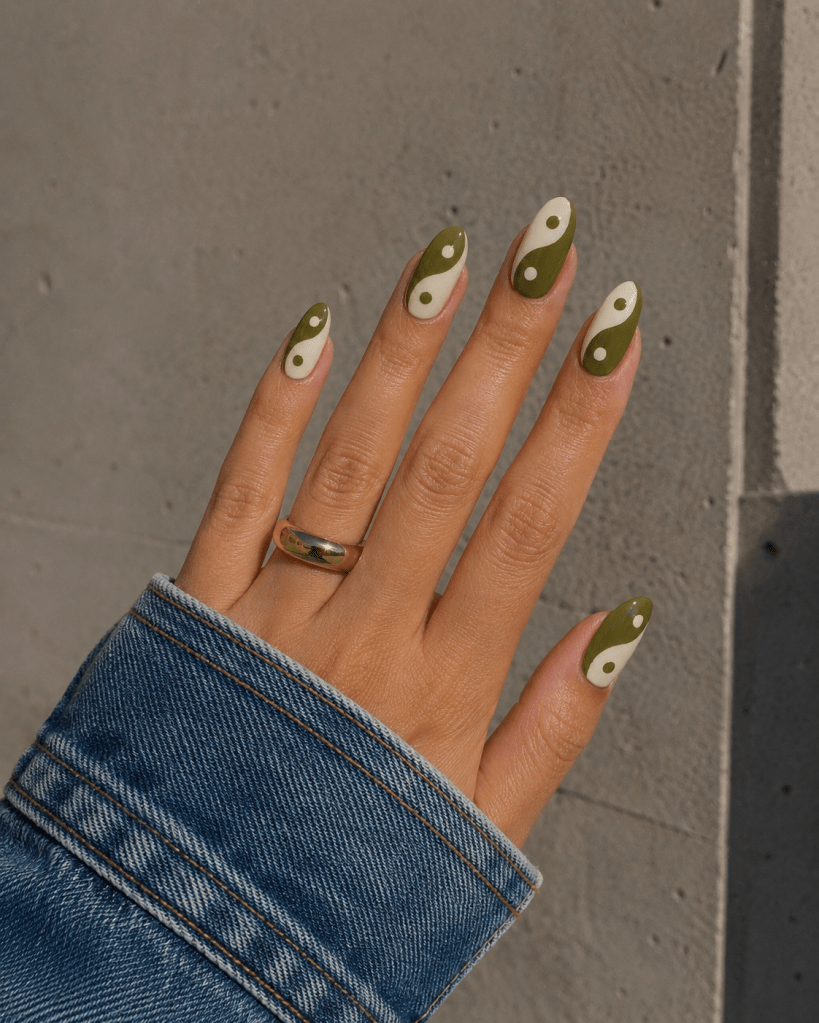
- Don’t chase perfect symmetry. Yin yang designs actually work beautifully with slightly different curves on each nail.
Make It a Mix-and-Match Manicure
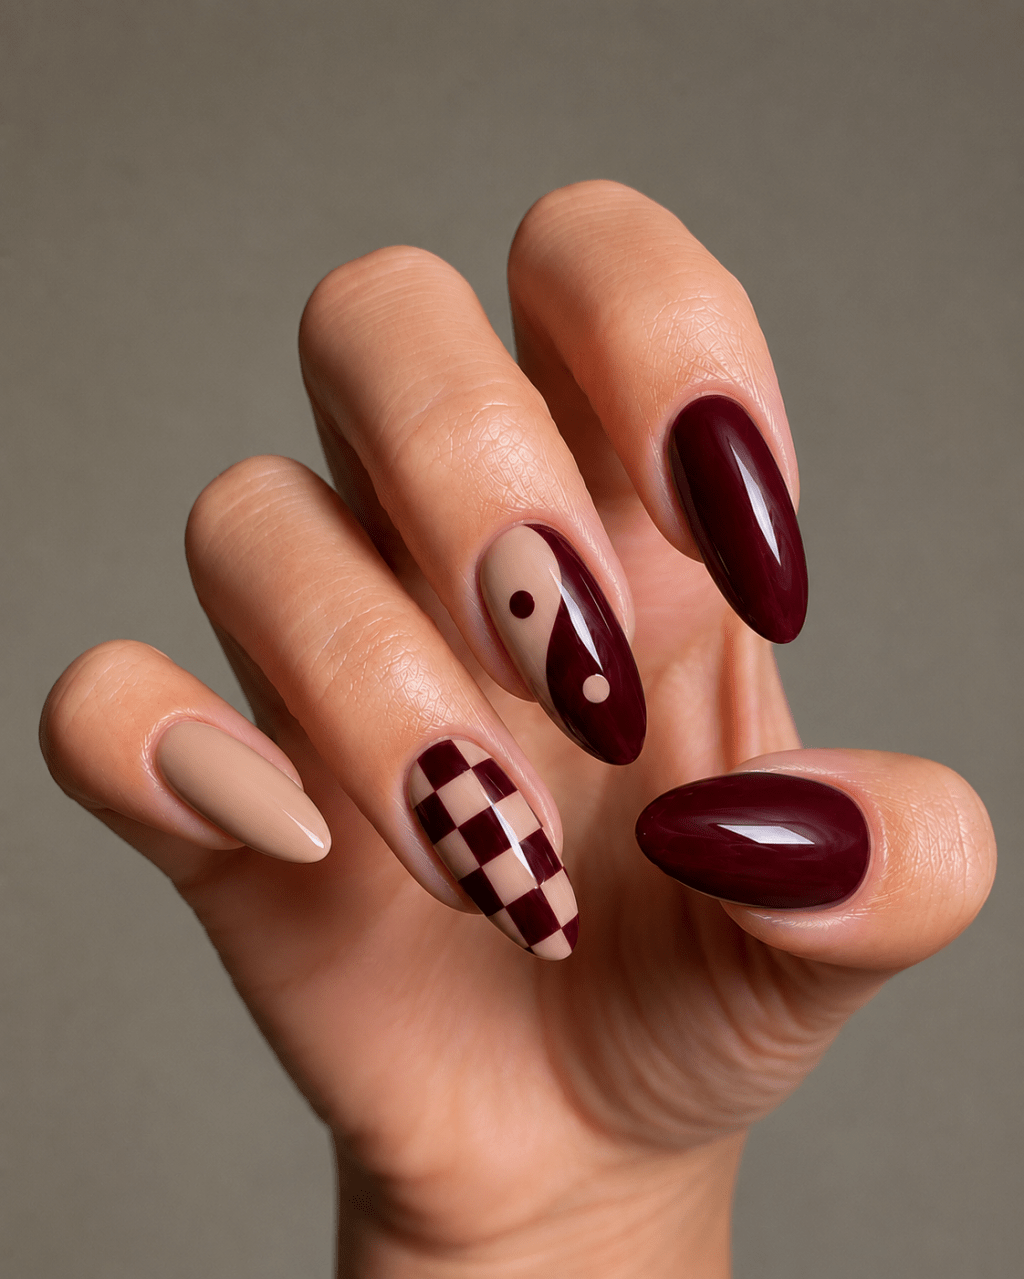
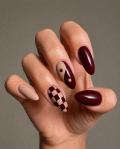
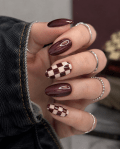
You don’t have to paint yin yang symbols on every nail. For a more modern look, use it as one accent nail and combine it with solid burgundy nails, checkerboard patterns, wavy lines or simple nude designs.
It gives the manicure that slightly retro, graphic feel without making the whole set look too busy.




Legg igjen en kommentar