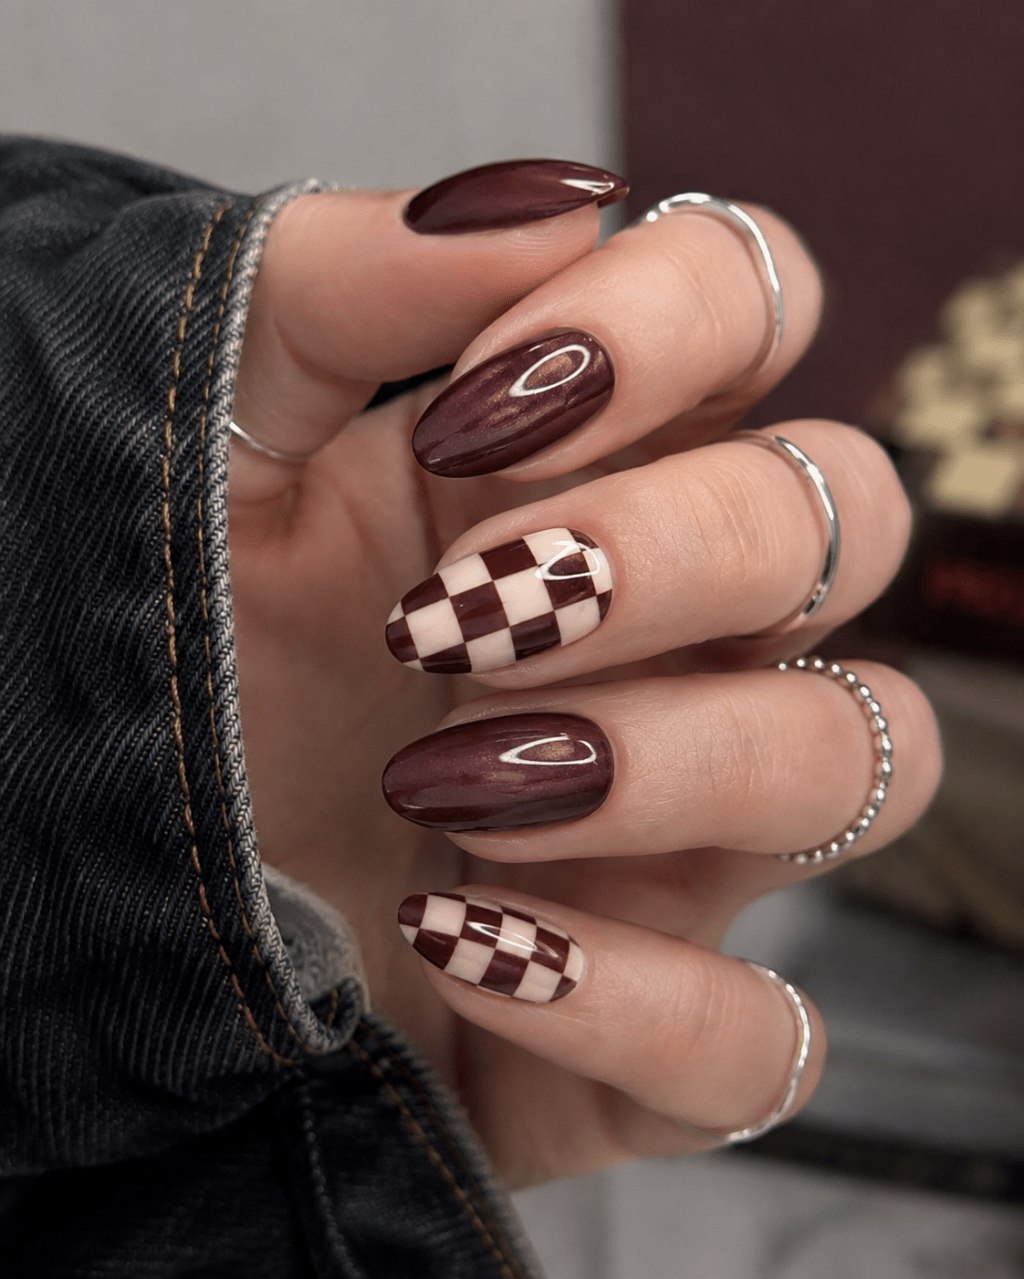
How to Create Checkerboard Nails: A Step-by-Step Guide
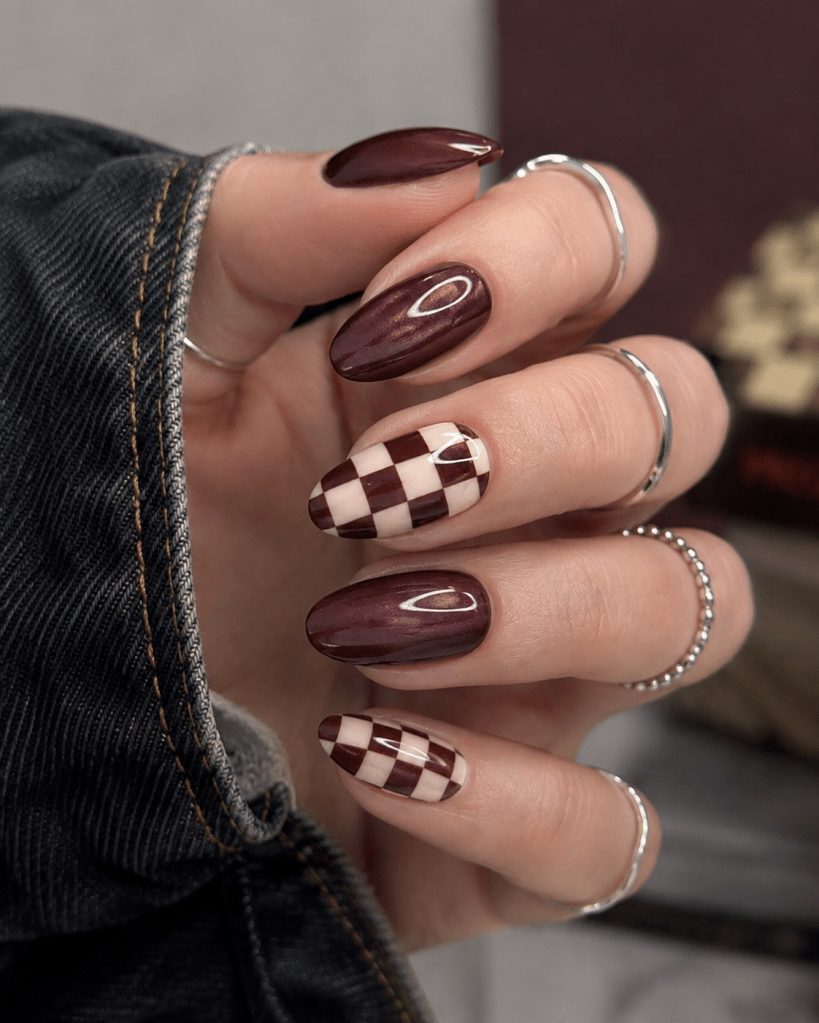
Checkerboard nails look graphic and playful, but they’re surprisingly achievable at home once you break the pattern into small steps. The secret is not trying to paint perfect squares freehand from the start. Instead, build the design using a simple grid and work slowly.
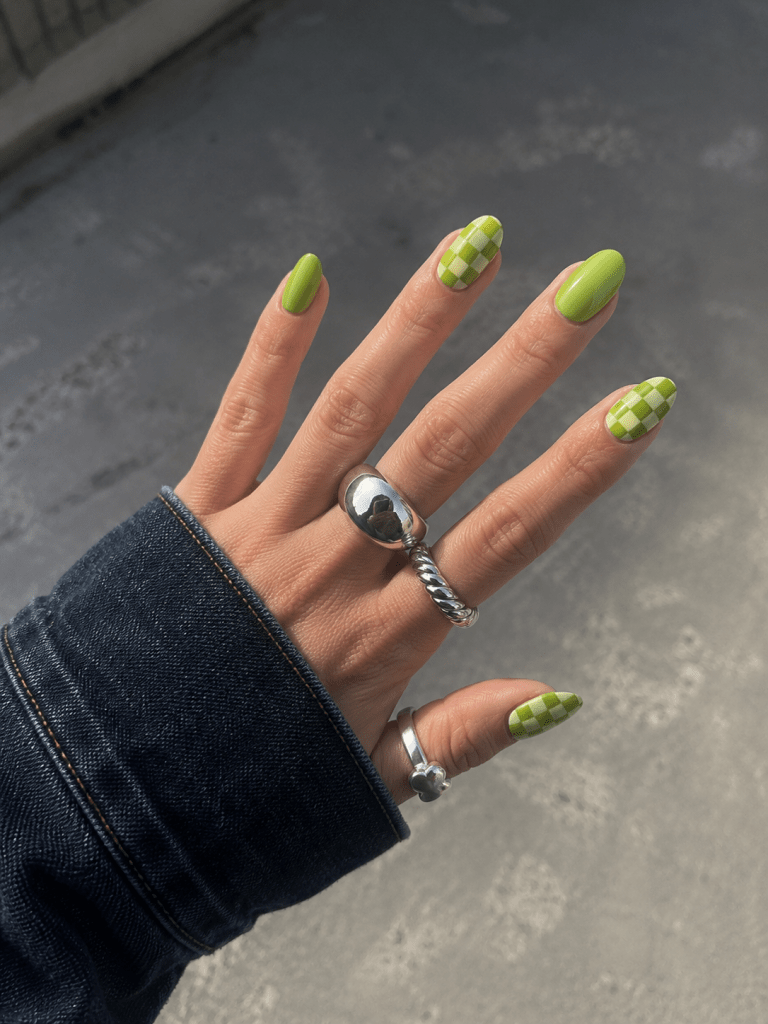
You can recreate the look in classic black and white, burgundy and cream, baby blue, lime green, or almost any two-color combination.
What You’ll Need
- Two nail polish colors (this is the burgundy one – Essie)
- Base coat and Top Coat
- Nail art brushes: thin and a small one for details
- Nail polish remover pads
For a softer checkerboard look, use cream instead of bright white. It gives the manicure a slightly more vintage feel.
Step 1: Prep Your Nails
Start with clean, dry nails. File them into your preferred shape and gently push back the cuticles.
Apply a thin layer of base coat and allow it to dry completely. A smooth base makes a big difference with geometric designs because bumps and uneven polish become much more noticeable.
Step 2: Apply Your Base Color
Choose the lighter of your two colors as the base.
For example:
Baby blue + cream: use cream as the base.
Lime green + cream: use cream as the base.
Burgundy + beige: use beige as the base.
Apply one or two thin coats and let them dry properly before starting the checkerboard pattern.
This is one of the most important steps. If the base is still soft, your nail art brush can drag or lift the polish underneath.
Step 3: Divide the Nail Into Sections
Imagine the nail as a tiny grid.
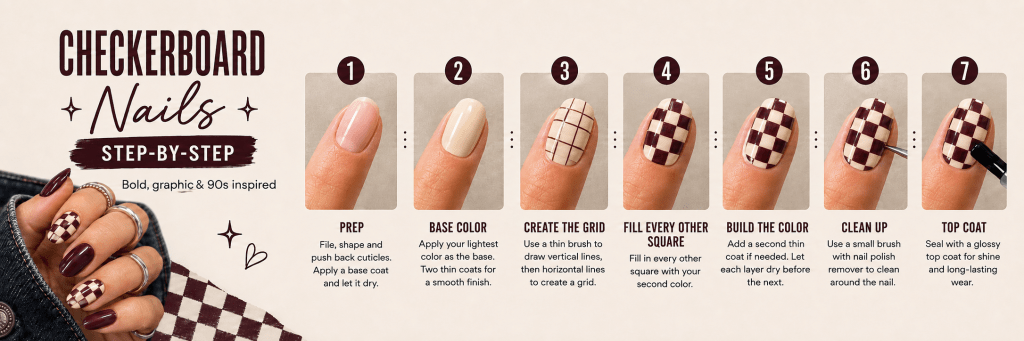
Using a thin nail art brush, lightly divide the nail into approximately three or four vertical sections. You can also use a thin tape, but you need to add more drying time to avoid that the tape removes the nailpolish. Then add horizontal lines across the nail or paint over the tape.
The squares do not need to be mathematically perfect. In fact, a slightly imperfect hand-painted checkerboard often looks more interesting than an ultra-precise printed pattern.
Keep the lines very thin at this stage.
Step 4: Start Filling Alternate Squares
Now comes the satisfying part. Using your second polish color, fill in every other square.
Think of a chessboard:
dark – light – dark – light
Then reverse the sequence on the next row:
light – dark – light – dark.
Use a tiny amount of polish on your brush. Too much polish will quickly flood the edges of the squares.
Step 5: Build the Color Slowly
Do not try to make the squares completely opaque with one thick layer. Instead, paint a thin first layer, allow it to settle for a moment, then add a second layer if necessary. This gives you much sharper edges.
For highly pigmented colors such as burgundy or forest green, one layer may be enough.
Step 6: Correct the Shape of the Squares
Once the basic pattern is finished, look at the nail from a little distance. You will usually notice one or two squares that are slightly larger or crooked. Use your detail brush to gently adjust them. You can also dip a very small brush into the base color and use it almost like an eraser to sharpen uneven edges.
This little clean-up step can transform the entire manicure.
Step 7: Clean Around the Cuticles
Dip a small flat brush into nail polish remover and carefully clean around the sides of the nail and cuticle. Crisp edges around the nail make even a slightly imperfect checkerboard pattern look polished.
Step 8: Let the Design Dry
Give the nail art more drying time than you normally would. If you apply top coat too quickly, the brush can drag through the checkerboard and create streaks. Waiting a few extra minutes is worth it.
Step 9: Apply Top Coat
Finish with a generous layer of glossy top coat. Instead of repeatedly brushing over the design, try to gently float the brush across the nail. This helps prevent the colors from bleeding into each other.
A glossy finish works particularly well with checkerboard nails because it makes the graphic pattern look almost tiled.
The Easiest Way to Make the Pattern Look Professional
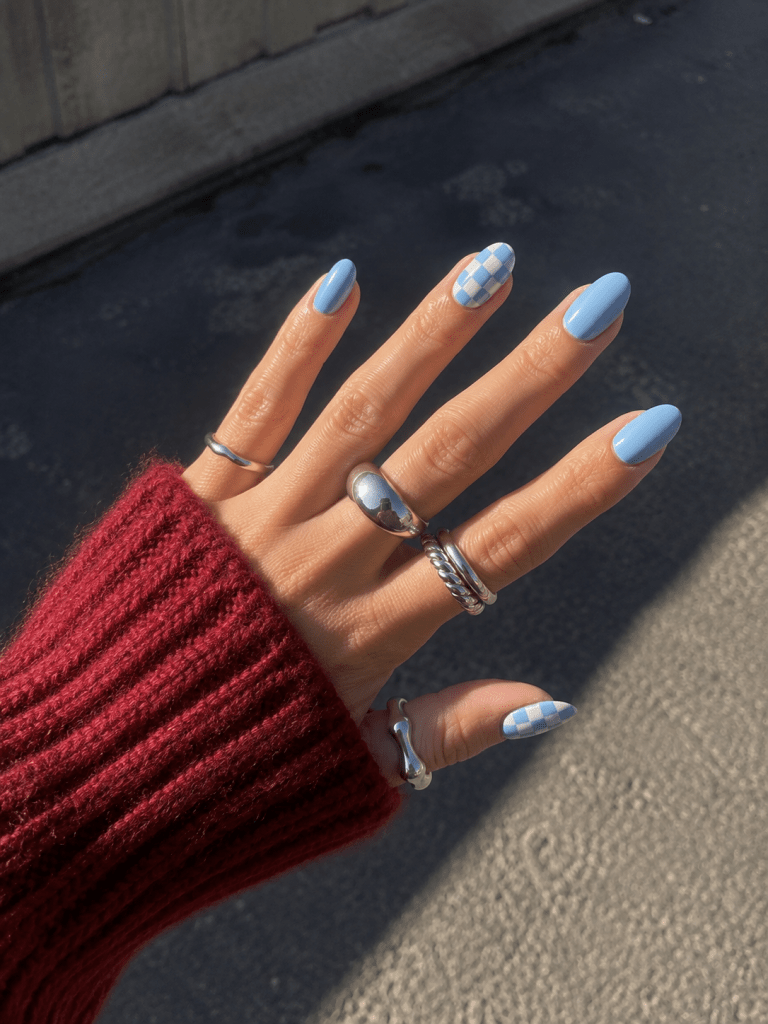
The biggest trick is keeping the brush small and the polish thin.
A few additional tips:
- Use your lightest color as the base.
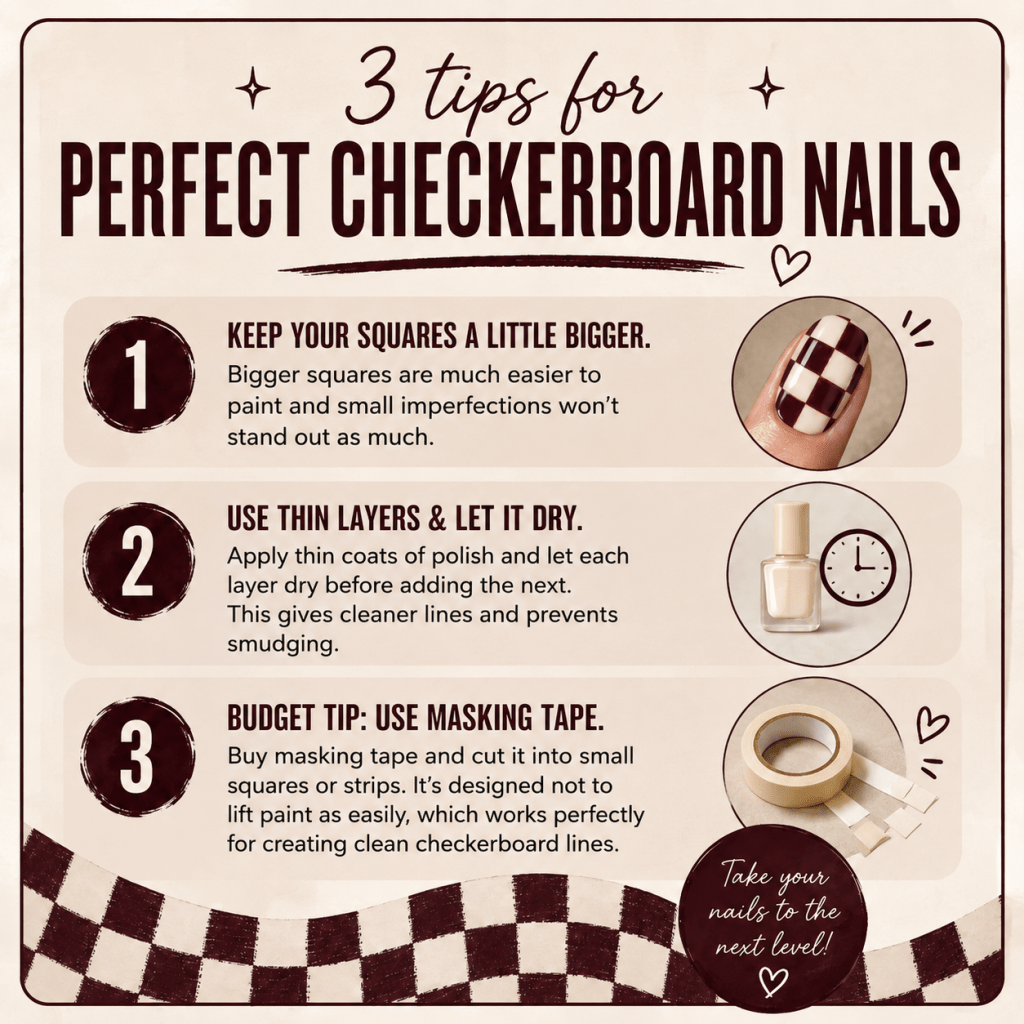
- Keep the squares slightly larger rather than making lots of tiny ones.
- Paint one checkerboard accent nail first before attempting a full set.
- Rest your painting hand on a table for extra stability.
- Clean your nail art brush frequently.
- Let each layer dry before correcting the next one.
Try Checkerboard Accent Nails
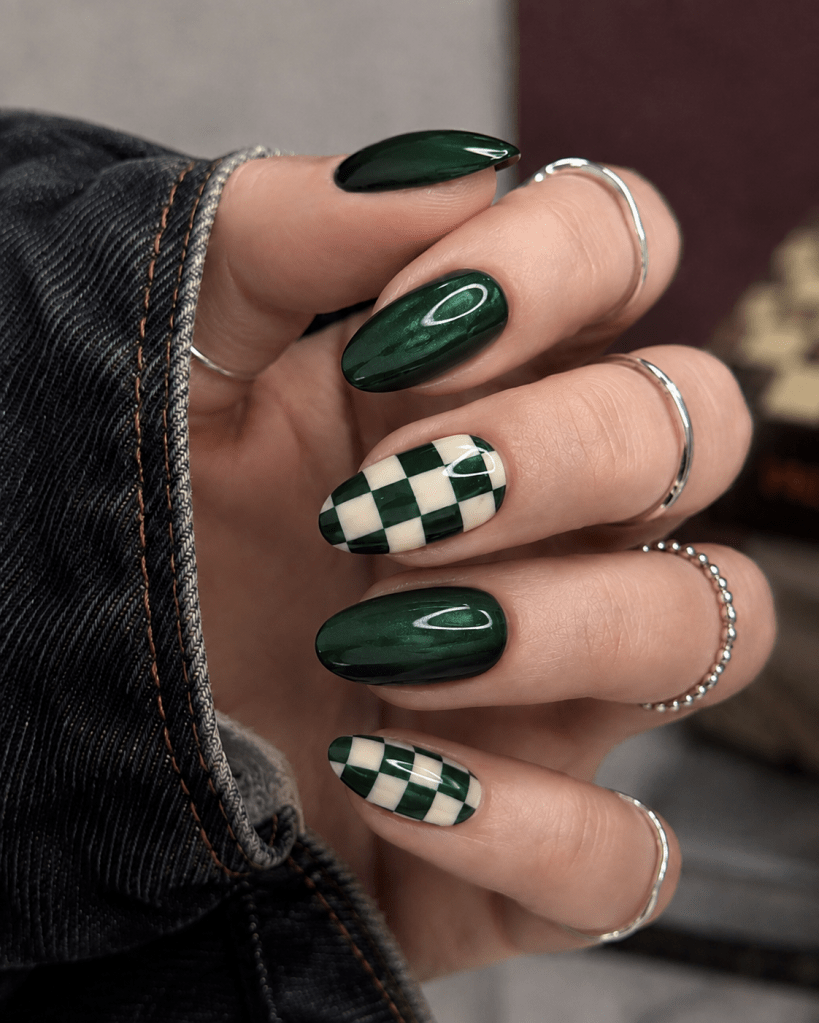
You don’t have to cover every nail with the pattern.
One of the easiest ways to wear checkerboard nails is to paint most nails in one solid color and use the pattern on just two accent nails.
For example, try glossy baby-blue nails with two blue-and-cream checkerboard accents, or lime-green nails with a couple of cream-and-lime checkerboard nails.
The result still feels graphic and playful without making the manicure overly busy.
Checkerboard nail art rarely looks completely perfect while you’re painting it. The pattern tends to come together once the squares are filled, the edges are cleaned up, and the glossy top coat goes on.
So if your first few squares look slightly uneven, keep going. Tiny imperfections often disappear once the full design is finished.
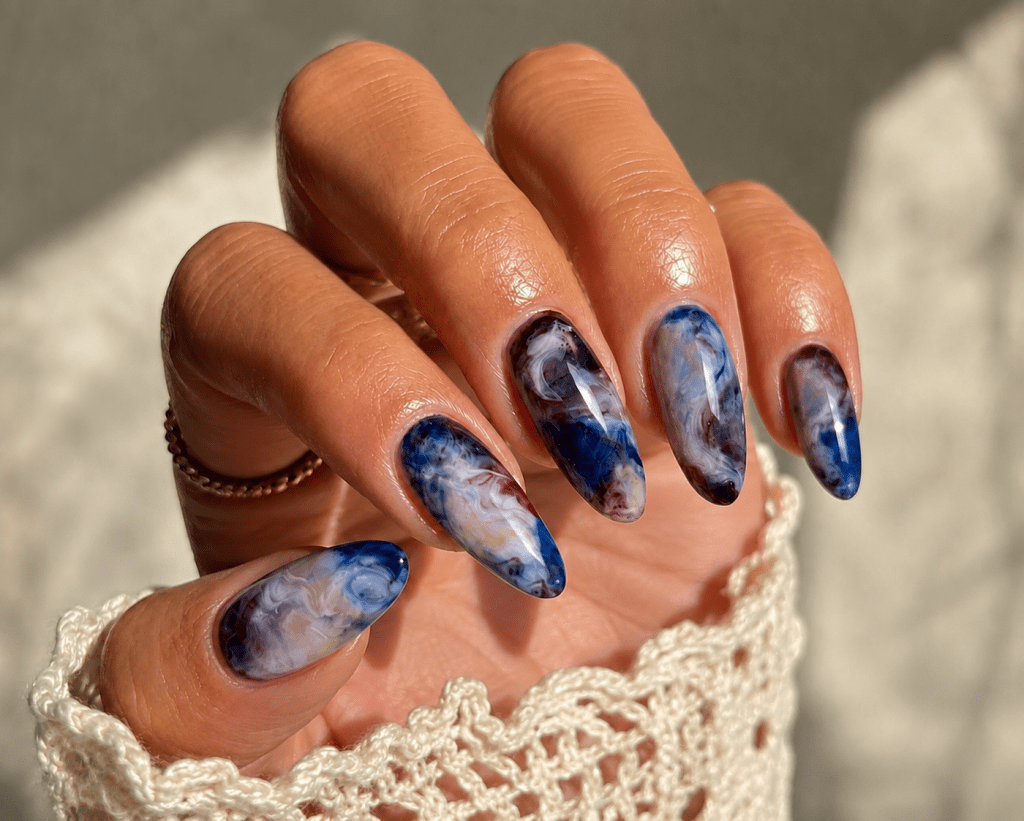
keep exploring nail ideas


Legg igjen en kommentar