Christmas nails are one of my favourite ways to make an everyday outfit feel a little more festive. A burgundy tip peeking out from a cream knit, a deep green glow against denim, or a tiny silver star can be enough.
This collection moves from simple Christmas manicures to darker aura designs, magnetic cat eye and preppy plaid. There are options for short nails, a few unexpected colour combinations, and a little sparkle to carry into New Year’s Eve.
The approach I like best is to choose one detail you love and let the rest of the manicure support it. And if you want to try something more intricate at home, you’ll find a shared guide to the main techniques below.
This blog post contains affiliate links. If you purchase through affiliate links on this website, I may earn a commission at no extra cost to you.
1. Simple Christmas Nails: Glossy Red and Evergreen

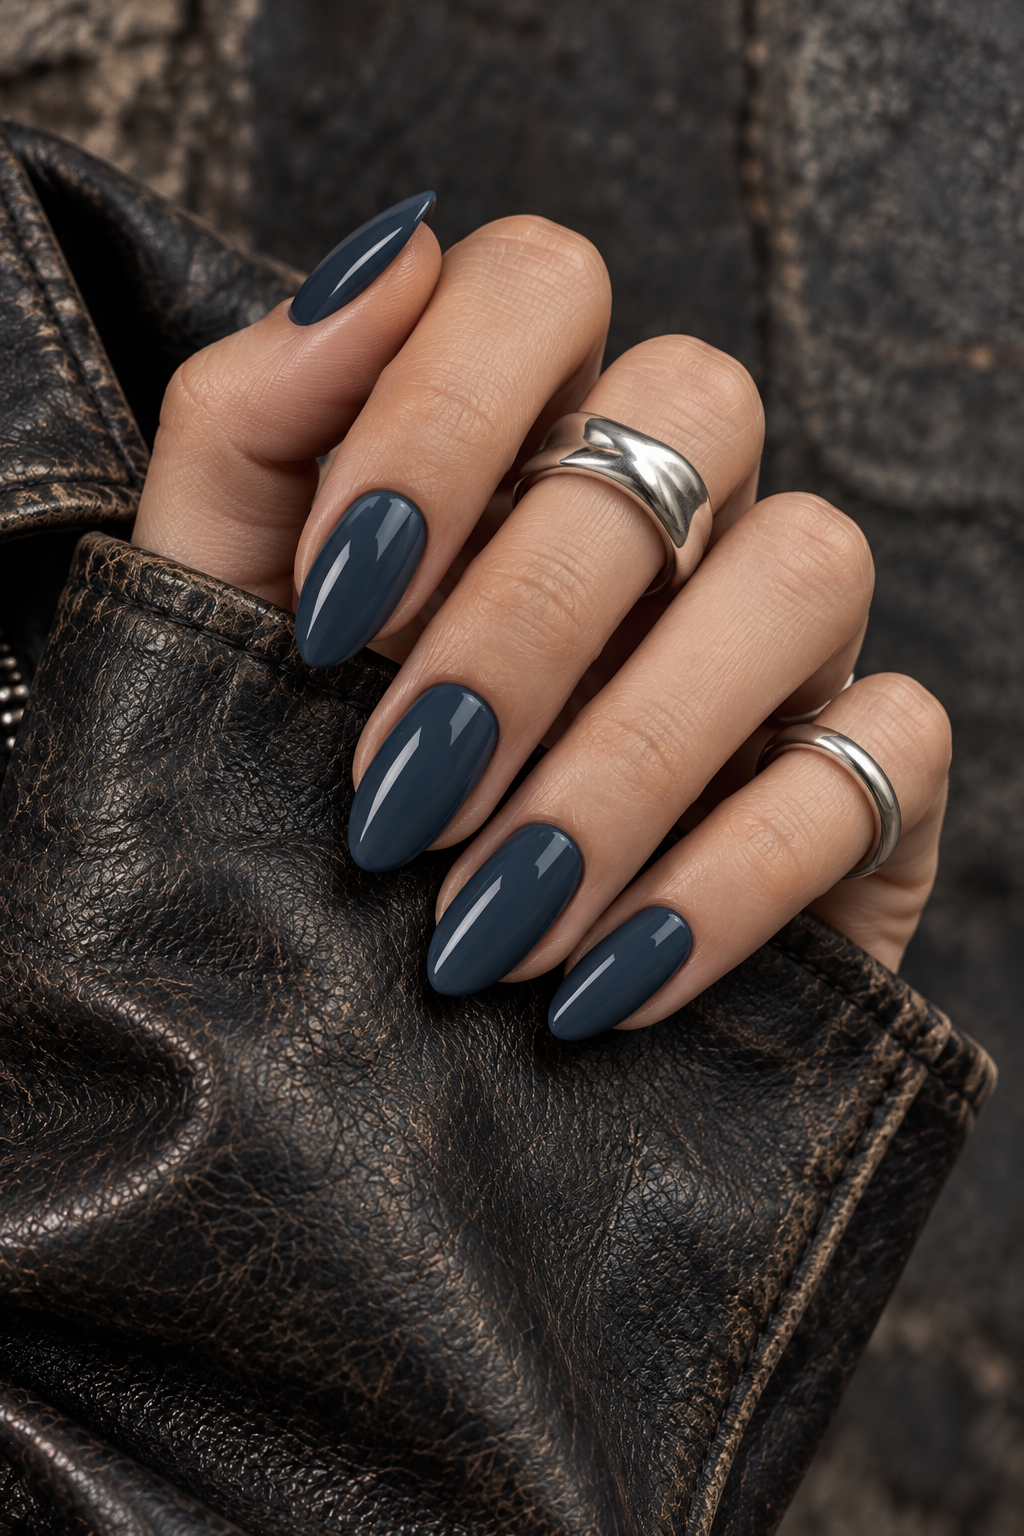
A short, glossy red manicure is a lovely starting point when you want something festive that works with everything. Cherry red feels bright and classic; burgundy has a darker, softer mood. Forest green is equally beautiful with cream wool, faded denim and gold jewellery.
The appeal is in the finish: an even shape, neat edges and a smooth coat of colour. You don’t need length or decoration to make these shades feel special.
Choose this if: you want a straightforward home manicure, or a design you’ll enjoy wearing through the whole holiday season.
2. Short Christmas French Tips

A coloured French tip brings Christmas into a familiar manicure without covering the whole nail. I especially like a translucent pink base with a narrow cranberry tip, or deep green edged with a fine line of gold.
On short nails, keeping the coloured edge slim leaves more of the natural-looking base visible. A softly square shape gives the design a clean, understated feel.
Candy cane tips are a more playful variation: small red and white stripes across the free edge, with the rest of the nail kept simple.

Choose this if: you usually wear neutral nails but want a small festive change.
3. Christmas Plaid Nails

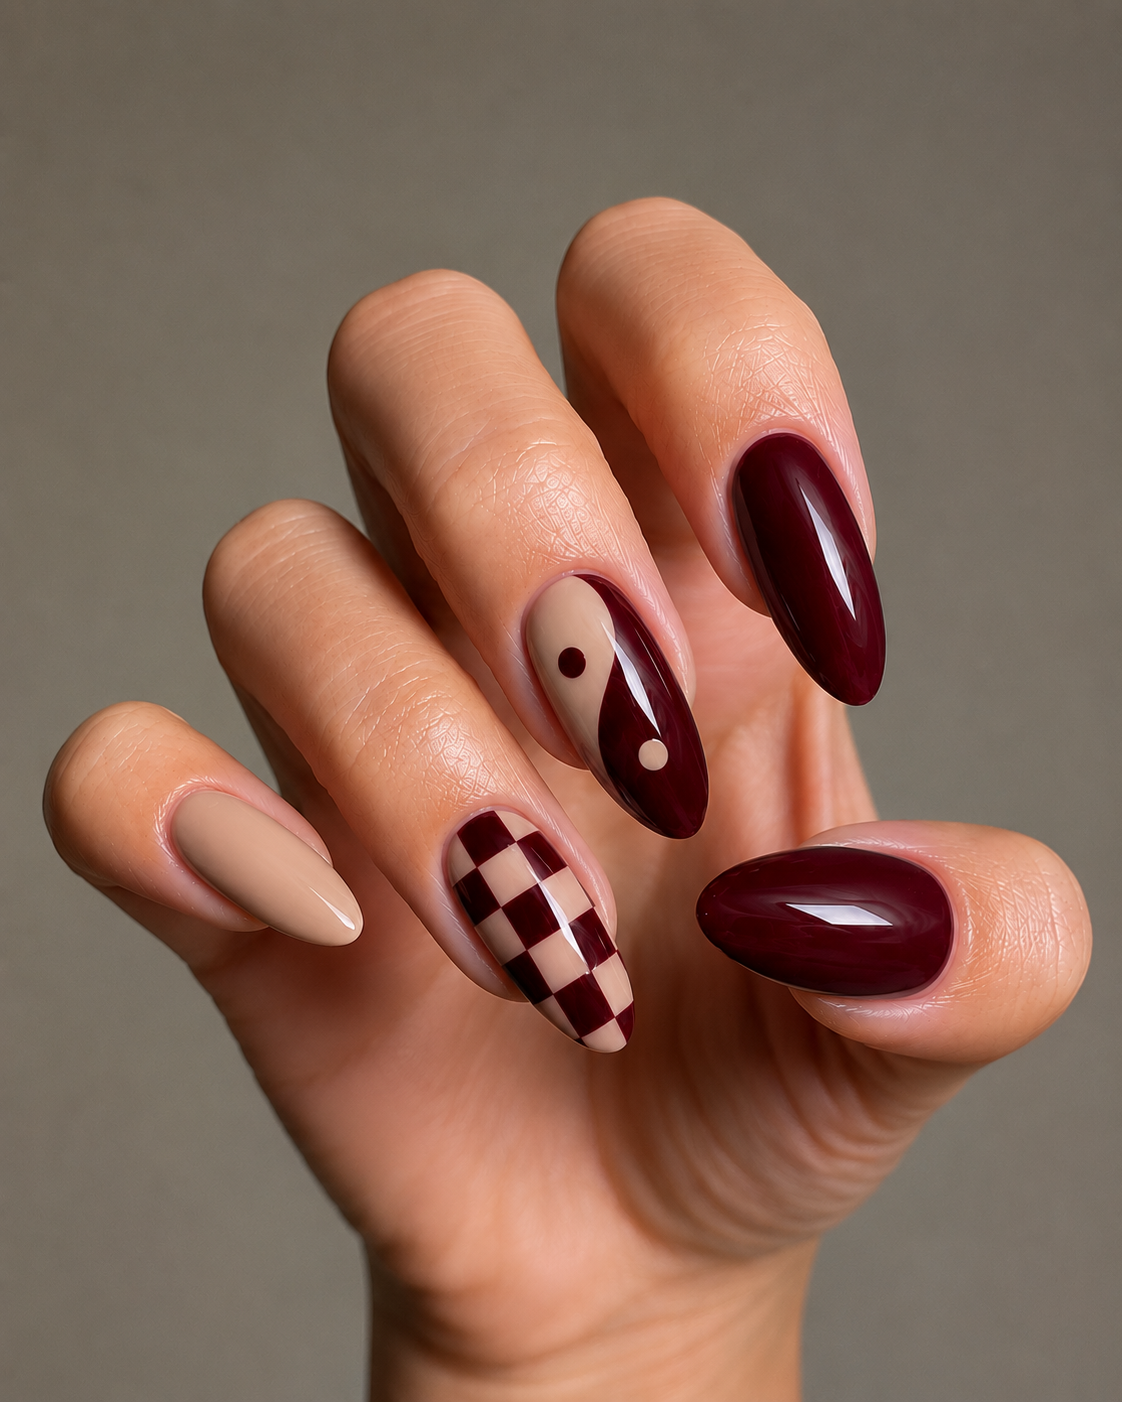
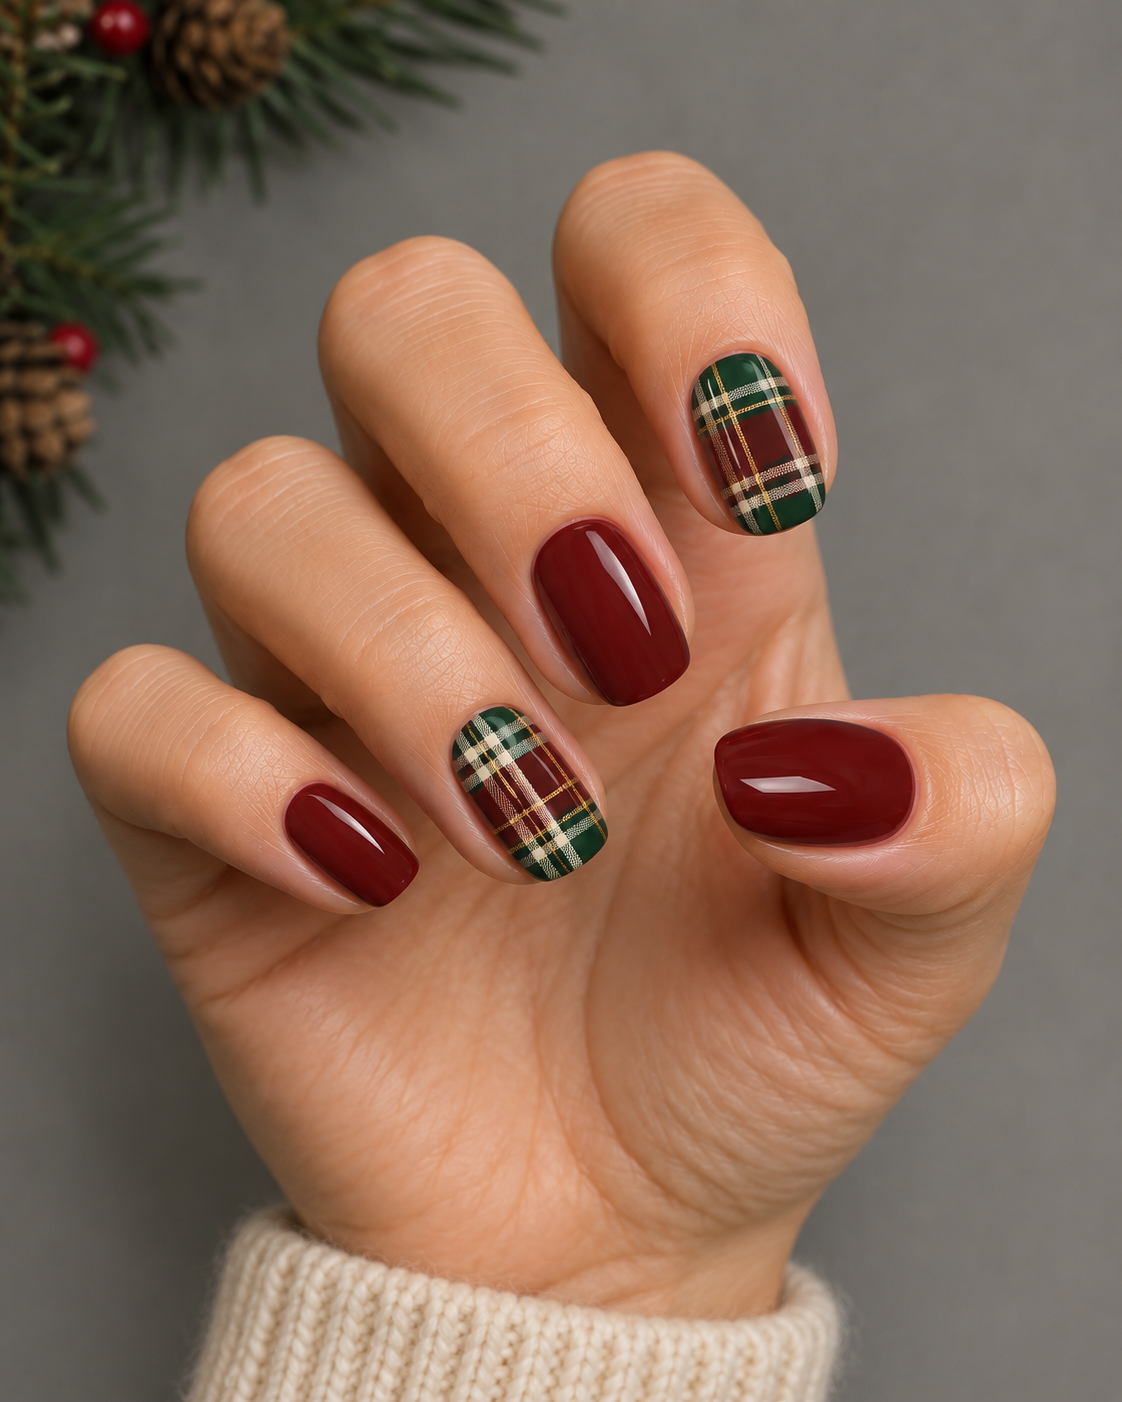
Plaid feels completely at home in a winter wardrobe, and it translates beautifully into nail art. Burgundy, forest green and cream create a classic Christmas tartan. Dusty blue with oxblood lines feels cooler and a little less expected.
My favourite balance is two patterned nails with the others painted in one colour from the plaid. It gives the pattern room to stand out and makes the whole manicure feel considered.
For short nails, a few clear intersecting lines can look more effective than trying to fit a miniature fabric print into every corner.

Choose this if: you love preppy styling, argyle cardigans and those cosy ’90s references.
4. Dark Aura Christmas Nails

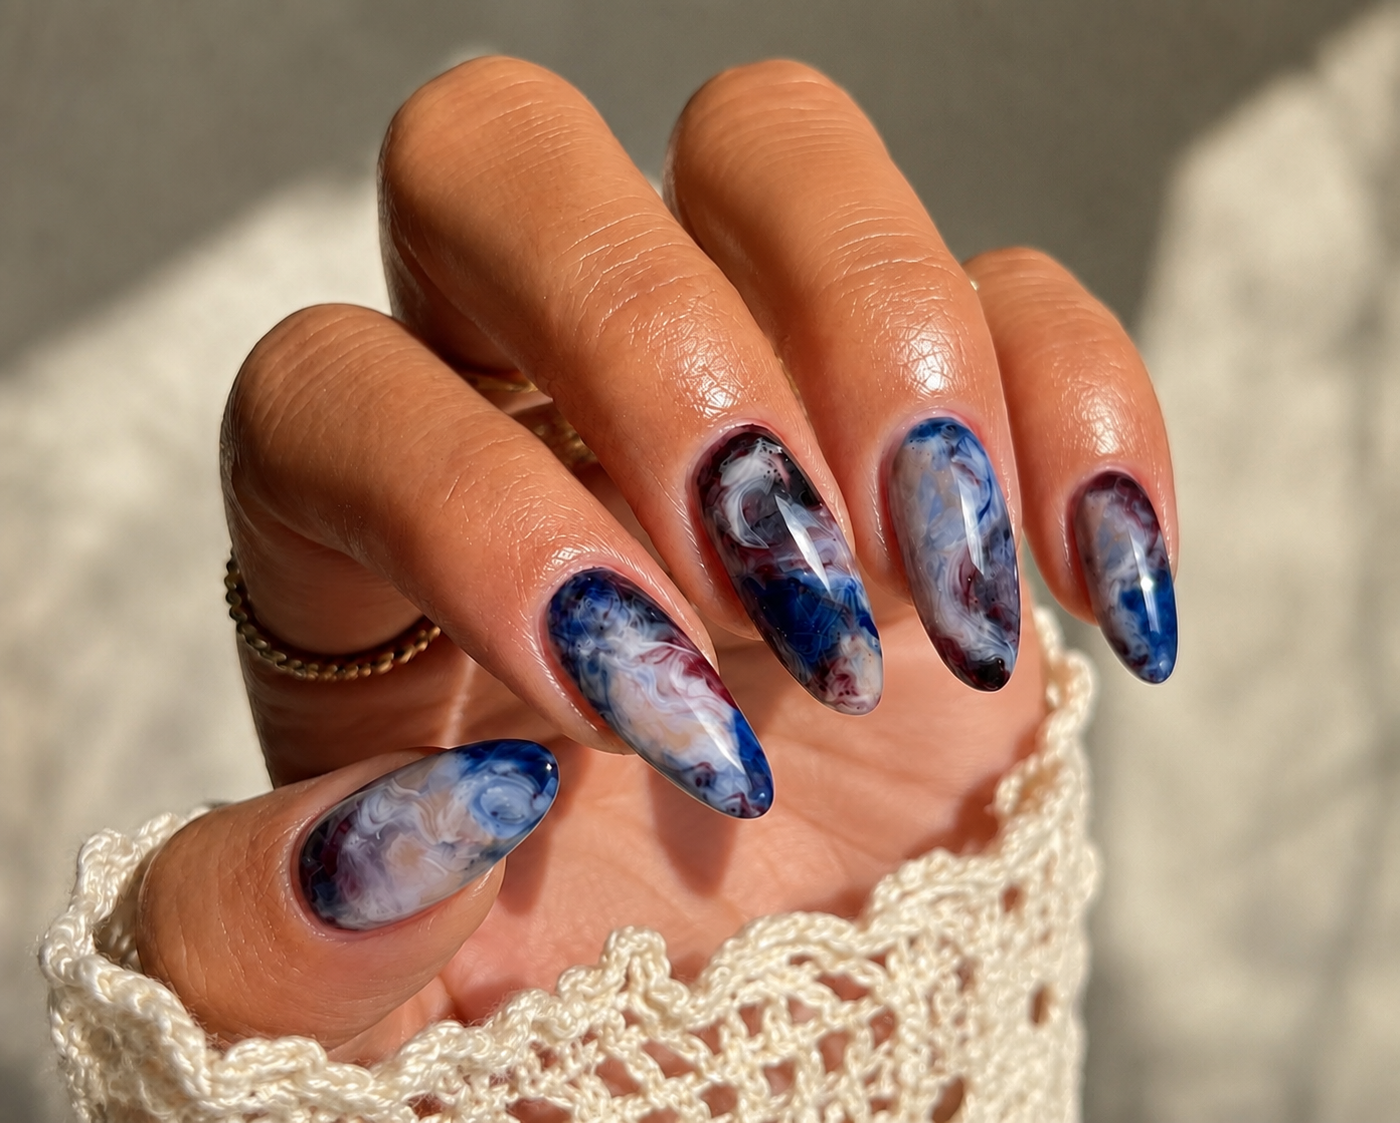
Dark aura nails are the moodier side of this collection. A softly blurred centre glows against a darker perimeter, creating depth without a sharply drawn pattern.
Blackened burgundy with a red centre feels like a glowing Christmas light. Deep fir green with an emerald or champagne centre has a quieter, candlelit quality. For an unexpected winter combination, try plum with icy blue or espresso with dusty lavender.
The distinction is the softness of the transition. The colours should melt into one another, with the darker shade still visible around the centre.

Choose this if: you want unmistakably festive colour with a darker, more alternative mood.
5. Cat Eye Christmas Nails

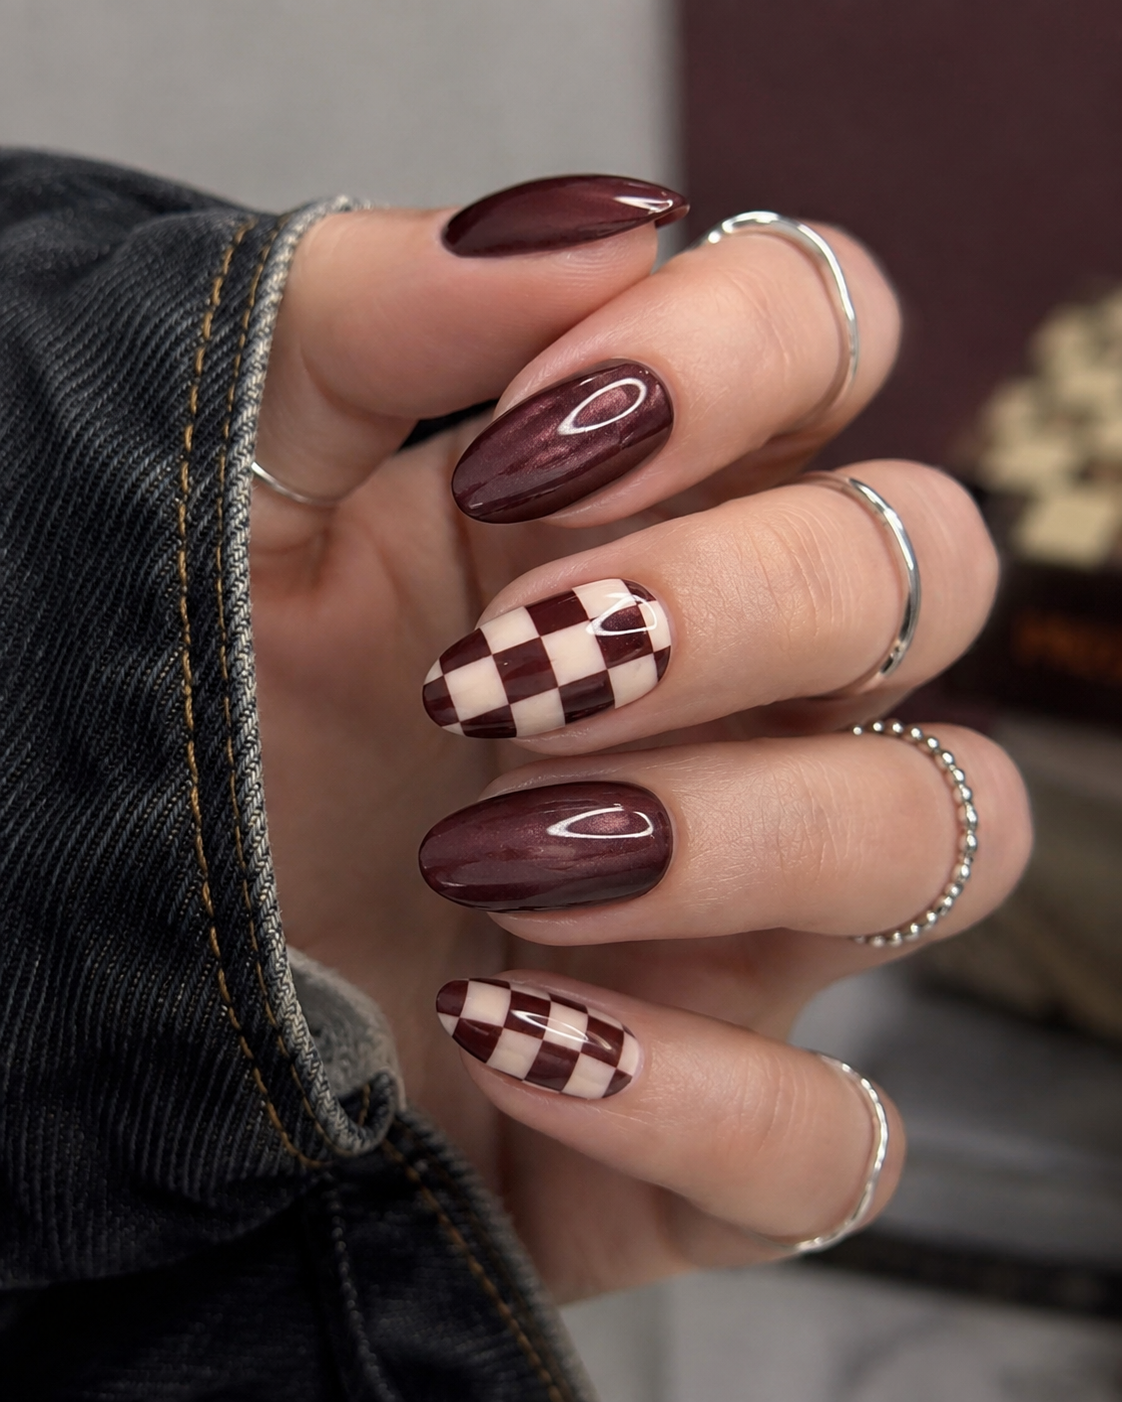
Cat eye creates its depth through magnetic shimmer. Depending on the polish and magnet placement, the reflection can form a defined band or a broader, velvety glow.
Ruby red with a warm gold reflection feels rich and festive. Emerald brings a jewel-like finish, while champagne cat eye is a softer option for parties and Christmas dinners.
I would keep most of the nails free of decoration so the shifting finish remains the main feature. One or two tiny stars can be enough.
Choose this if: you want sparkle and movement without a detailed painted pattern.
6. Pearl, Chrome and Tiny Christmas Details

For a lighter festive manicure, consider a milky pearl finish with a small red bow. The contrast between the soft base and the fine ribbon detail makes the design feel delicate.
Red mirror chrome goes in a completely different direction: bright, reflective and striking against a simple outfit. A fine gold accent is plenty when the surface already makes a statement.
These designs share one idea: choose a beautiful finish first, then add decoration sparingly.

Choose this if: you’re drawn to either soft shimmer or a bold metallic finish.
7. Christmas Nails That Work for New Year’s Eve

Silver micro-French tips, a little glitter at the edges and a tiny black star can take a sheer pink manicure into New Year’s Eve.
For something darker, midnight blue with silver stars feels like a winter night sky. It also works beautifully after the Christmas decorations come down.
A useful approach is to choose a neutral or dark base you already love, then bring in silver, champagne or a few small stars.

How to Create Christmas Nails at Home
You don’t need a different kit for every design. French tips, plaid and small festive details share a few basic tools; aura and cat eye need a little more planning. Visit my storefront to see the products you need to recreate the christmas nails at home here.
Start with a small, useful kit
For regular-polish designs, gather a nail file, base coat, top coat, your chosen colours, a fine liner brush, a small cosmetic sponge and a clean-up brush with remover. Nail stickers or water decals can simplify bows, stars and plaid.
Choose two or three colours that work together before you begin. A cream or sheer pink, a deep red or green, and one metallic accent give you plenty of combinations.
Cat eye needs magnetic nail polish and a nail-art magnet. Some formulas air-dry; others are gel and require a compatible curing lamp. Check which system you’re buying rather than assuming every magnetic polish works the same way.
Prepare the shape before the colour
File your nails to a comfortable, consistent length and gently round any sharp corners. Start with clean, dry nail plates, and use the preparation steps recommended for your polish.
Work at a table with good light and rest your painting hand for support. Thin, controlled layers are easier to manage than trying to achieve full coverage in one thick coat.
For regular polish, allow each stage to dry sufficiently before adding the next. Gel must be cured according to its own instructions.

Use the right technique for the effect
For French tips, plaid and small details: practise the brush movement on a spare nail tip first. Start French tips with a narrow line—you can widen it if needed. For plaid, establish a few vertical and horizontal lines before adding finer accents. Let regular-polish lines dry before crossing them with another colour. Stickers or decals are a practical alternative when painting with your non-dominant hand.
For aura: a small cosmetic sponge can create a soft approximation with regular polish. Let the base dry sufficiently, pick up a little contrasting colour and offload excess before gently tapping a small area in the centre. Build the glow in light passes, leaving the perimeter visible. Practise on a spare tip to find a combination that blends well; a home sponge finish may look softer or more textured than a professional airbrushed result.
For cat eye: use the magnet while the magnetic layer is still workable. With gel, shape the reflection before curing that layer, then cure promptly as directed by the manufacturer. Work one nail at a time so you can control the effect. A compatible dark base can increase contrast when the product instructions allow it.
For chrome: distinguish metallic polish from chrome powder. A red metallic lacquer gives shine with a simpler application, but may not reproduce a powder’s mirror finish. Powder systems have specific requirements for the underlying surface and sealing steps, so follow the instructions for the exact products you use.

Keep gel application precise
If you use gel, keep uncured product off your skin and cuticles, and remove any overflow before curing. Use the lamp and curing schedule recommended for the polish system. The British Association of Dermatologists highlights skin contact with uncured product and insufficient curing as allergy risks.
If you’re new to nail art, regular polish is a practical place to learn the brushwork. Stop using a product if it causes irritation and seek medical advice.
Tips That Make the Biggest Difference
- Keep the nails thin. Build colour and detail with light layers rather than a thick dome of product.
- Give one effect the lead. Aura, chrome or an intricate plaid rarely needs several competing decorations.
- Try two accent nails first. You get the character of a detailed design with much less painting.
- Protect the pattern when finishing. With regular polish, let the artwork dry sufficiently and apply top coat gently to reduce dragging.
- Choose the finish for your available time. Solid red, shimmer and simple stickers are good options when you don’t have an evening for fine brushwork.
Find Your Christmas Manicure
My favourites sit at opposite ends of the collection: a short burgundy French tip for its simplicity, and dark green aura for its depth.
Start with the colours you already enjoy wearing. Choose a clean tip, a soft glow or a little magnetic shimmer, then decide whether it needs anything else.
Save your favourite design for your next nail appointment, or use the shared techniques above to plan a version you can comfortably create at home.
Technique references
- OPI: sponge nail art and soft colour transitions
- Le Mini Macaron: applying cat eye gel and using a magnet
- British Association of Dermatologists: gel products and home kits