Affiliate disclosure: This post may contain affiliate links. If you shop through them, I may earn a small commission at no extra cost to you.
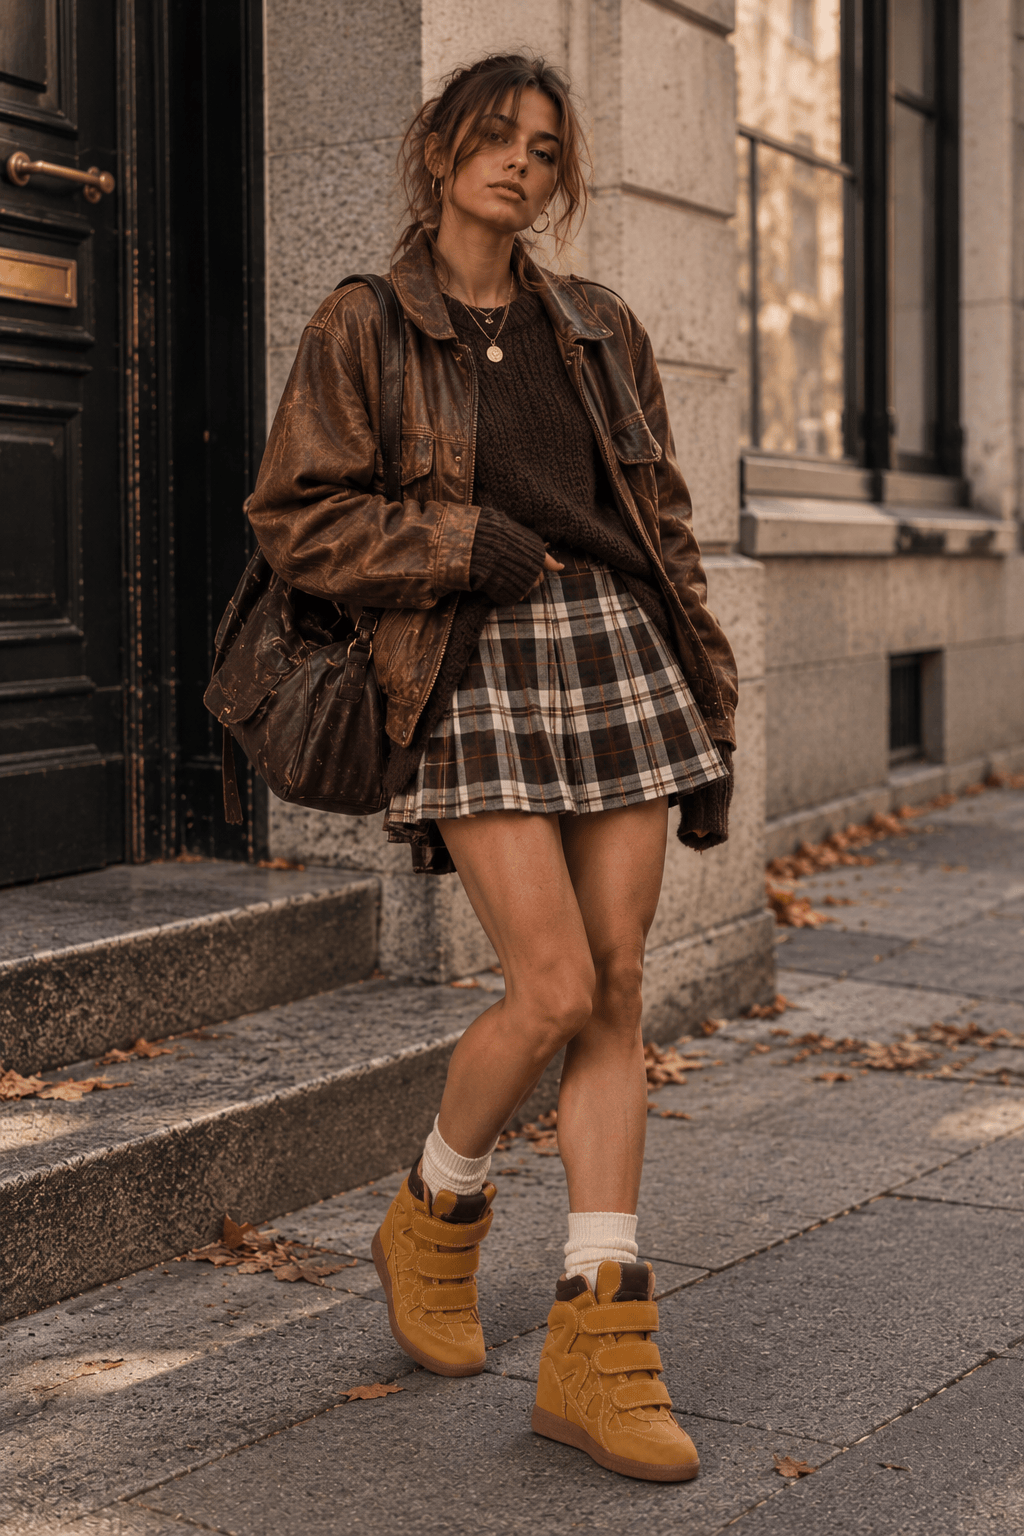
They’re usually called wedge sneakers, hidden-wedge sneakers or wedge high-tops, and the silhouette is closely associated with Isabel Marant’s iconic Bekett sneaker. The Bekett launched in 2011 with a concealed heel, high-top shape and Velcro straps, and quickly became one of the defining shoes of the early 2010s. Beyoncé wore them in Love on Top, while Gisele Bündchen, Rihanna and other celebrities helped turn the style into a street-style phenomenon. British Vogue
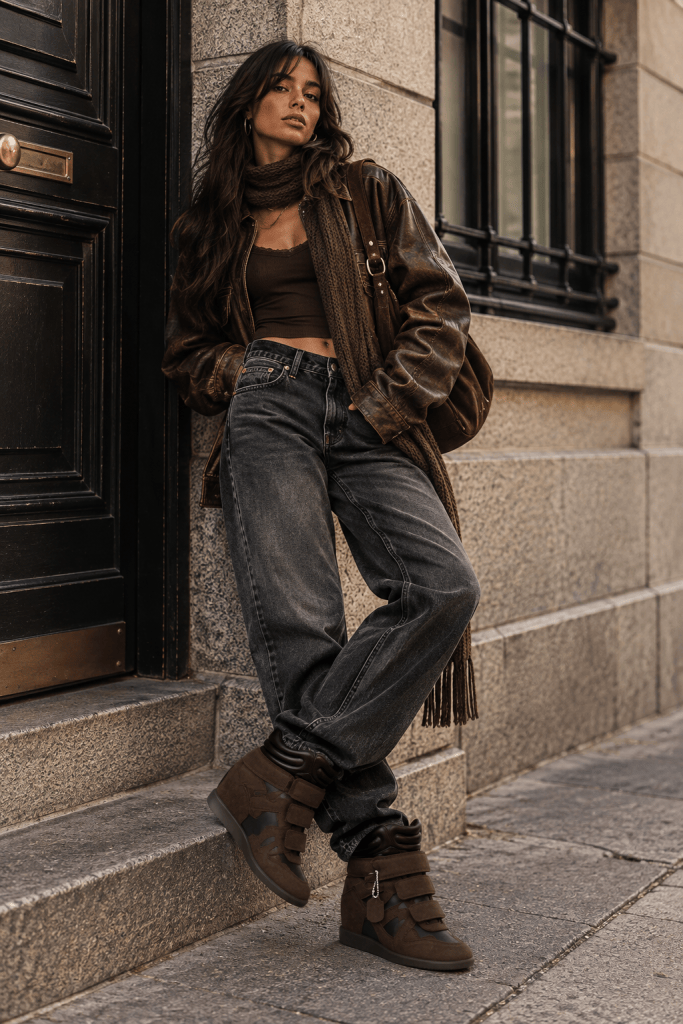
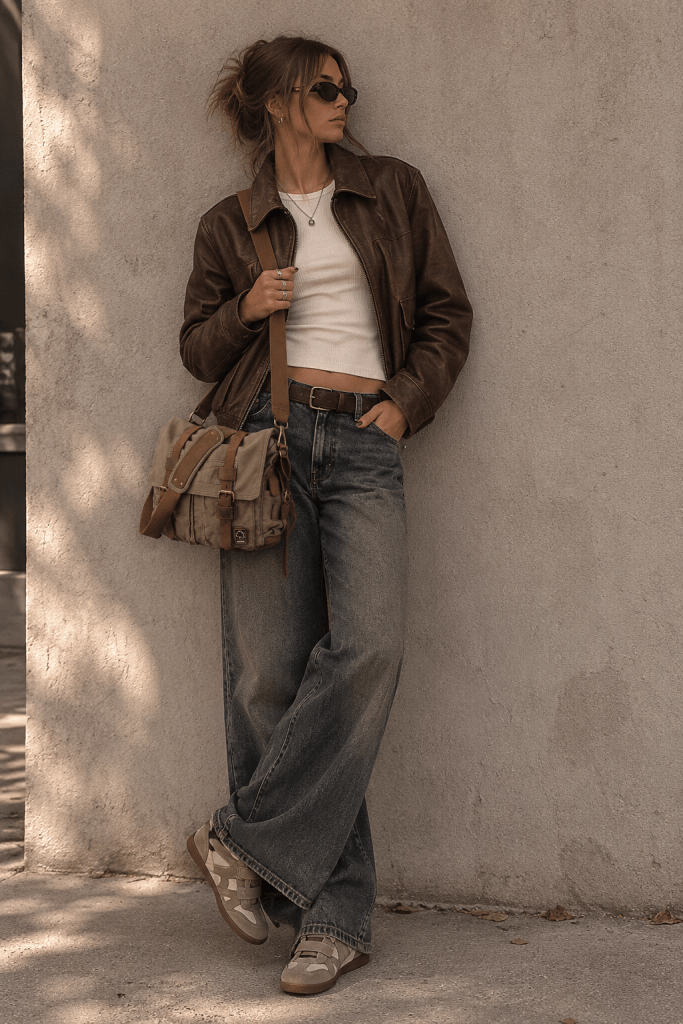
Brown Monochrome Wedge Sneaker Outfit – shop here.
The original wedge-sneaker craze peaked around 2011–2013, but this is one of those slightly controversial shoes fashion refused to leave buried. British Vogue was already noting a revival in 2022, and the comeback became much more visible through 2024 and 2025 as early-2010s fashion returned. By 2025, Vogue reported sharply rising interest in the Bekett silhouette, and the style is still part of the sneaker conversation in 2026. British Vogue
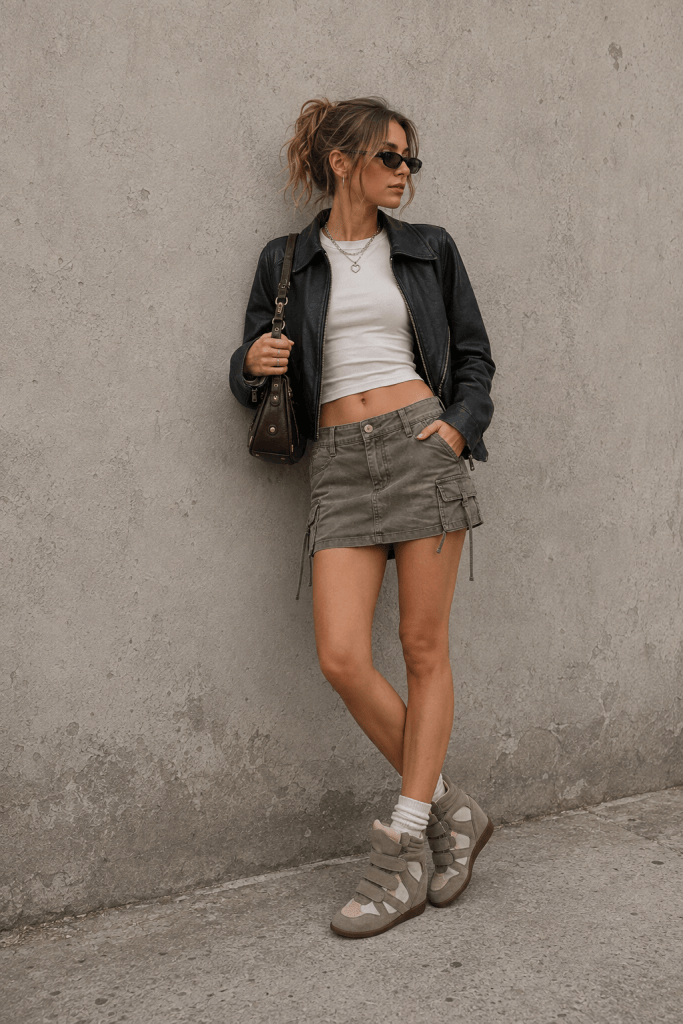
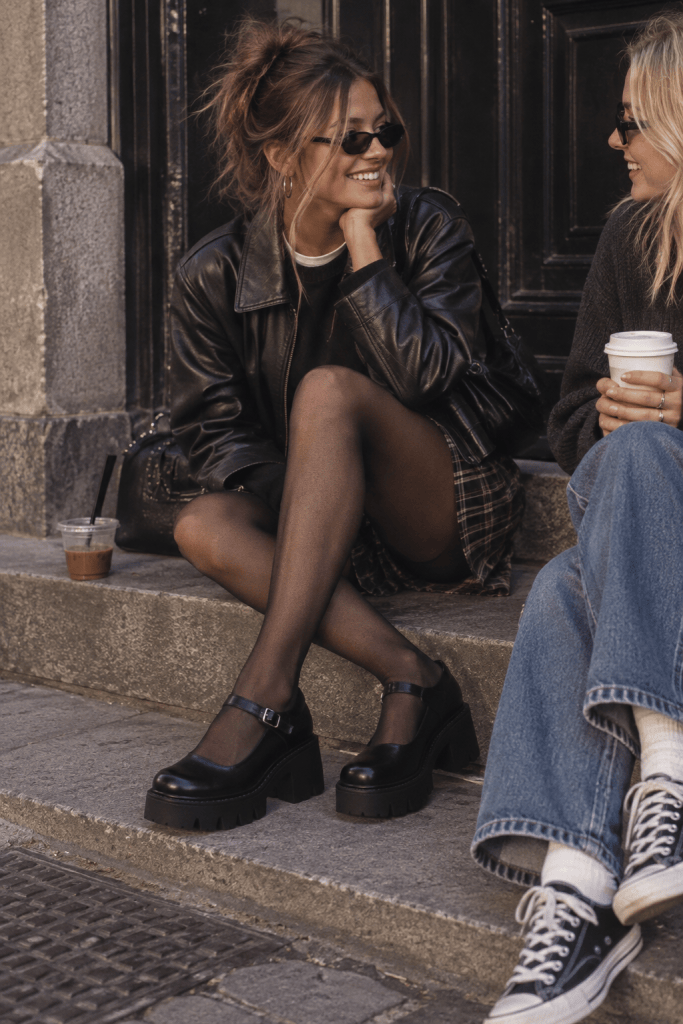
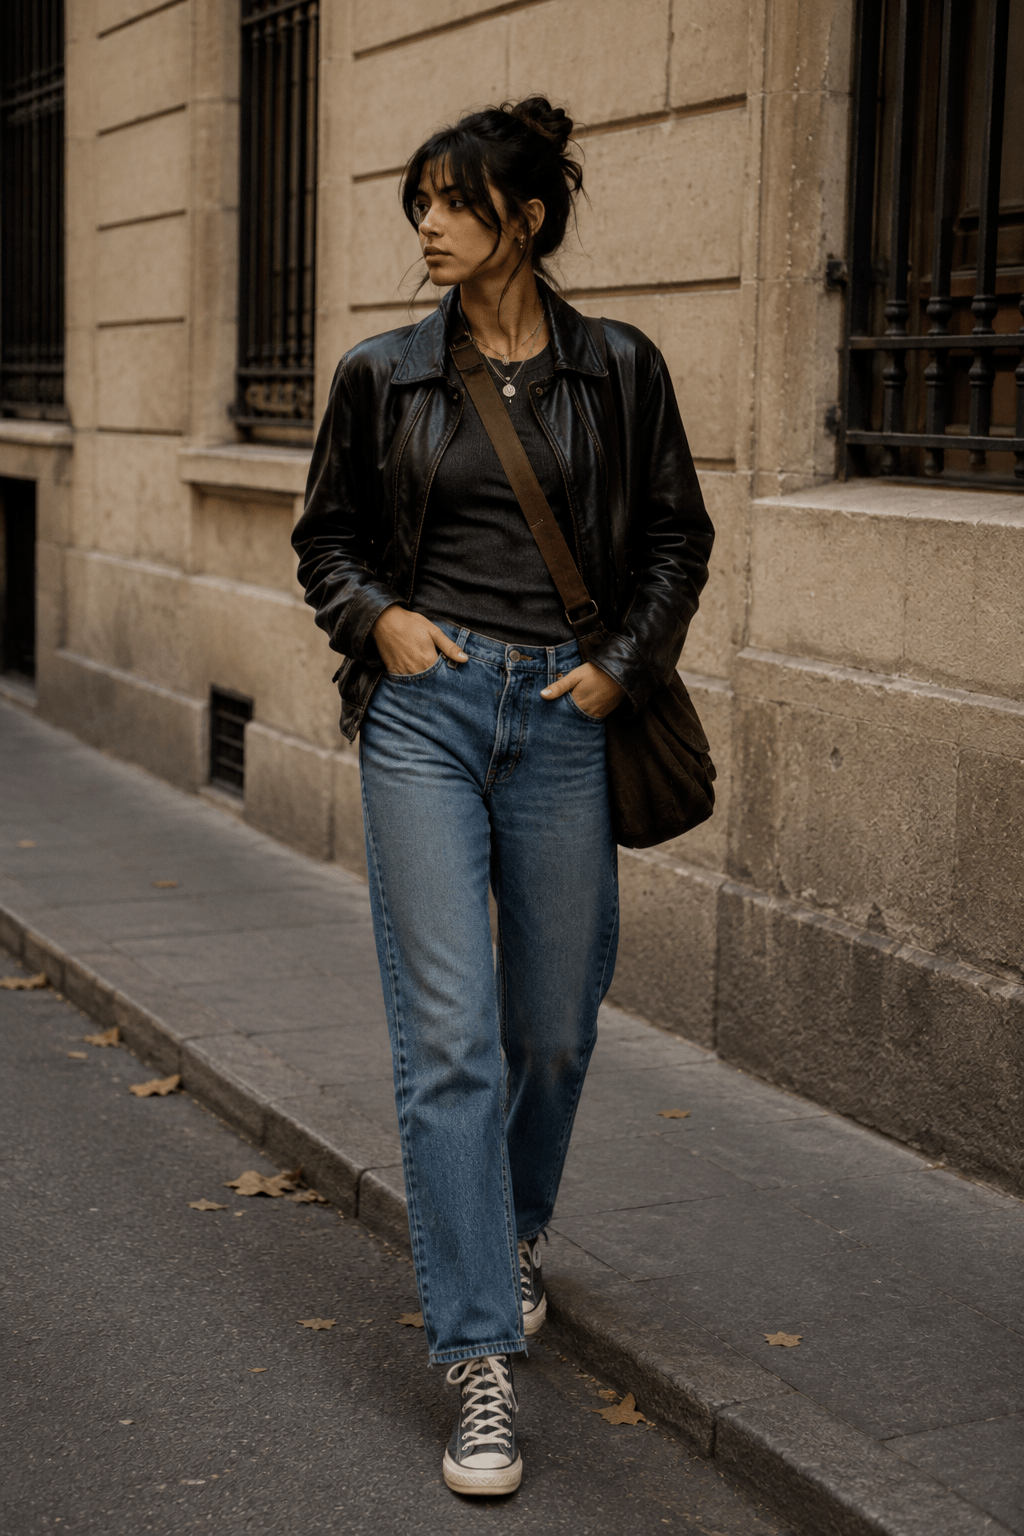
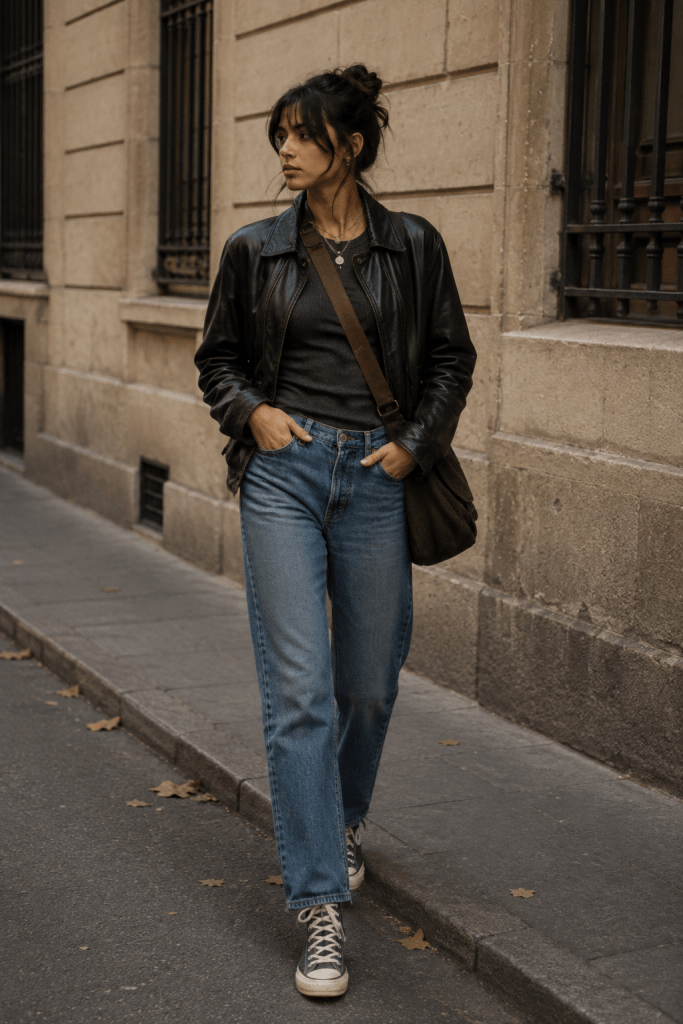
The easiest way to wear them now is less 2012, more 90s-meets-Y2K. Try a beige pair with faded straight-leg denim, a fitted tee and oversized leather jacket, or wear brown wedge sneakers with black jeans, a ribbed tank and messenger bag. They also work surprisingly well with plaid minis, cargo skirts and oversized knits. The hidden wedge already gives the shoe plenty of personality, so the rest of the outfit can stay relaxed.
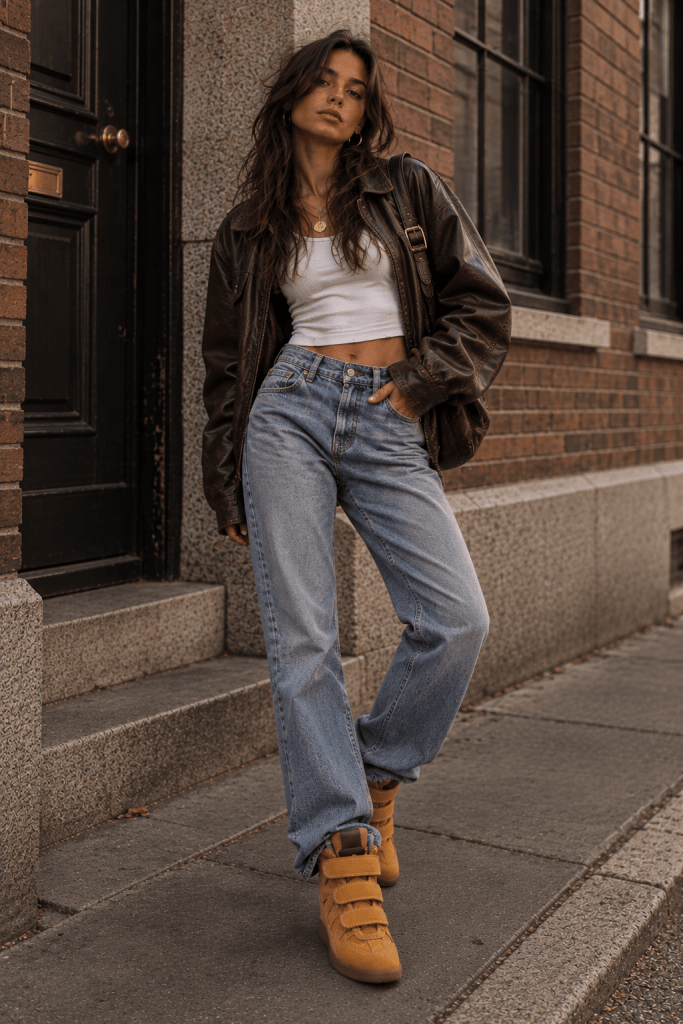
Cognac Hidden Wedge Sneakers for Women.
My favorite combination is the one above: Levi’s 501-style jeans + smooth-leather wedge sneakers. The straighter, vintage denim keeps the wedge from looking overly polished, while a leather jacket or simple white tank pulls the whole thing back toward the 90s. The warm caramel version adds just enough color without losing that worn-in vintage mood. In other words, this very 2010s shoe becomes considerably more interesting when you style it with pieces borrowed from the decade before.
The comeback also makes sense within the wider return of nostalgic, slightly unconventional footwear. Isabel Marant currently sells the Bekett again, including versions in leather with its characteristic concealed 5 cm wedge and Velcro construction. ISABEL MARANT If you missed wedge sneakers the first time around, or secretly never stopped liking them, shop my finds below and try them with your favorite 90s denim.
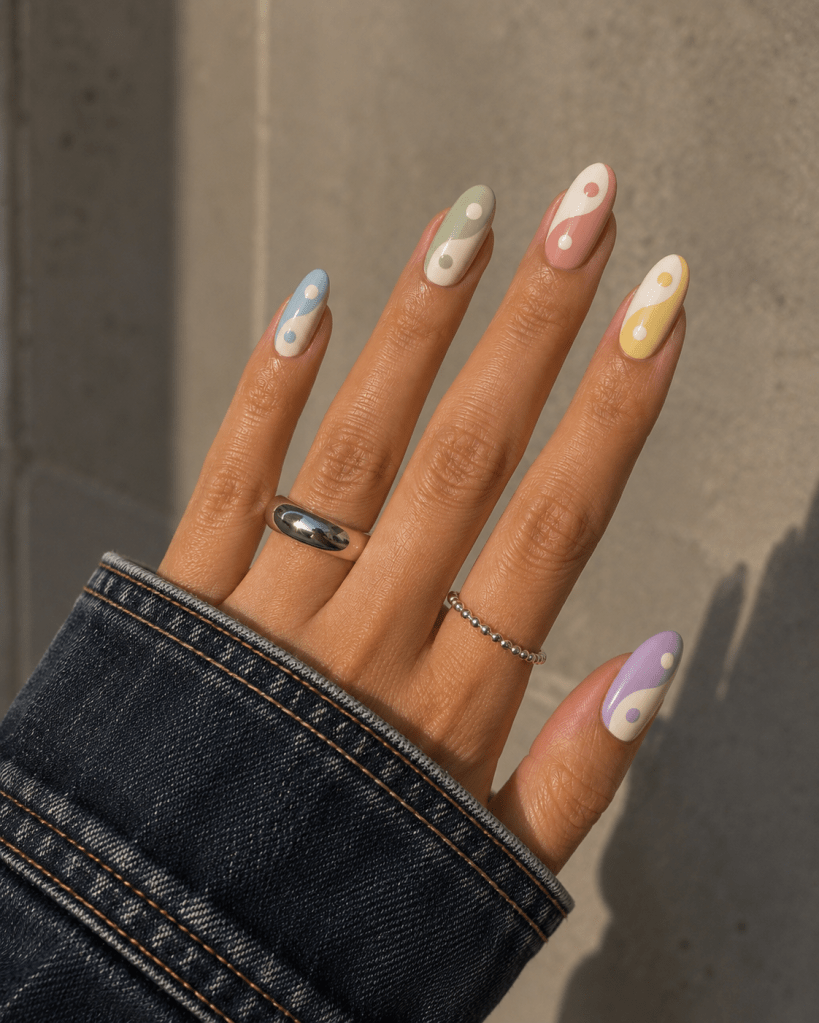
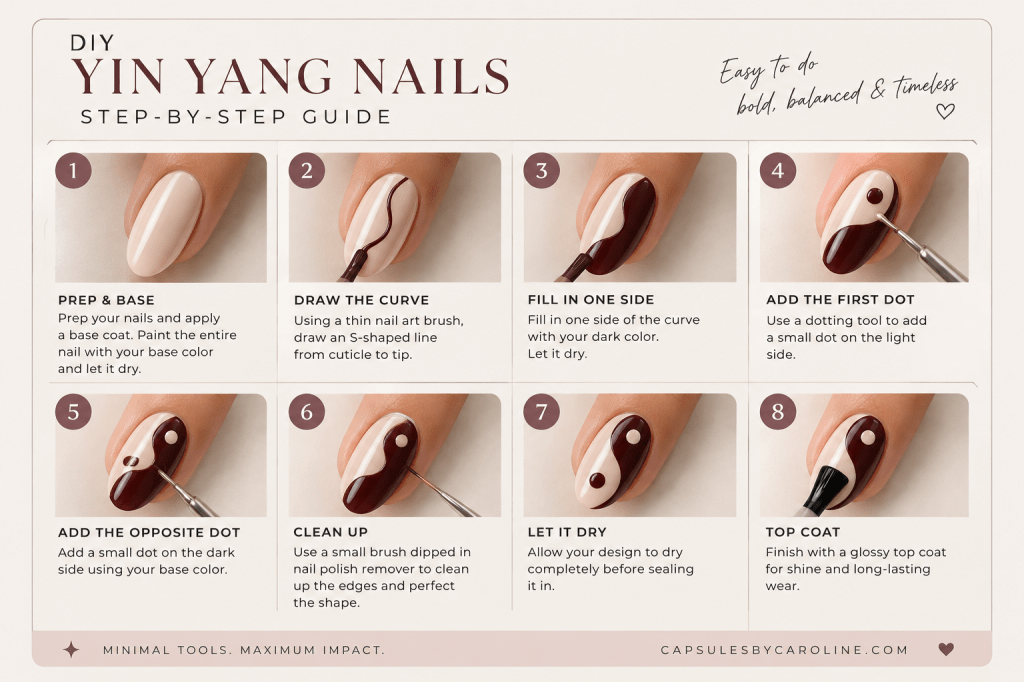
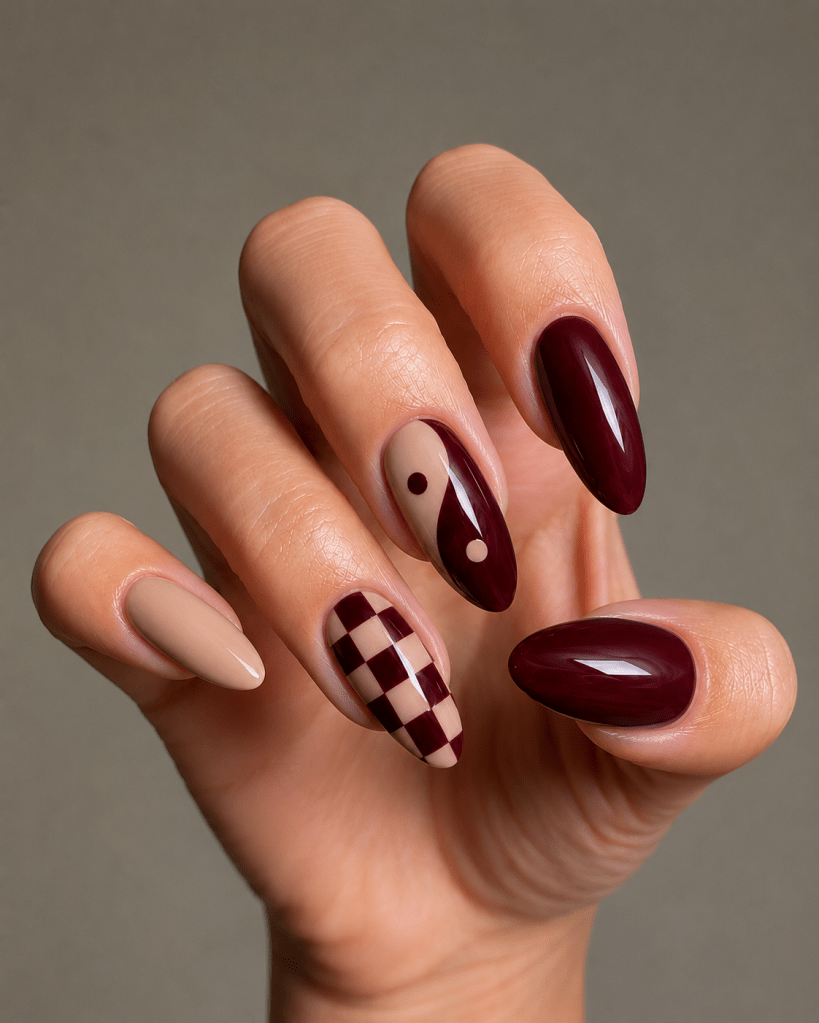
Yin yang nails look detailed, but the design is surprisingly simple once you break it down into a few small steps. You only need two contrasting colors, a thin nail art brush and a little patience.
Start with clean, shaped nails. Gently push back the cuticles if needed and remove any oil from the nail plate. Apply a thin layer of base coat and allow it to dry.
Step 2: Apply Your Base Color
Paint the entire nail with your lighter shade, such as nude, beige or creamy white. One to two thin coats usually works best.
Let the polish dry well before you start the design. This makes it much easier to correct mistakes without ruining the base underneath.
Step 3: Draw the Yin Yang Curve
Using a thin nail art brush and your burgundy polish, draw a soft S-shaped line from the cuticle area toward the tip of the nail.
Don’t worry about making it perfectly symmetrical. A slightly organic curve often looks better than an overly precise one.
Step 4: Fill in One Side
Fill one side of the S-shaped line with burgundy polish.
Use the thin brush around the curved edge and then fill the larger area with your regular polish brush. Add a second coat if you need more opacity.
Step 5: Add the First Dot
Place a small burgundy dot on the light side of the design.
A dotting tool makes this easiest, but you can also use the rounded end of a small brush, hairpin or similar tool.
Step 6: Add the Opposite Dot
Now add a small cream or nude dot on the burgundy side.
Try to position the two dots roughly opposite one another to create the recognizable yin yang shape.
Step 7: Clean Up the Design
Dip a small angled brush into nail polish remover and carefully clean around the cuticle and sidewalls.
You can also use the brush to gently sharpen the curved division between the two colors.
Step 8: Add a Glossy Top Coat
Once the design is completely dry, seal everything with a generous layer of glossy top coat.
This smooths out the individual layers of polish and gives the design that shiny, almost glass-like finish.
Visual Step by Step
Tips for Getting the Curve Right
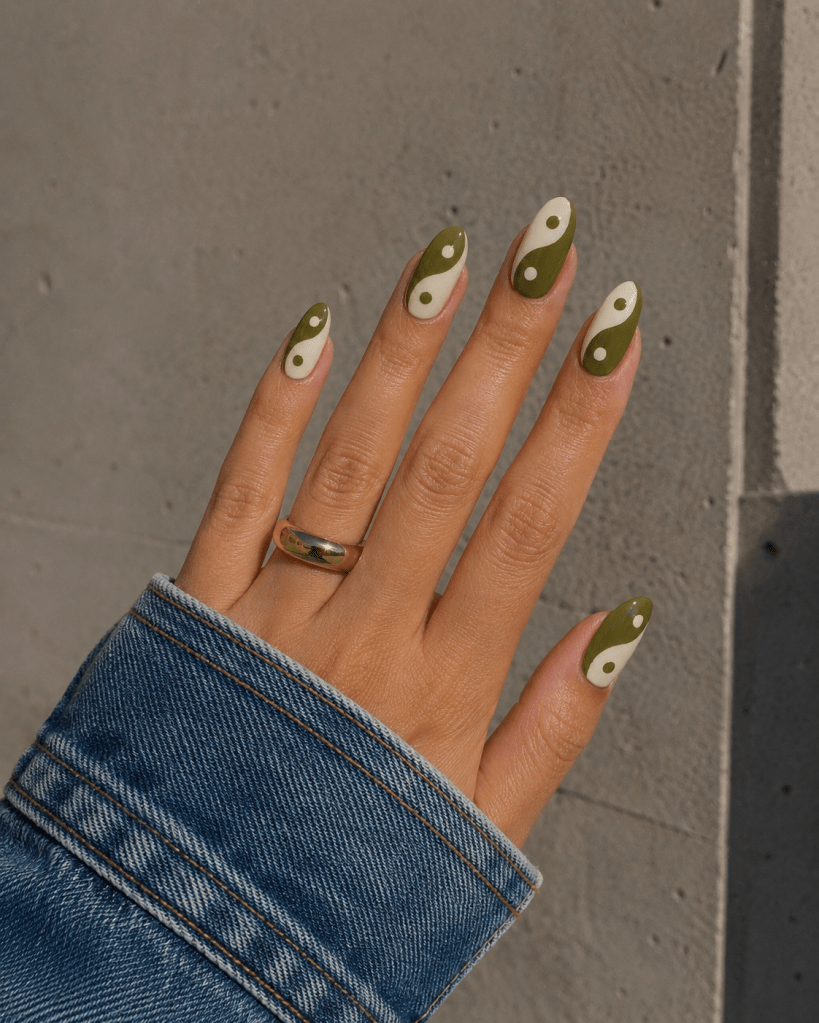
Moss green yin yang nails
Use very little polish on your detail brush when drawing the S-shape.
Draw the curve in one light movement rather than repeatedly going over it.
If you’re new to nail art, sketch the line first and gradually make the burgundy section wider.
Let each layer dry slightly before adding the next detail to prevent the colors from dragging into each other.
Don’t chase perfect symmetry. Yin yang designs actually work beautifully with slightly different curves on each nail.
Make It a Mix-and-Match Manicure
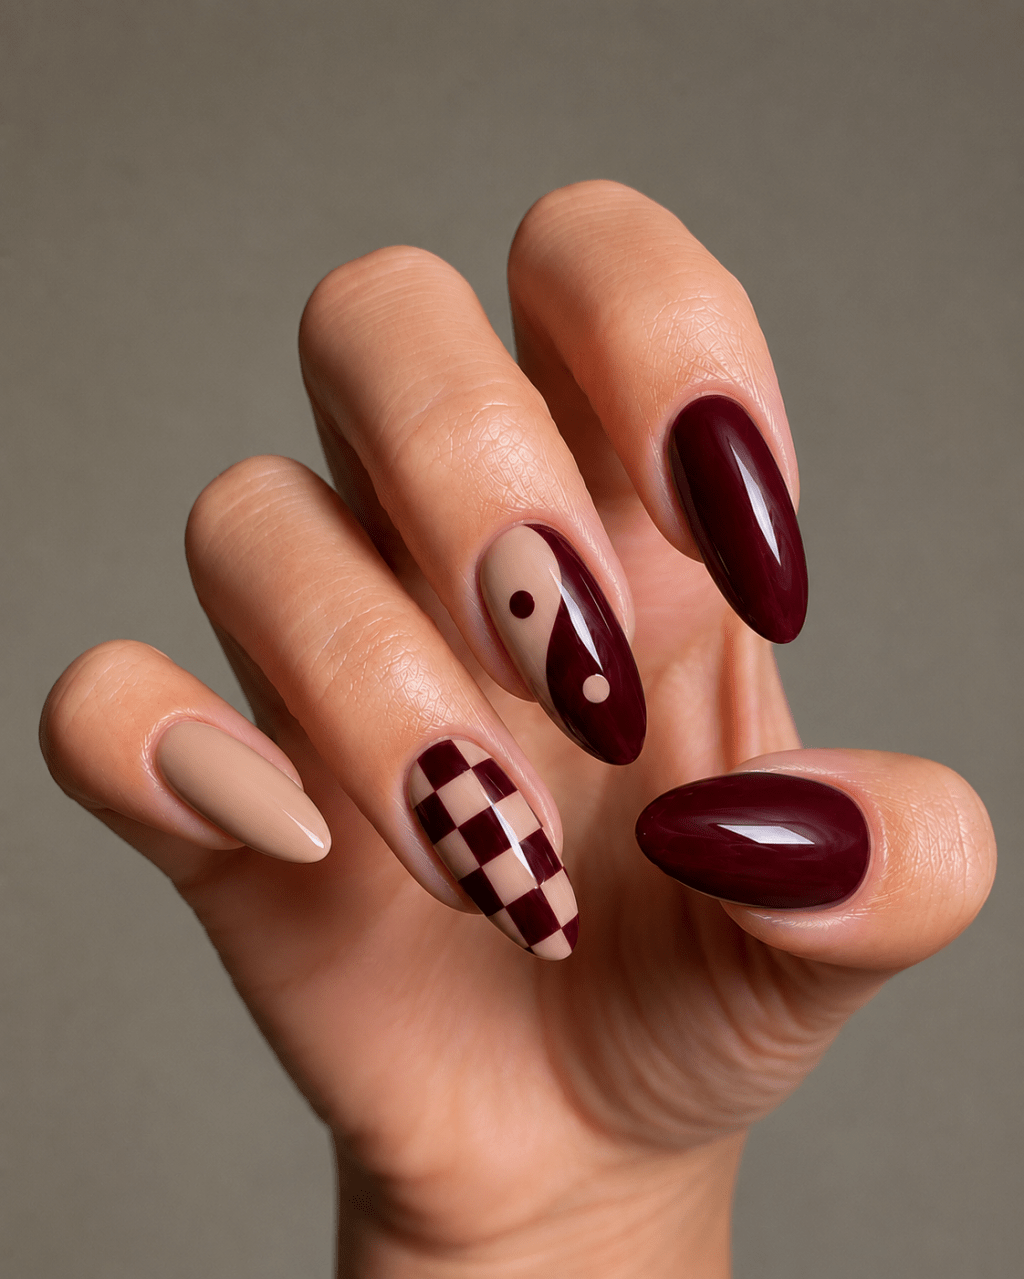
You don’t have to paint yin yang symbols on every nail. For a more modern look, use it as one accent nail and combine it with solid burgundy nails, checkerboard patterns, wavy lines or simple nude designs.
It gives the manicure that slightly retro, graphic feel without making the whole set look too busy.
How to Create Checkerboard Nails: A Step-by-Step Guide
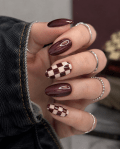
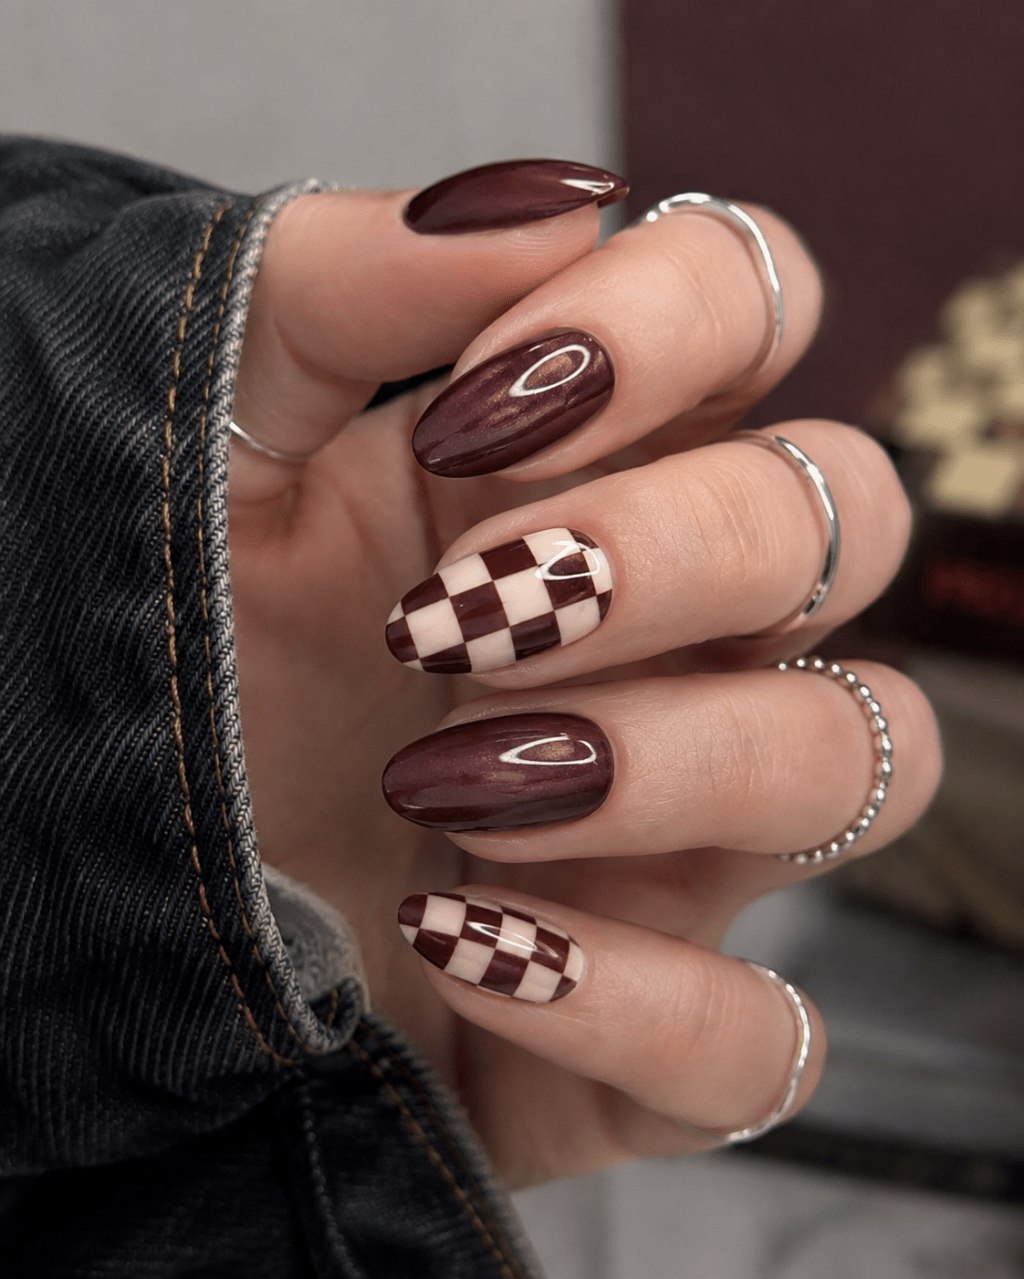
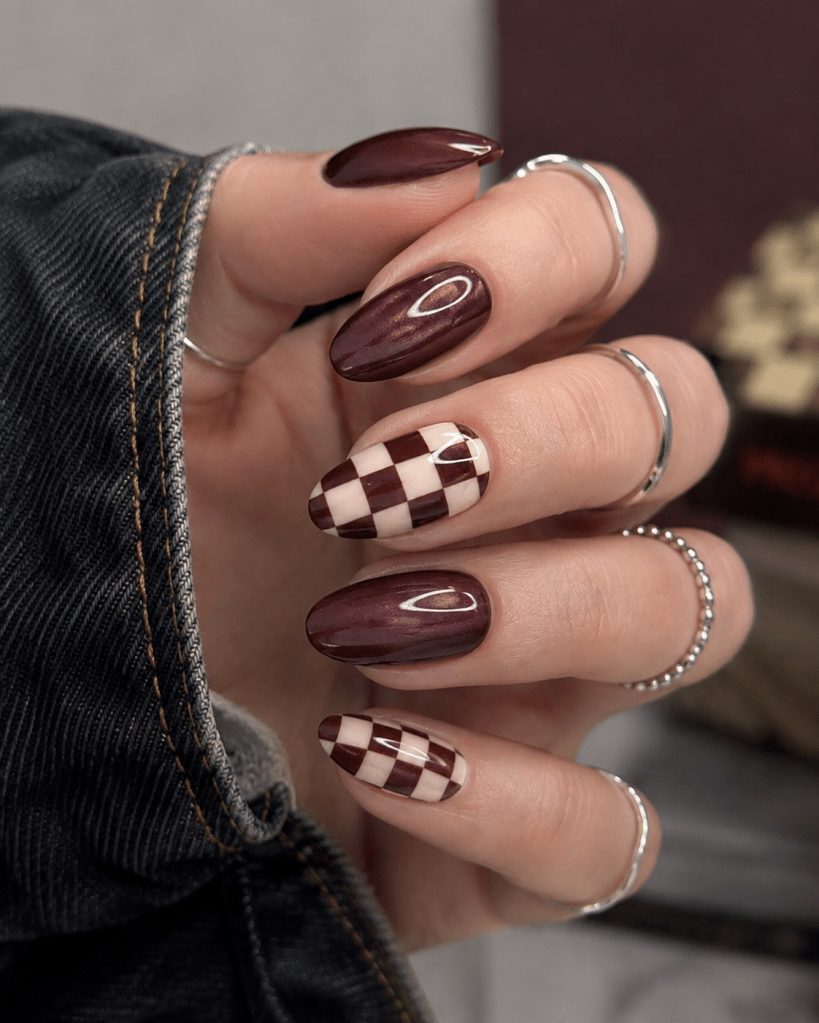
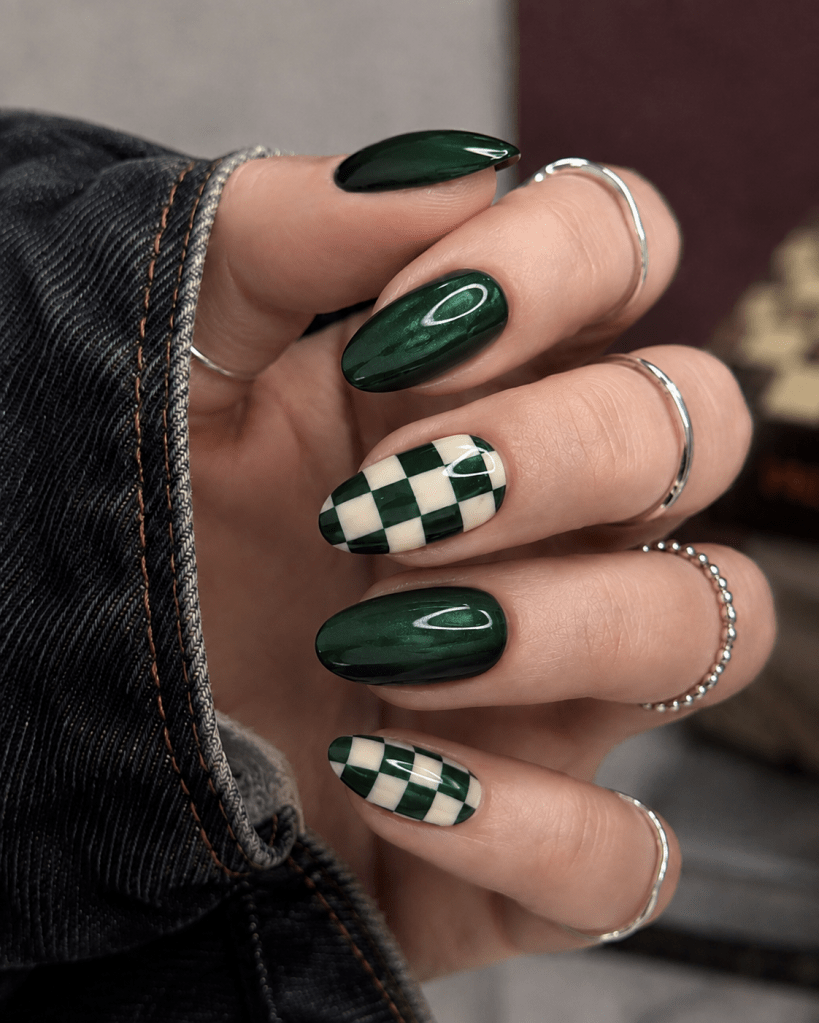
Burgundy Checkerboard Nails
Checkerboard nails look graphic and playful, but they’re surprisingly achievable at home once you break the pattern into small steps. The secret is not trying to paint perfect squares freehand from the start. Instead, build the design using a simple grid and work slowly.
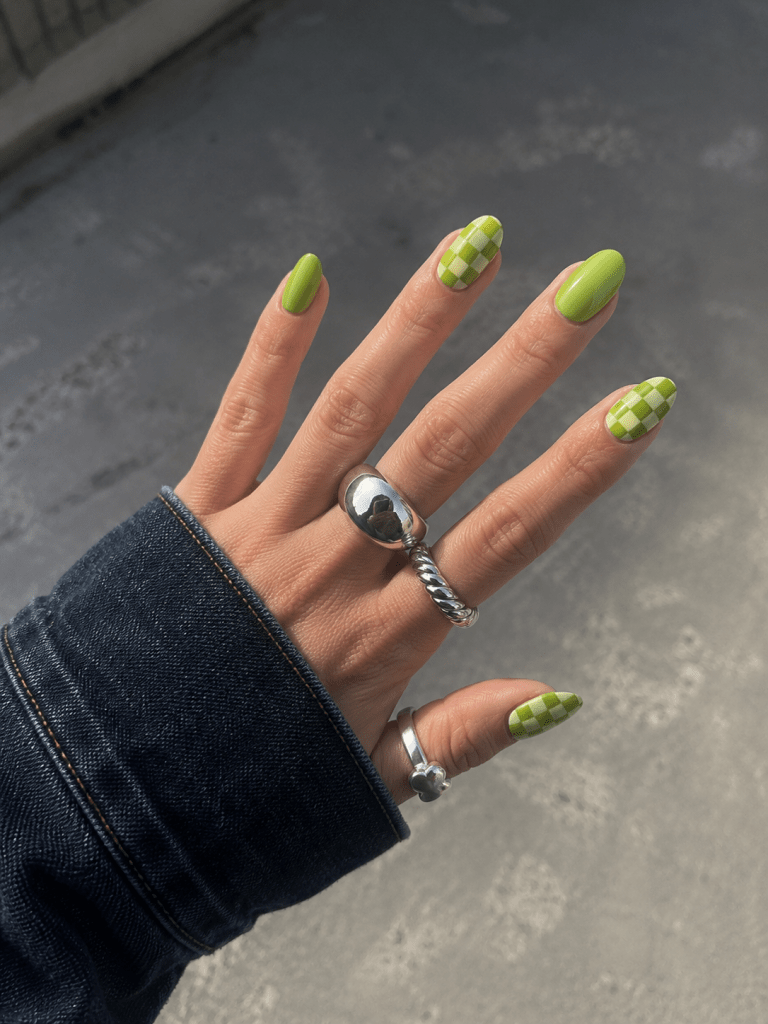
You can recreate the look in classic black and white, burgundy and cream, baby blue, lime green, or almost any two-color combination.
For a softer checkerboard look, use cream instead of bright white. It gives the manicure a slightly more vintage feel.
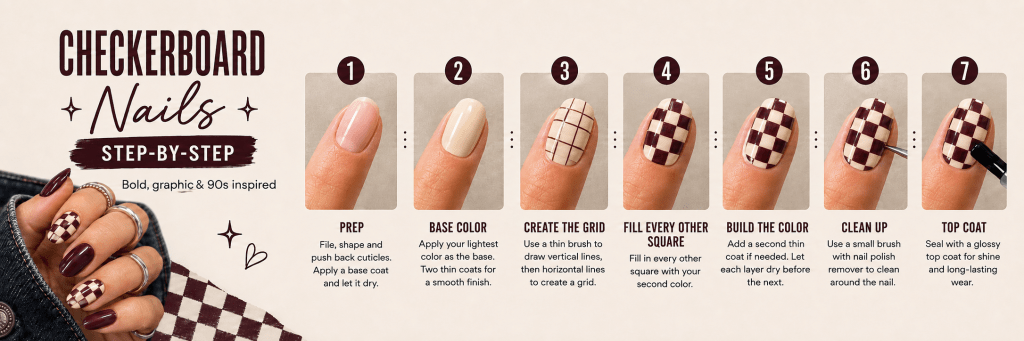
Step 1: Prep Your Nails
Start with clean, dry nails. File them into your preferred shape and gently push back the cuticles.
Apply a thin layer of base coat and allow it to dry completely. A smooth base makes a big difference with geometric designs because bumps and uneven polish become much more noticeable.
Step 2: Apply Your Base Color
Choose the lighter of your two colors as the base.
For example:
Baby blue + cream: use cream as the base. Lime green + cream: use cream as the base. Burgundy + beige: use beige as the base.
Apply one or two thin coats and let them dry properly before starting the checkerboard pattern.
This is one of the most important steps. If the base is still soft, your nail art brush can drag or lift the polish underneath.
Step 3: Divide the Nail Into Sections
Imagine the nail as a tiny grid.
Quick Guide to Checkerboard Nails
Using a thin nail art brush, lightly divide the nail into approximately three or four vertical sections. You can also use a thin tape, but you need to add more drying time to avoid that the tape removes the nailpolish. Then add horizontal lines across the nail or paint over the tape.
The squares do not need to be mathematically perfect. In fact, a slightly imperfect hand-painted checkerboard often looks more interesting than an ultra-precise printed pattern.
Keep the lines very thin at this stage.
Step 4: Start Filling Alternate Squares
Now comes the satisfying part. Using your second polish color, fill in every other square.
Think of a chessboard:
dark – light – dark – light
Then reverse the sequence on the next row:
light – dark – light – dark.
Use a tiny amount of polish on your brush. Too much polish will quickly flood the edges of the squares.
Step 5: Build the Color Slowly
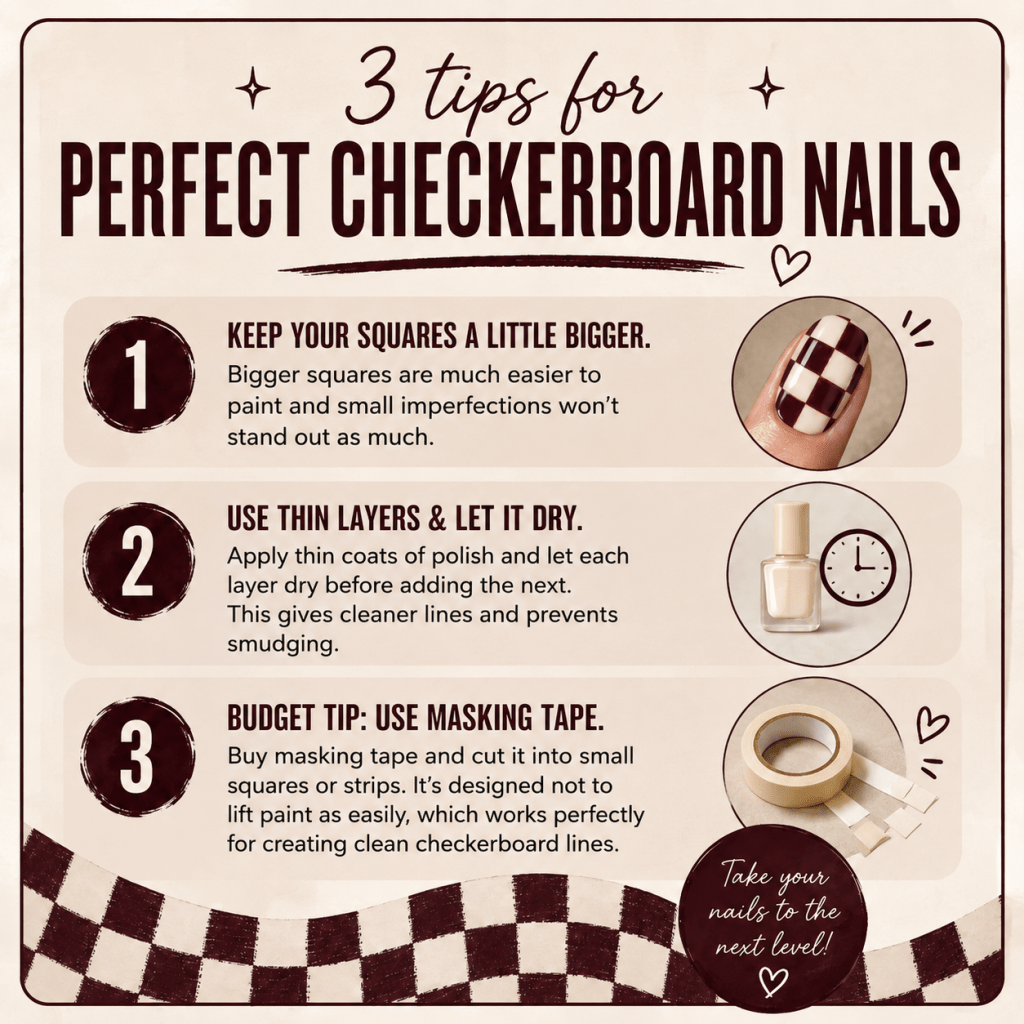
Do not try to make the squares completely opaque with one thick layer. Instead, paint a thin first layer, allow it to settle for a moment, then add a second layer if necessary. This gives you much sharper edges.
For highly pigmented colors such as burgundy or forest green, one layer may be enough.
Step 6: Correct the Shape of the Squares
Once the basic pattern is finished, look at the nail from a little distance. You will usually notice one or two squares that are slightly larger or crooked. Use your detail brush to gently adjust them. You can also dip a very small brush into the base color and use it almost like an eraser to sharpen uneven edges.
This little clean-up step can transform the entire manicure.
Step 7: Clean Around the Cuticles
Dip a small flat brush into nail polish remover and carefully clean around the sides of the nail and cuticle. Crisp edges around the nail make even a slightly imperfect checkerboard pattern look polished.
Step 8: Let the Design Dry
Give the nail art more drying time than you normally would. If you apply top coat too quickly, the brush can drag through the checkerboard and create streaks. Waiting a few extra minutes is worth it.
Step 9: Apply Top Coat
Finish with a generous layer of glossy top coat. Instead of repeatedly brushing over the design, try to gently float the brush across the nail. This helps prevent the colors from bleeding into each other.
A glossy finish works particularly well with checkerboard nails because it makes the graphic pattern look almost tiled.
The Easiest Way to Make the Pattern Look Professional
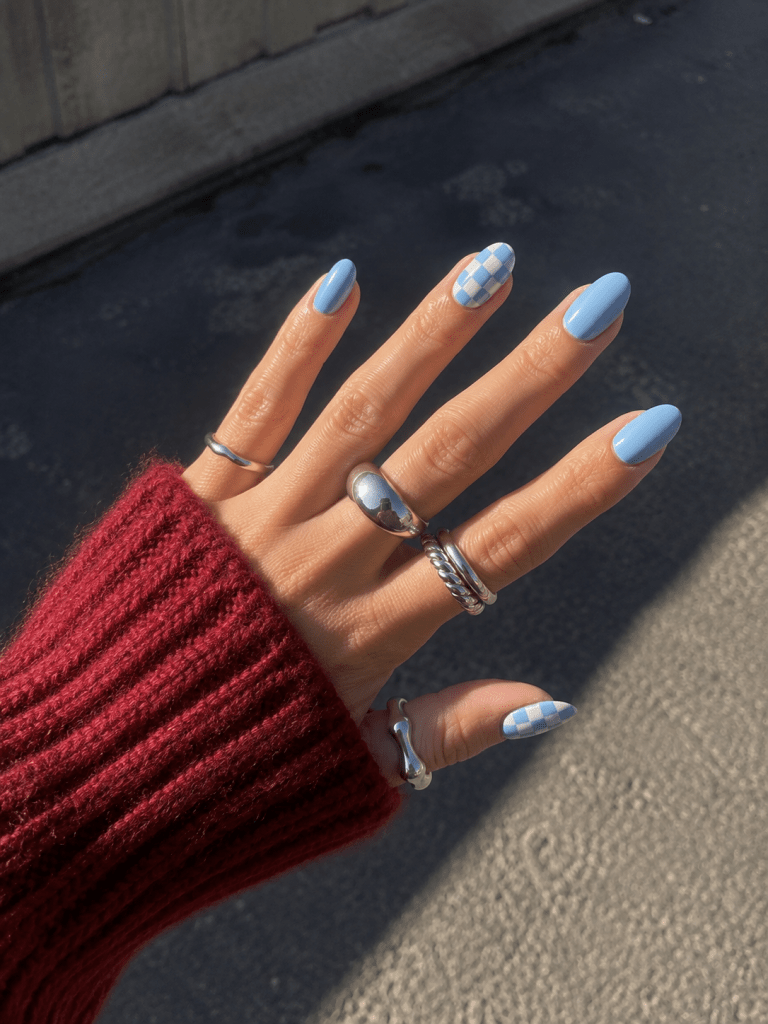
Light Blue Checkerboard Nails
The biggest trick is keeping the brush small and the polish thin.
A few additional tips:
Use your lightest color as the base.
Keep the squares slightly larger rather than making lots of tiny ones.
Paint one checkerboard accent nail first before attempting a full set.
Rest your painting hand on a table for extra stability.
Clean your nail art brush frequently.
Let each layer dry before correcting the next one.
Try Checkerboard Accent Nails
You don’t have to cover every nail with the pattern.
One of the easiest ways to wear checkerboard nails is to paint most nails in one solid color and use the pattern on just two accent nails.
For example, try glossy baby-blue nails with two blue-and-cream checkerboard accents, or lime-green nails with a couple of cream-and-lime checkerboard nails.
The result still feels graphic and playful without making the manicure overly busy.
Checkerboard nail art rarely looks completely perfect while you’re painting it. The pattern tends to come together once the squares are filled, the edges are cleaned up, and the glossy top coat goes on.
So if your first few squares look slightly uneven, keep going. Tiny imperfections often disappear once the full design is finished.
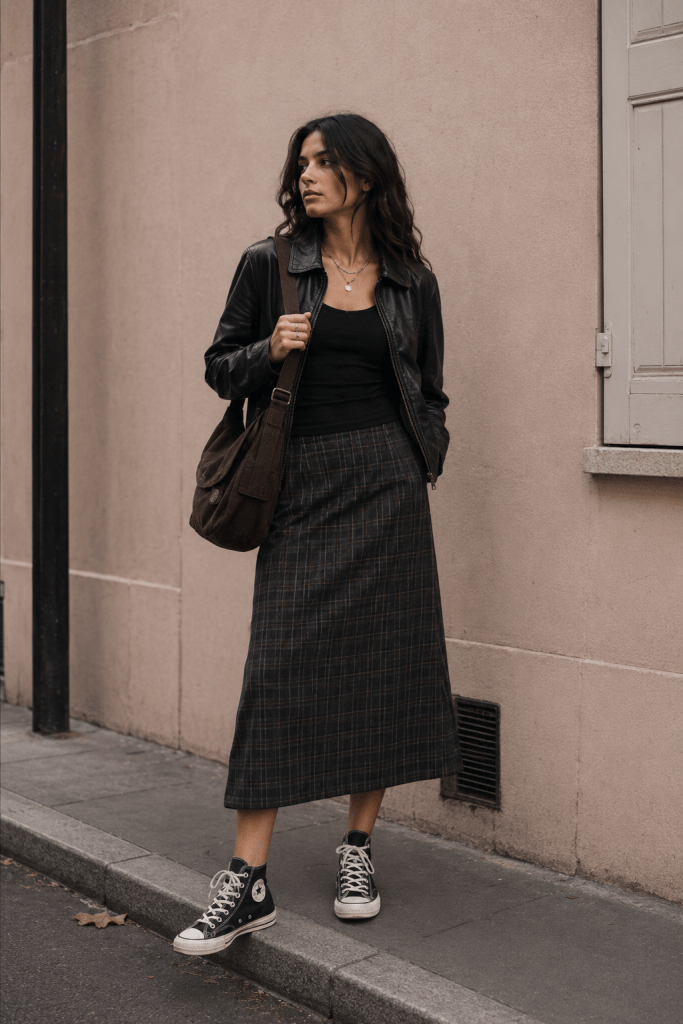
Plaid Skirt and Converse Outfit with a Messenger Bag
Disclosure: This post may contain affiliate links. As an Amazon Associate I earn from qualifying purchases. If you choose to shop through these links, thank you for supporting Capsules by Caroline at no extra cost to you.
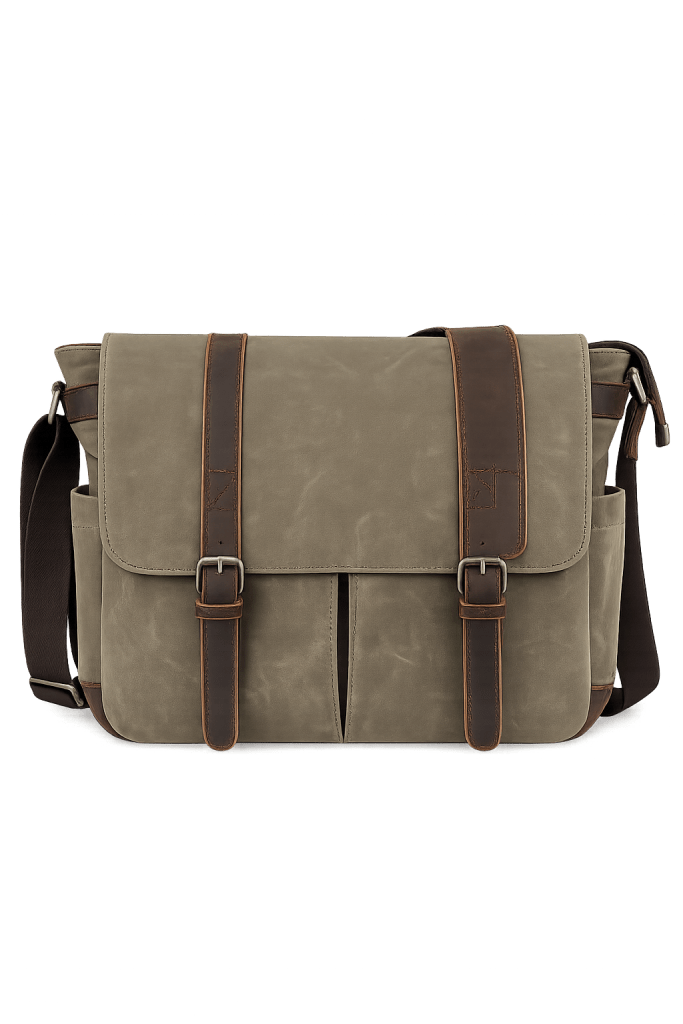
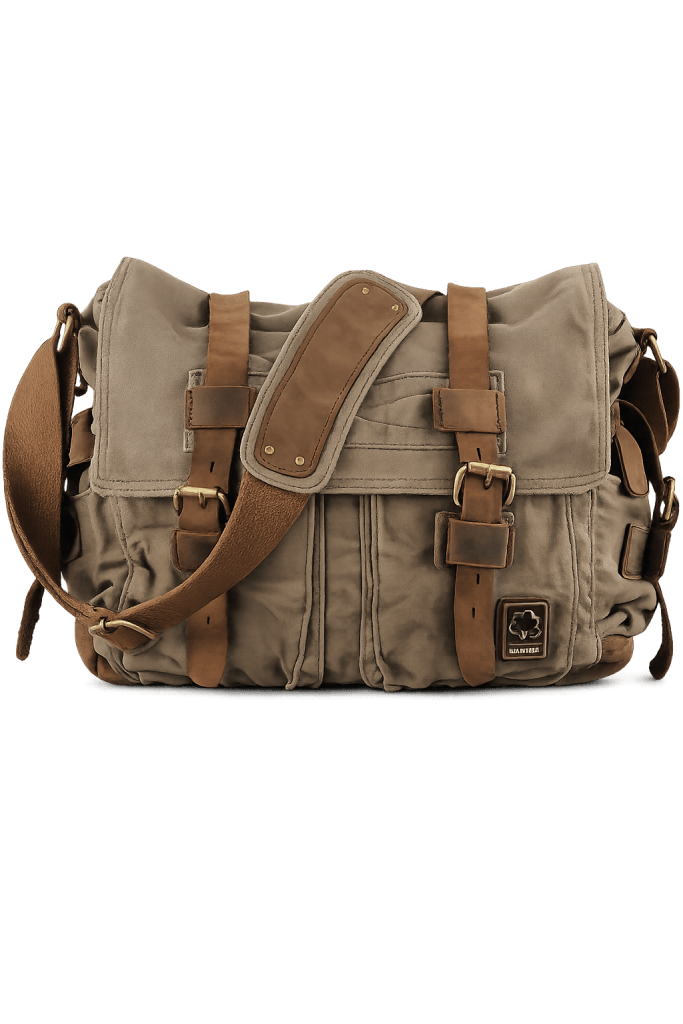
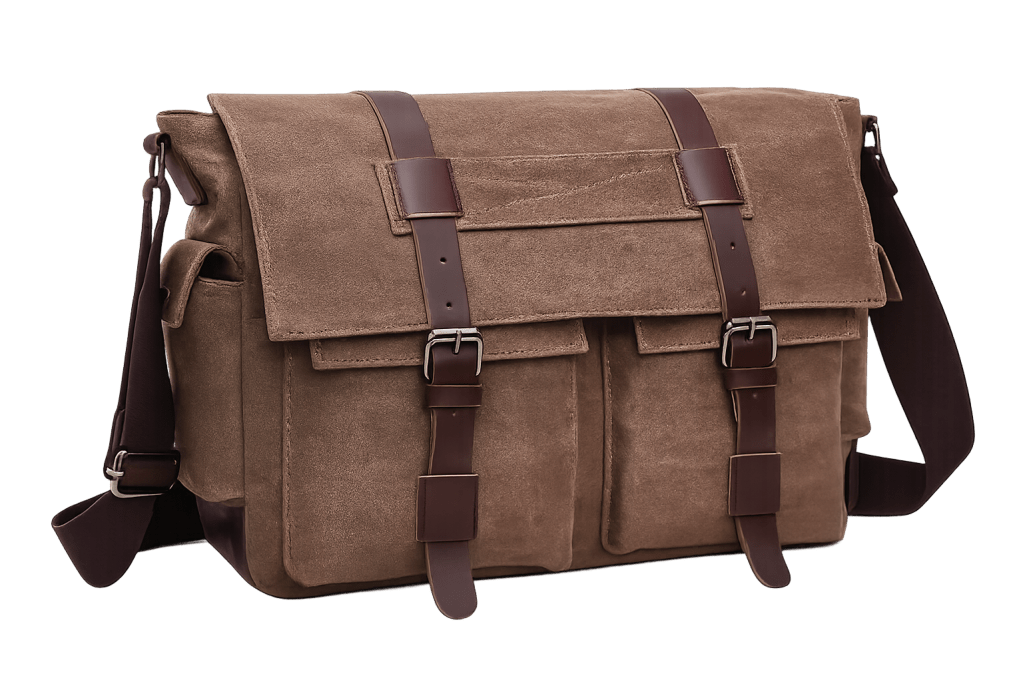
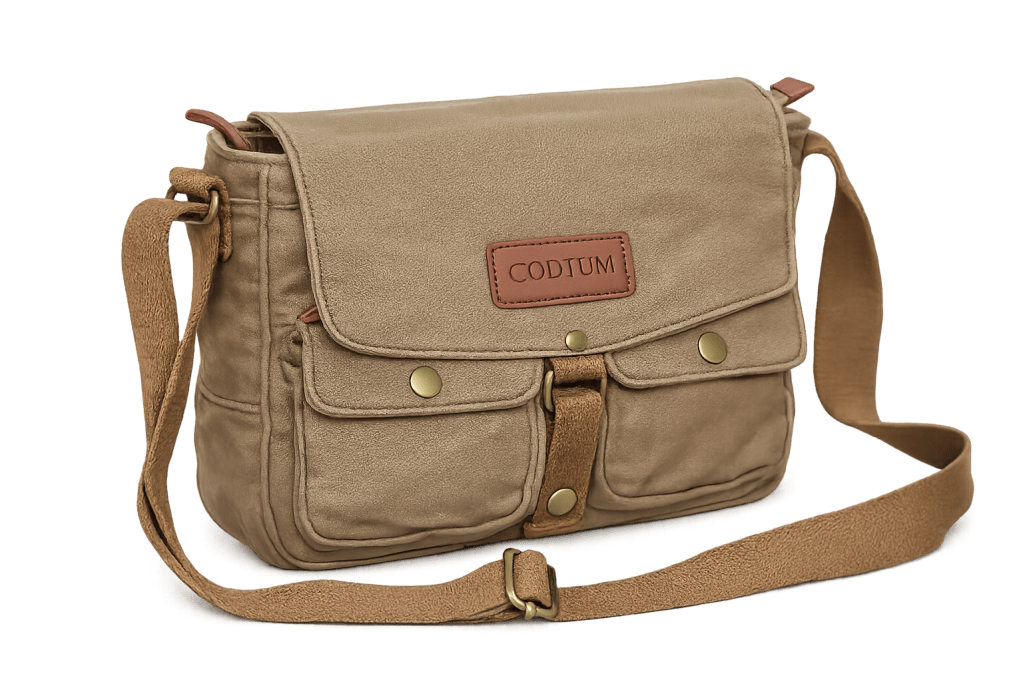
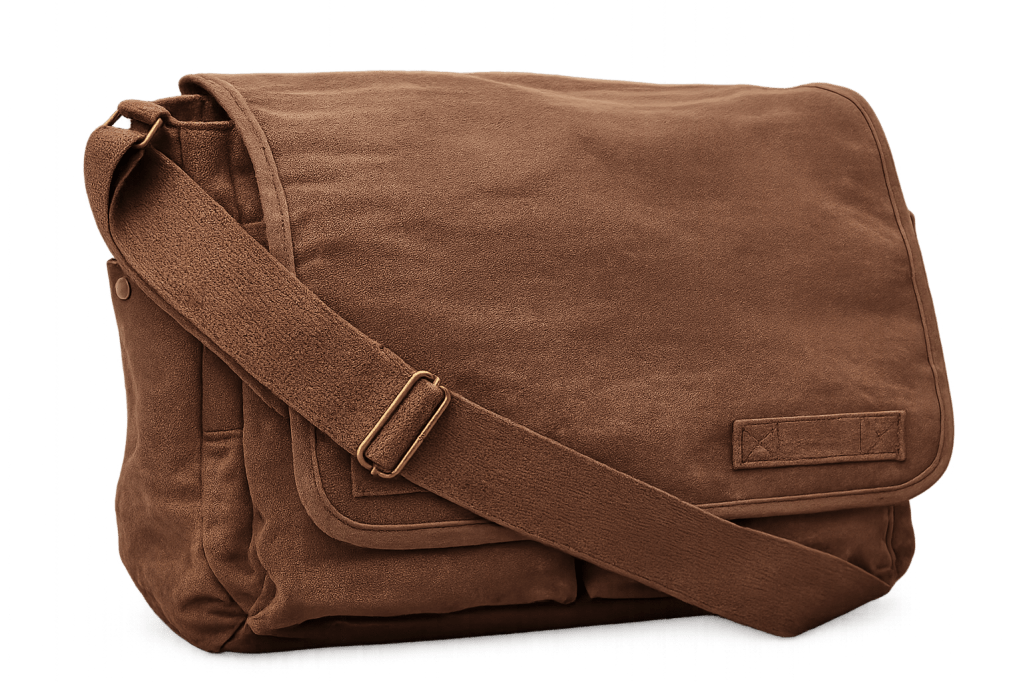
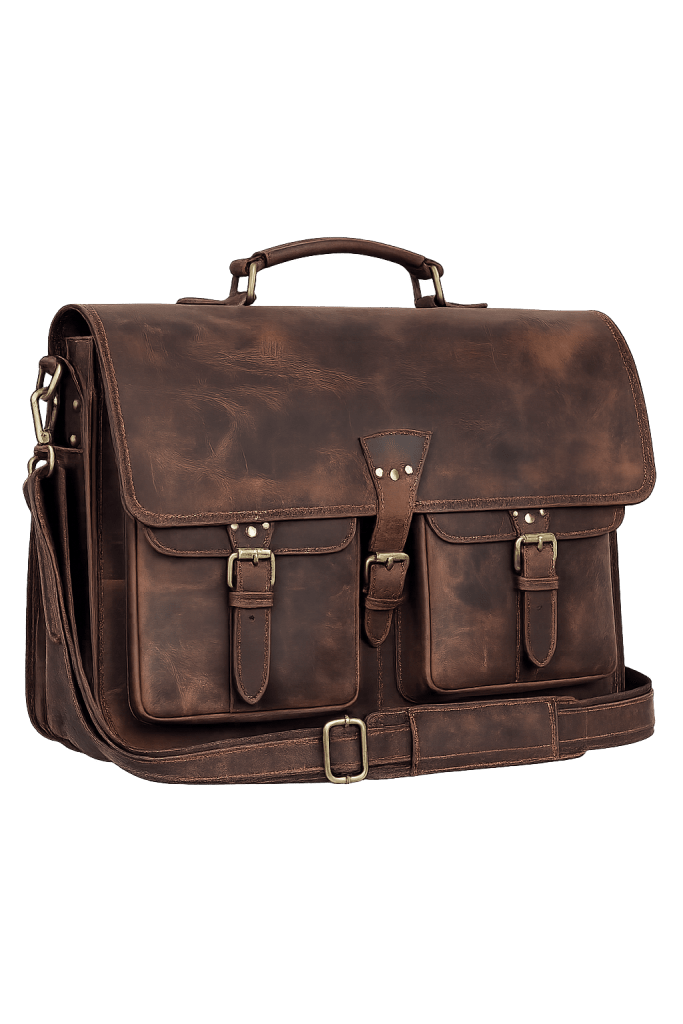
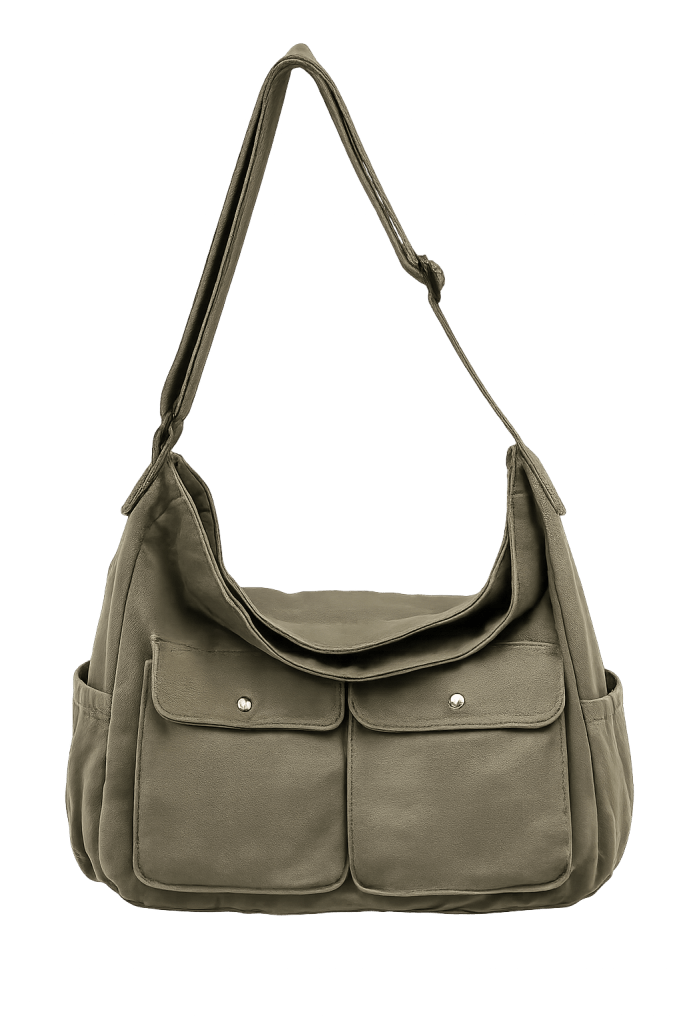
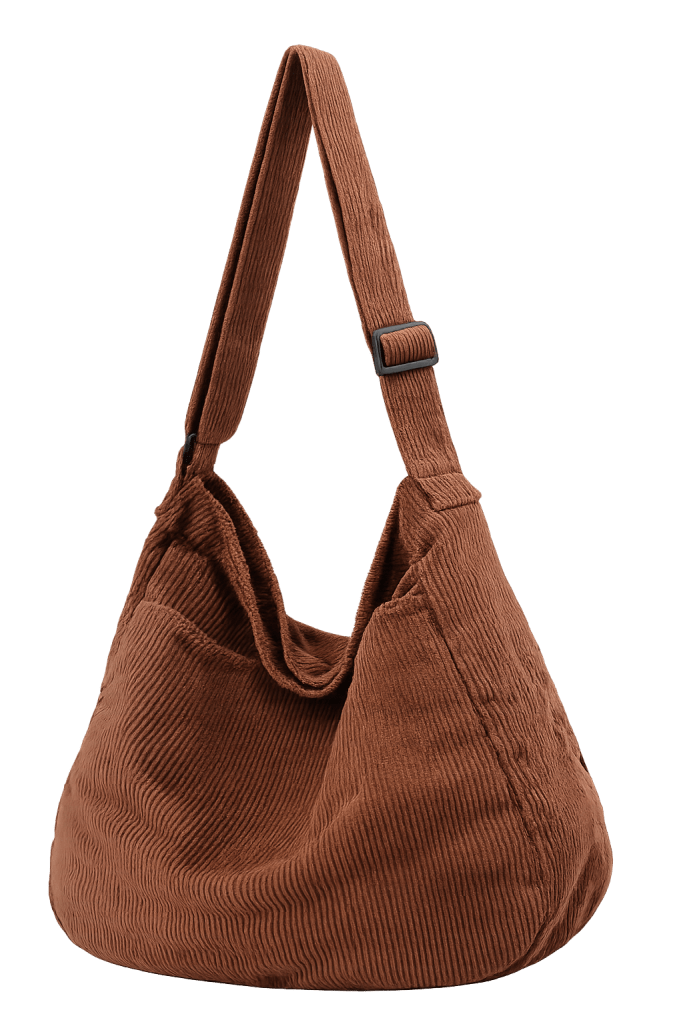
Fashion has a habit of bringing back the pieces we once considered everyday essentials, and the messenger bag is no exception. Once closely associated with the effortless style of the late 90s and early 2000s, this practical crossbody bag has quietly returned as one of this year’s most wearable accessories.
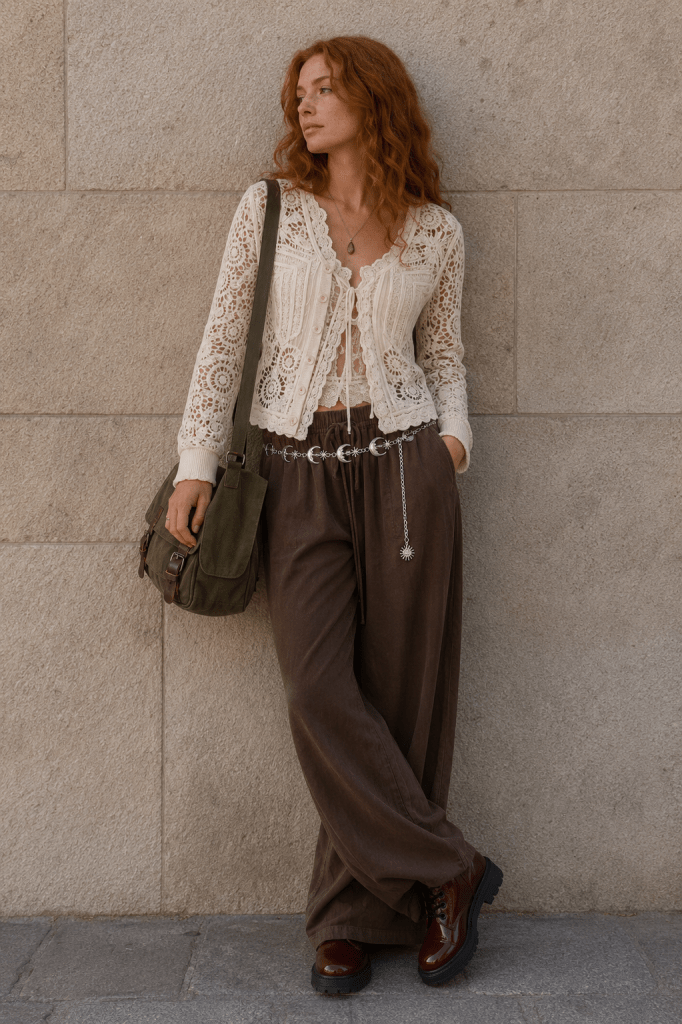
Boho Fall Outfit with a Green Messenger Bag
Unlike tiny handbags that barely fit your phone, messenger bags combine style with functionality. They comfortably hold your daily essentials while leaving both hands free, making them perfect for commuting, traveling, university or simply running errands.
The latest versions feel more refined than their early 2000s predecessors. Soft leather, suede, canvas and vintage-inspired finishes give messenger bags a timeless appeal that works with almost every wardrobe. They pair effortlessly with oversized leather jackets, denim, trench coats, relaxed tailoring and chunky knitwear, making them an easy addition to both casual and elevated outfits.
Whether you love soft grunge, minimalist Scandinavian style, old money aesthetics or vintage-inspired street style, there’s a messenger bag to match your look. A classic black leather version will never go out of style, while rich shades like chocolate brown and burgundy add warmth and depth to autumn wardrobes.
Below you’ll find a curated selection of messenger bags in different styles and price ranges to help you find one you’ll reach for season after season.
Happy browsing, and may your next bag have just enough room for your essentials… and perhaps one completely unnecessary little treasure you couldn’t resist. ✨
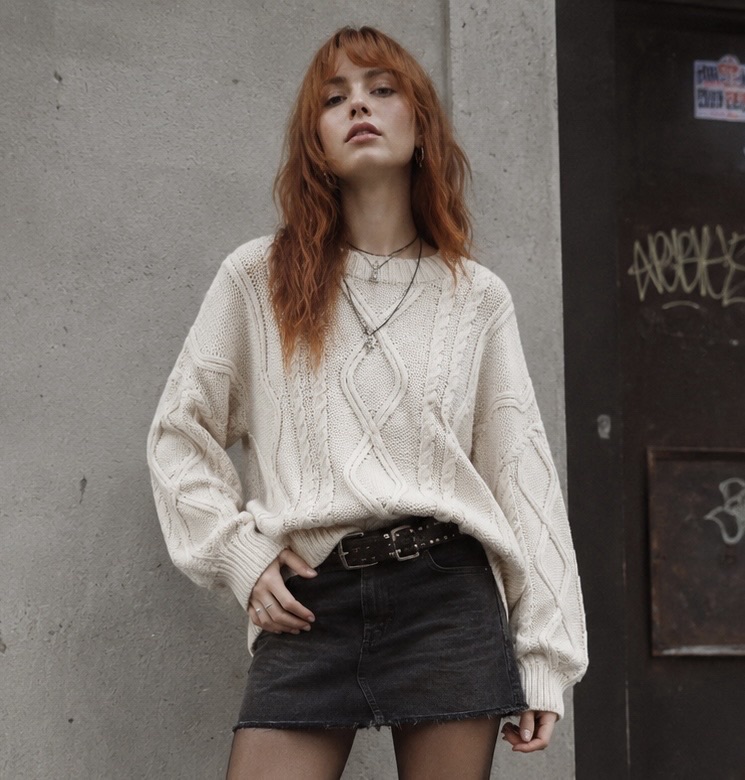
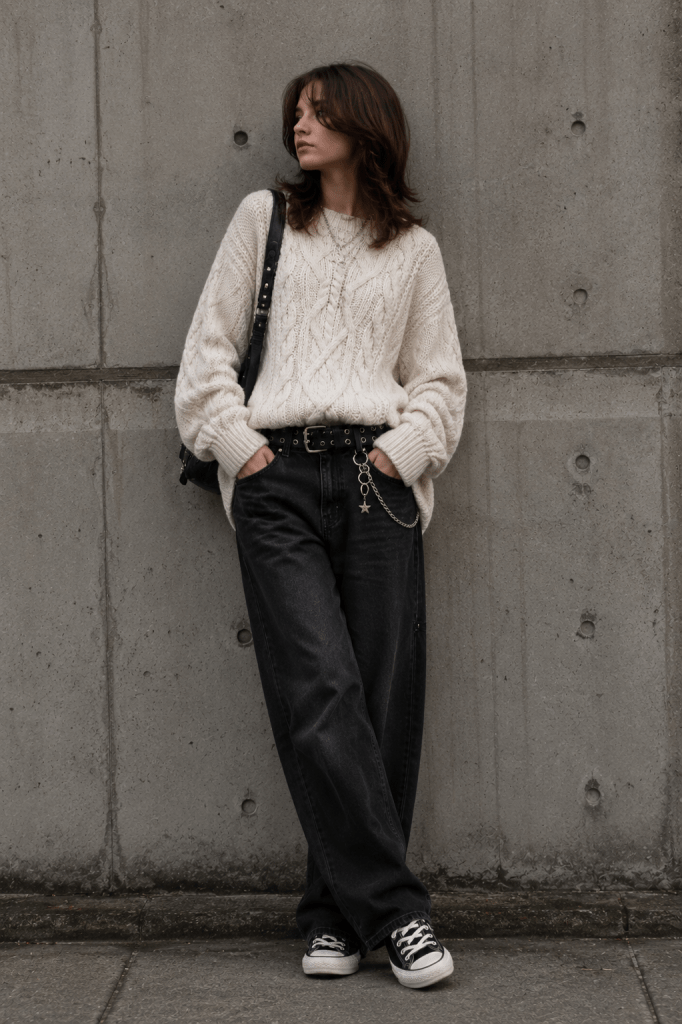
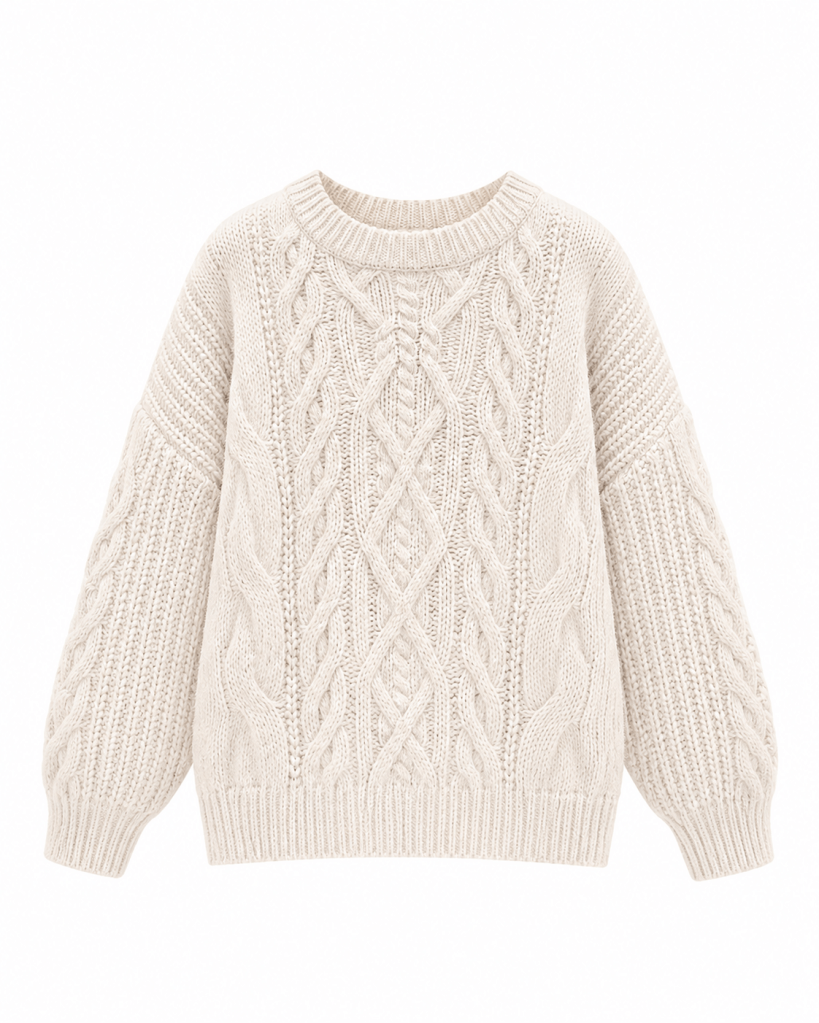
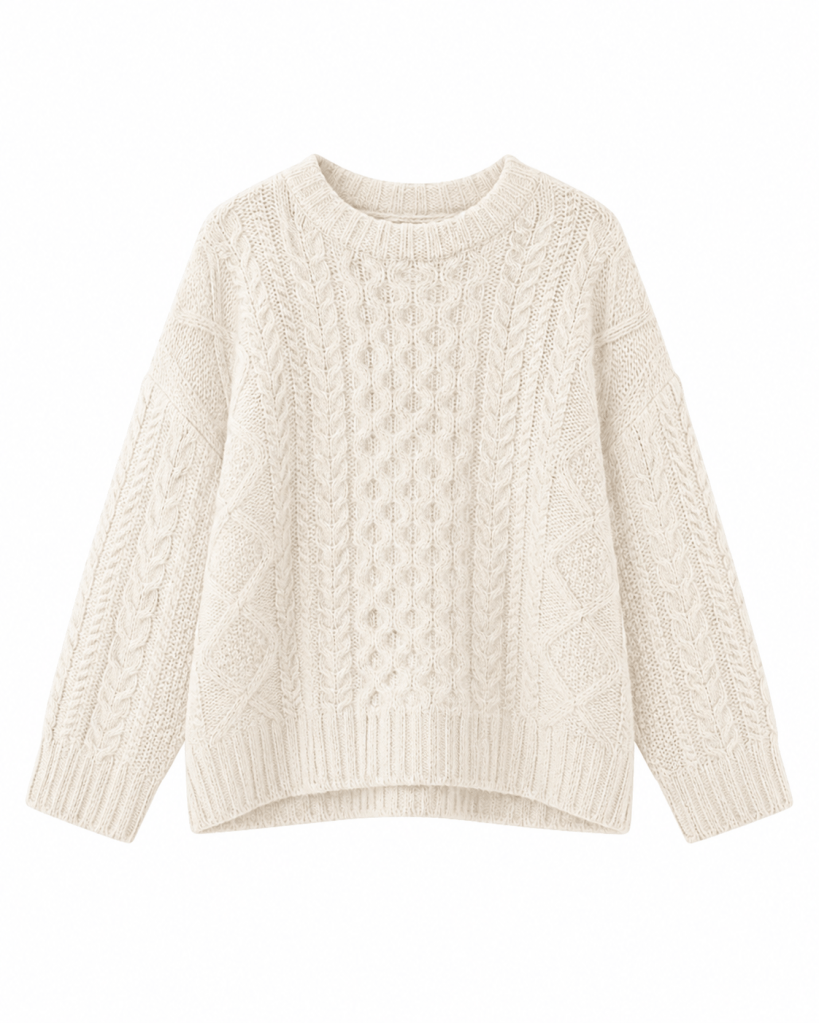
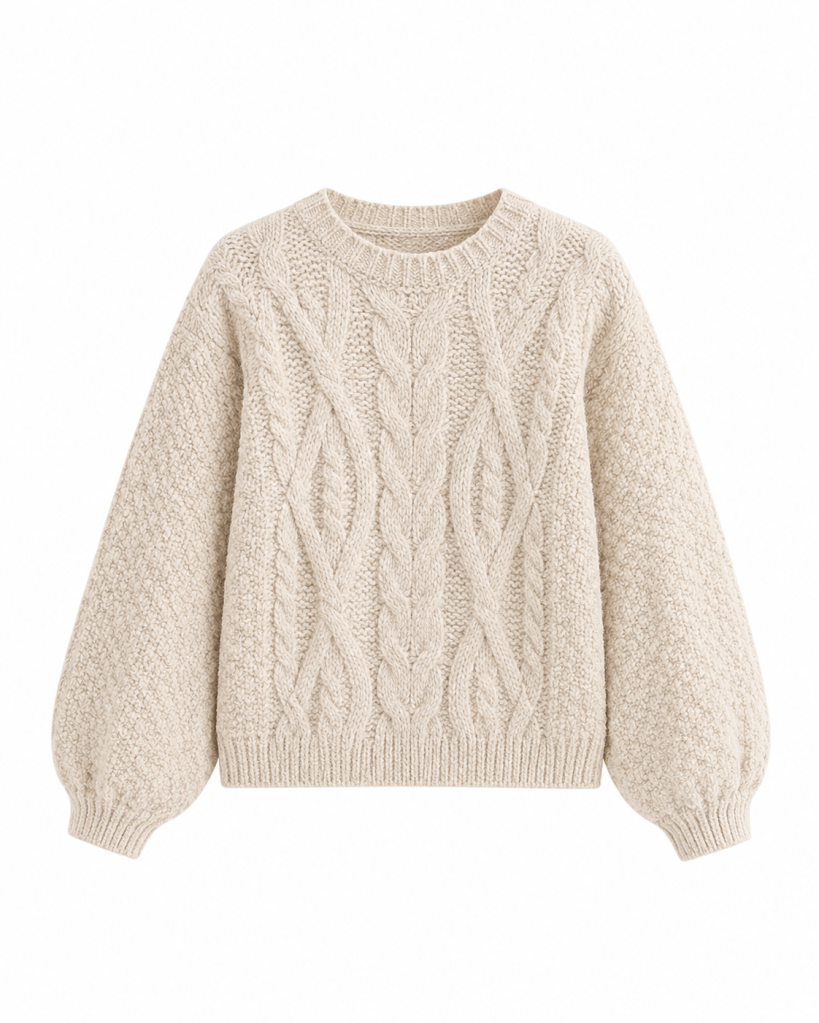
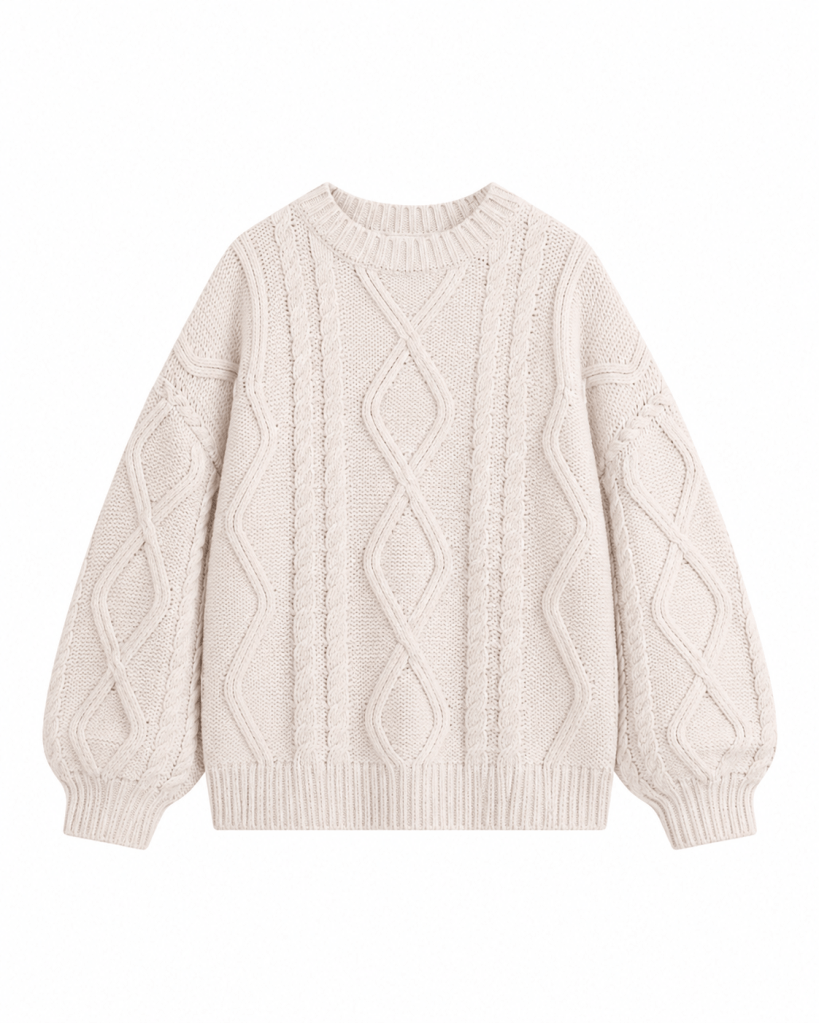
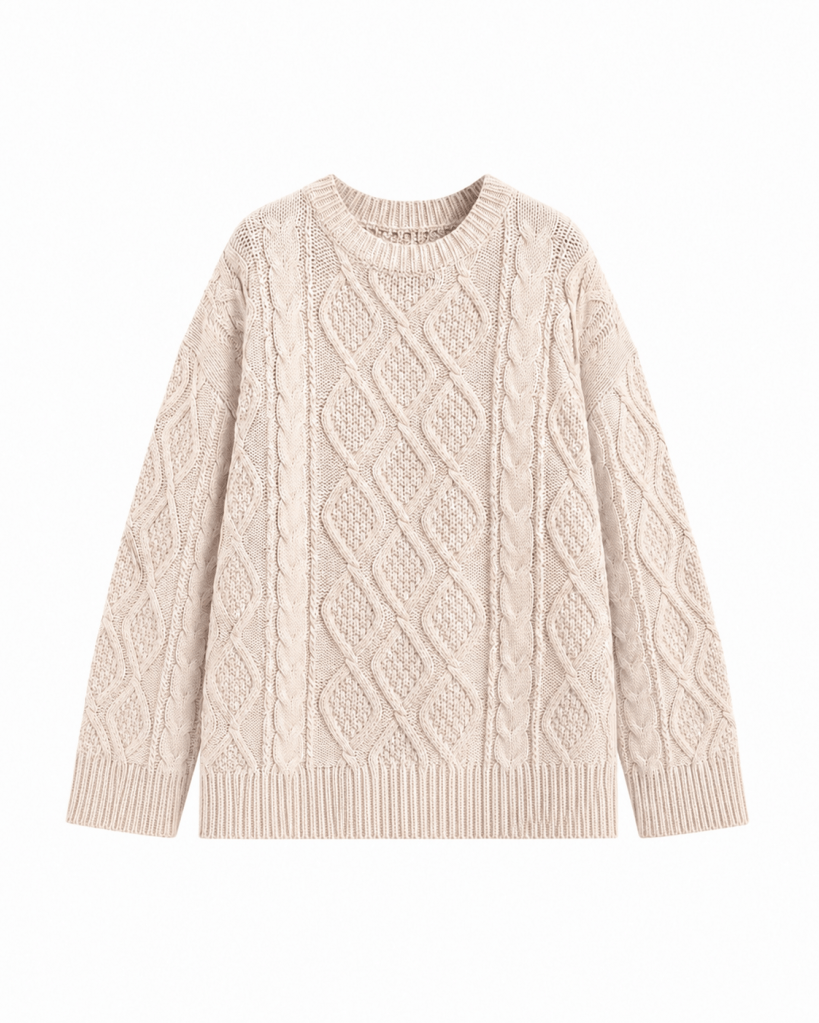
Some wardrobe pieces never really disappear. They simply return every autumn looking a little more timeless than before. For me, the cable knit sweater is one of those pieces. I’m currently knitting a burgundy cable knit sweater in beautiful tweed yarn, and while I absolutely love the process, I’ve quickly realized that I don’t have the patience to knit a second one in white. That sent me on a mission to find the perfect ready-made cable knit instead, and I discovered that there are so many beautiful options this year, from classic heritage-inspired styles to oversized modern silhouettes.
Oversized Beige Cabled Sweater
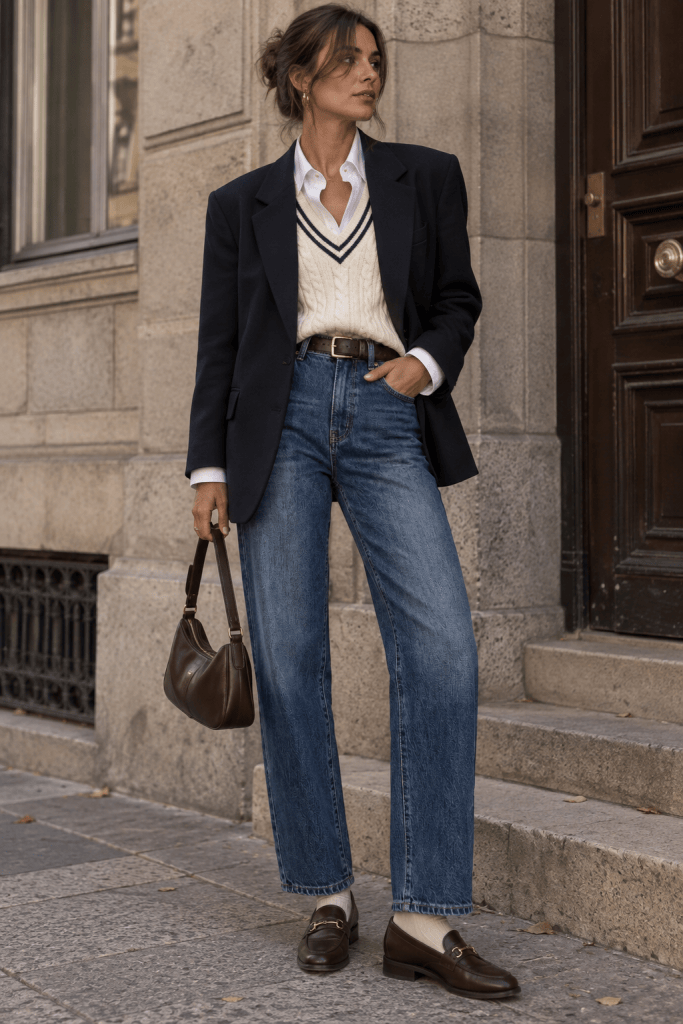
A great cable knit sweater is one of the easiest pieces to build an outfit around. Wear it with relaxed blue denim and loafers for an effortless everyday look, layer it over a crisp button-down with tailored trousers for a polished preppy outfit, or pair it with a flowing midi skirt and leather boots for something softer and more romantic. It also works beautifully with suede jackets, leather jackets and structured blazers, making it one of the most versatile staples you can add to a capsule wardrobe.
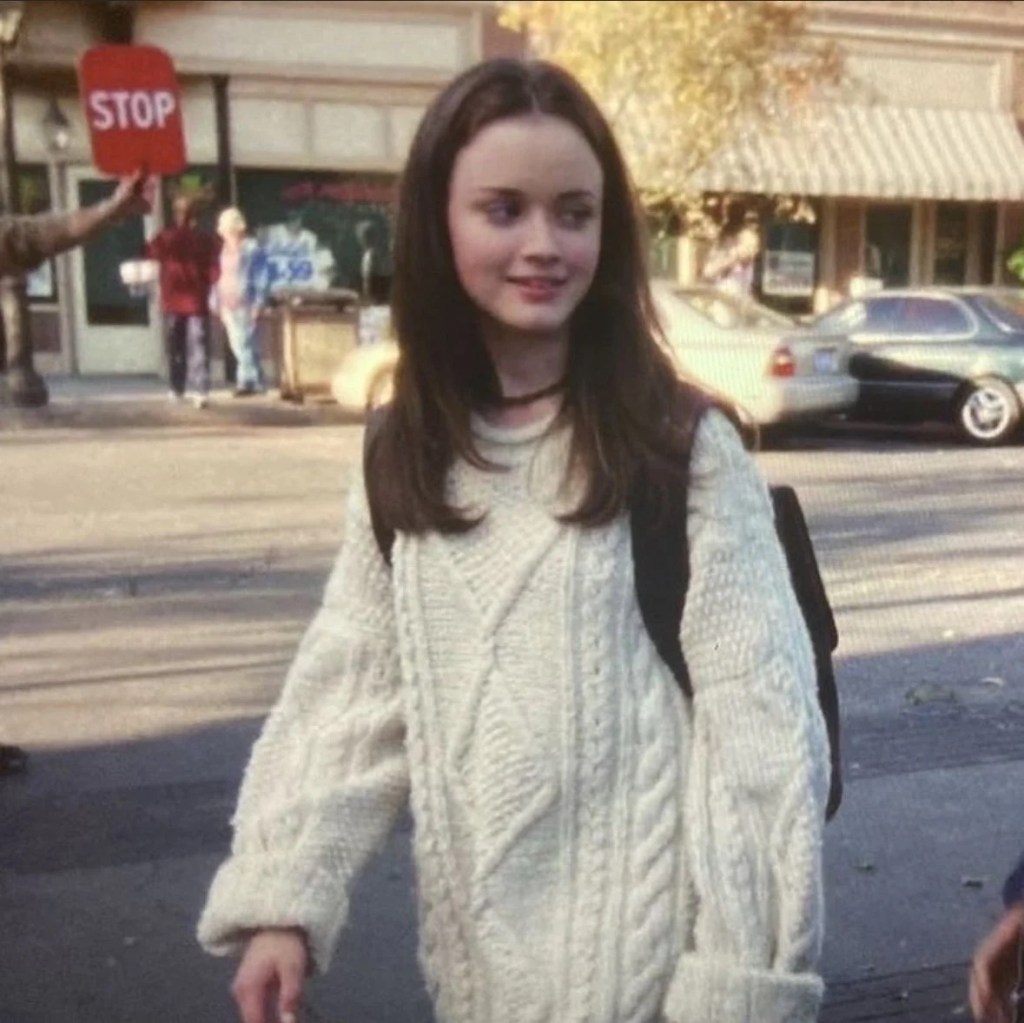
If you love the cozy academic aesthetic as much as I do, you’ll probably also enjoy my blog post inspired by Rory Gilmore’s iconic cable knit sweater dress. That look perfectly captures the timeless charm of textured knits and shows just how effortlessly cables fit into a wardrobe that feels both classic and modern. Whether you’re drawn to the Gilmore Girls aesthetic, quiet luxury or traditional heritage style, cable knit sweaters are one of those rare pieces that manage to work across all of them.
Rory Gilmore Sweater Dress
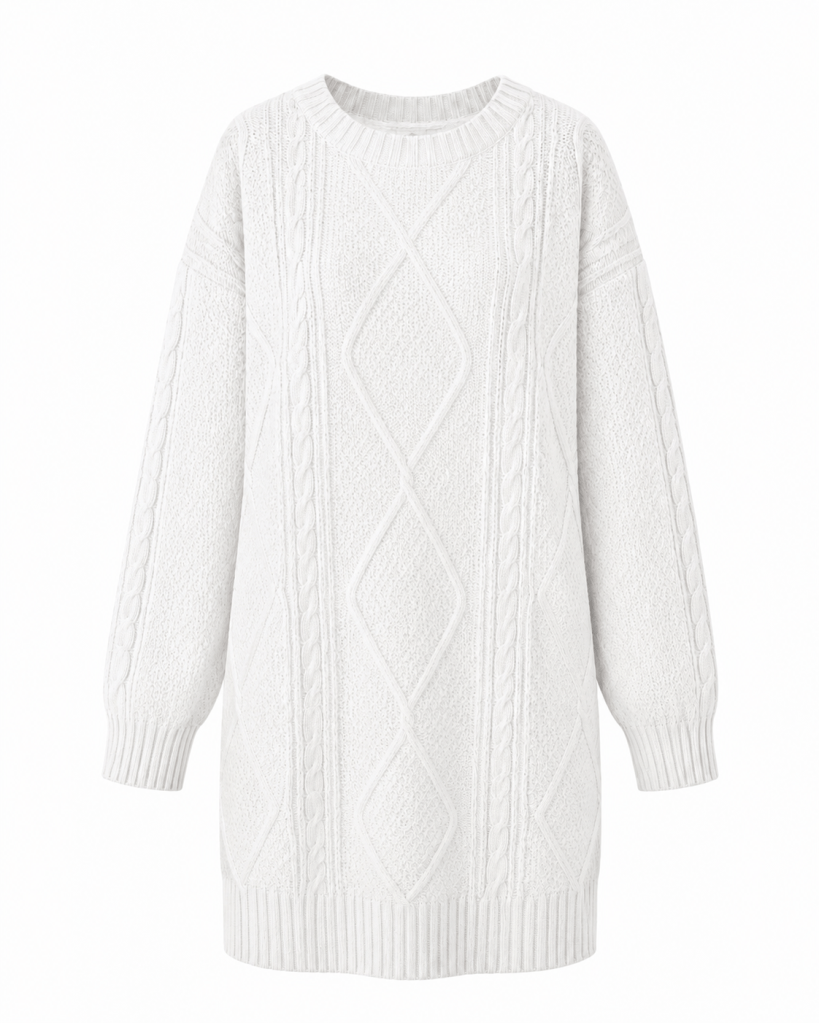
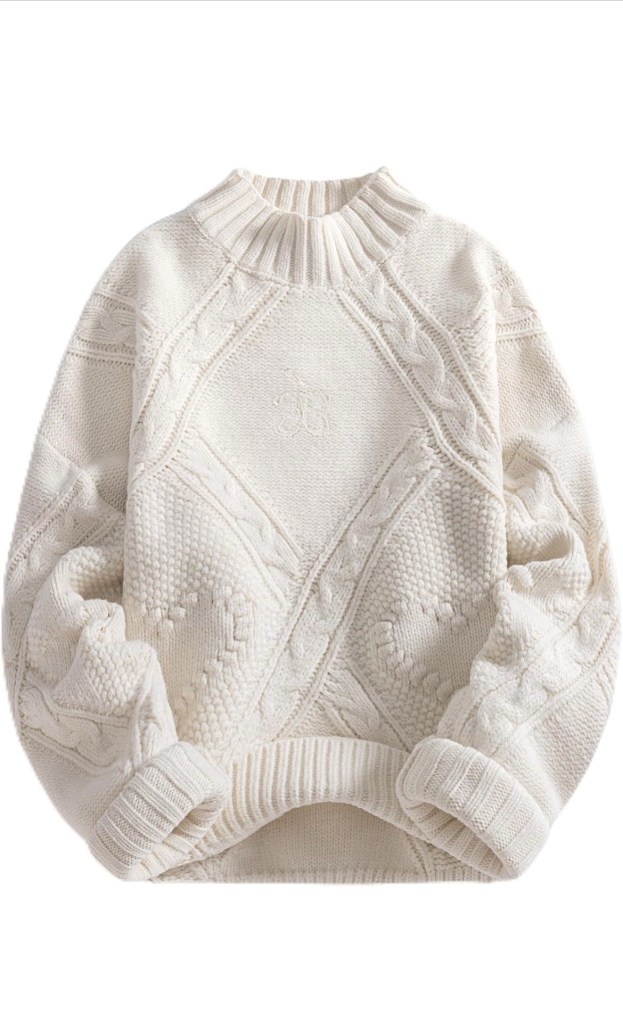
Below you’ll find a curated selection of my favorite ready-made cable knit sweaters for anyone who’d rather skip the knitting needles. 🤍 Some are classic cream and ivory styles, while others add a fresh twist with modern cuts or beautiful textures.
Disclosure: This post contains affiliate links. If you shop through these links, I may earn a small commission at no extra cost to you. It helps support the blog and, quite possibly, funds my next skein of yarn. Happy sweater hunting!
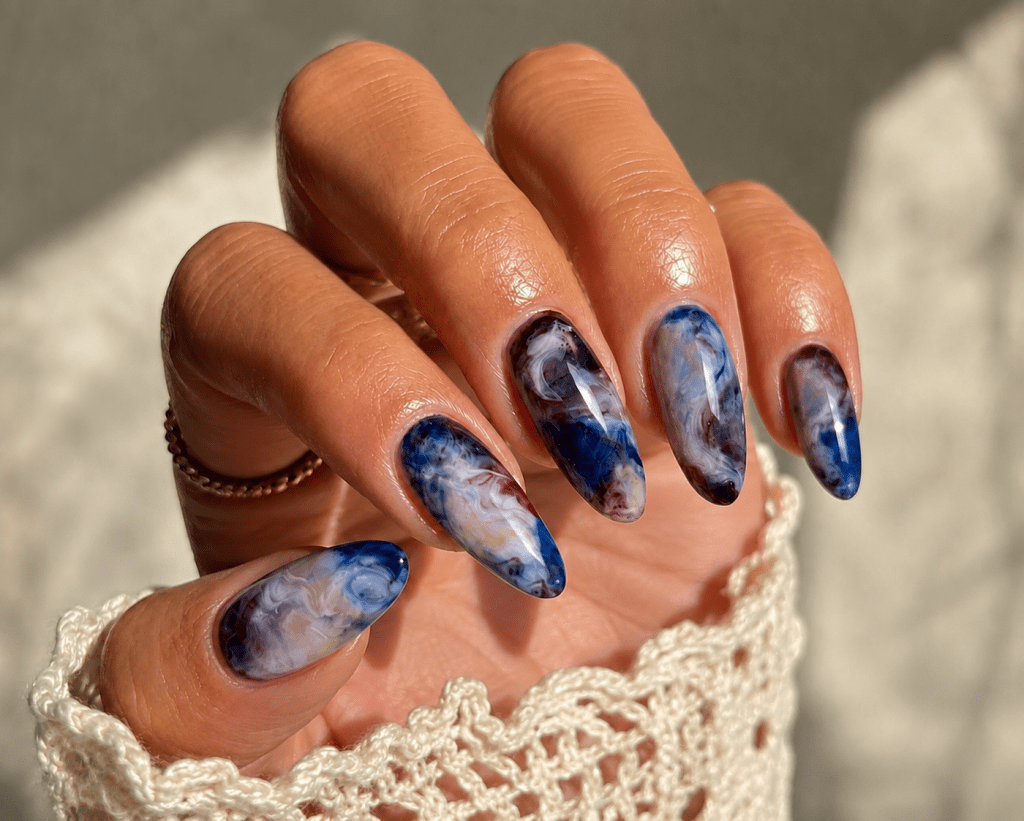
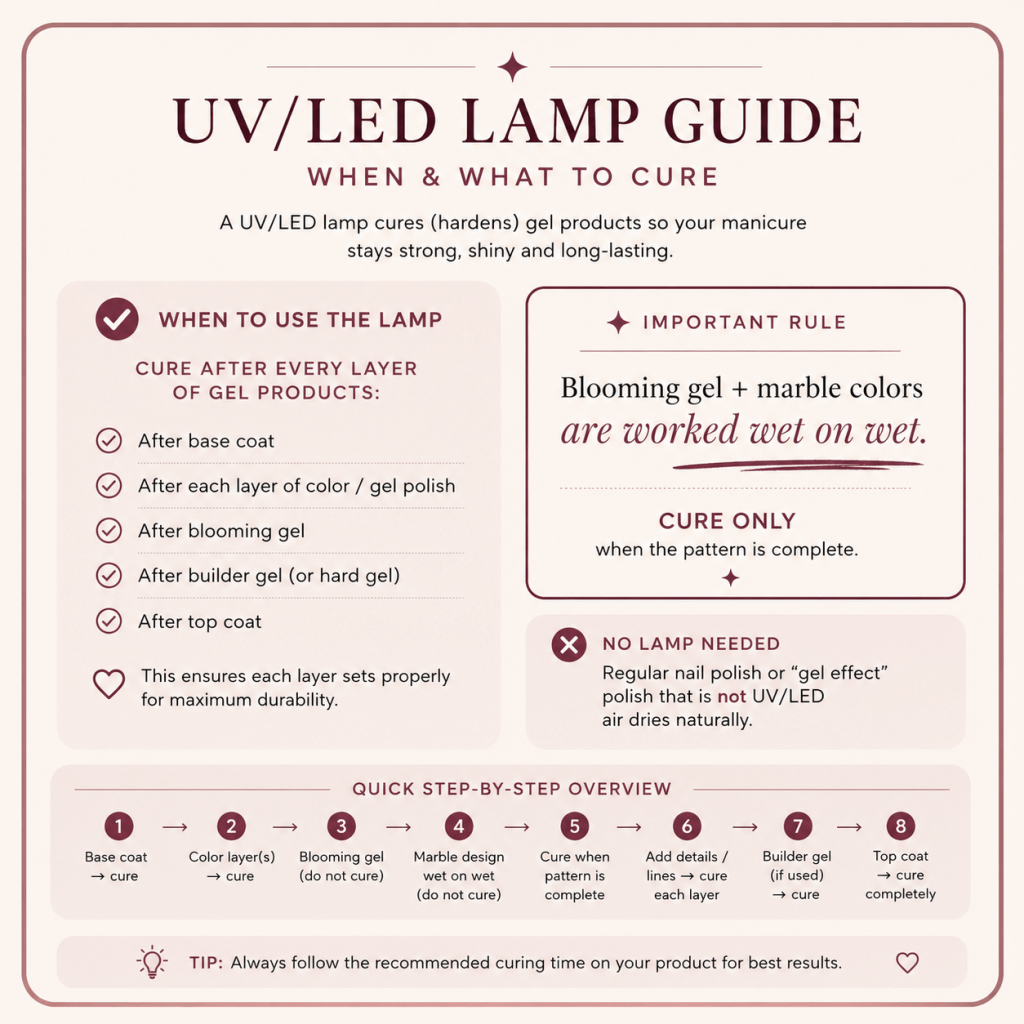
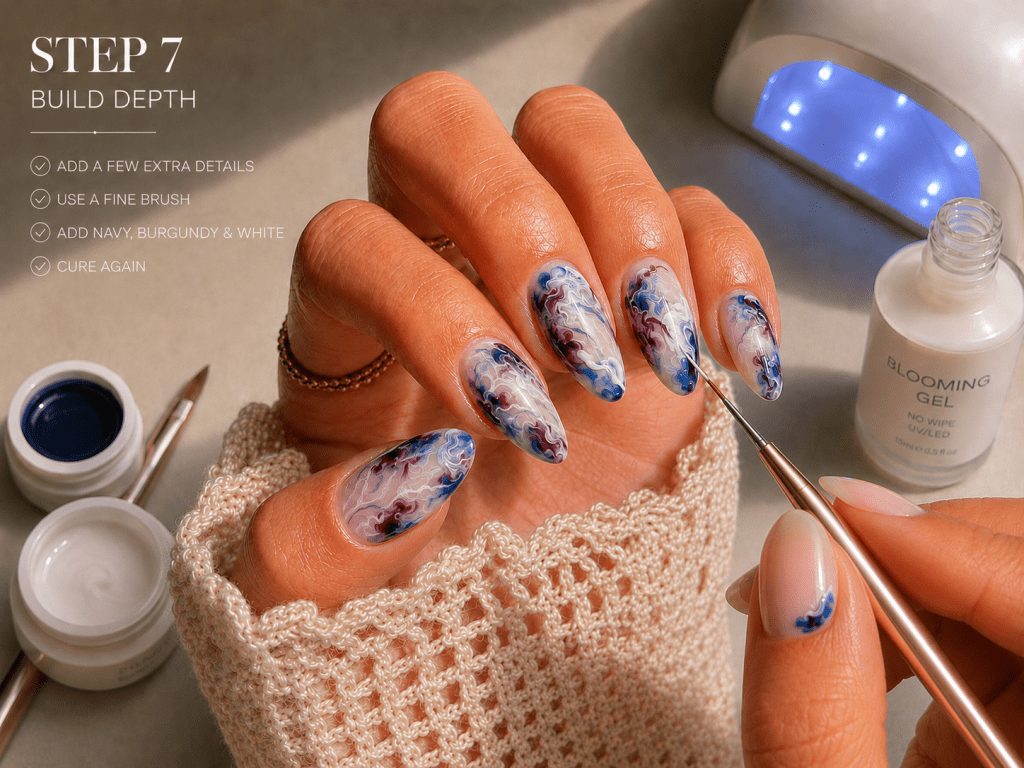
This design is easiest to create using gel polish and blooming gel, which allows the colors to spread into soft, smoky patterns. The result should look slightly unpredictable. That is what creates the natural stone or galaxy-inspired effect.
You’ll only need a few products to recreate this dreamy blue marble manicure at home. From the perfect milky base to blooming gel and fine detail brushes, here are the essentials to achieve the look.
Disclosure: This post contains affiliate links. As an Amazon Associate, I earn from qualifying purchases at no extra cost to you. Thank you for supporting Capsules by Caroline! 💙
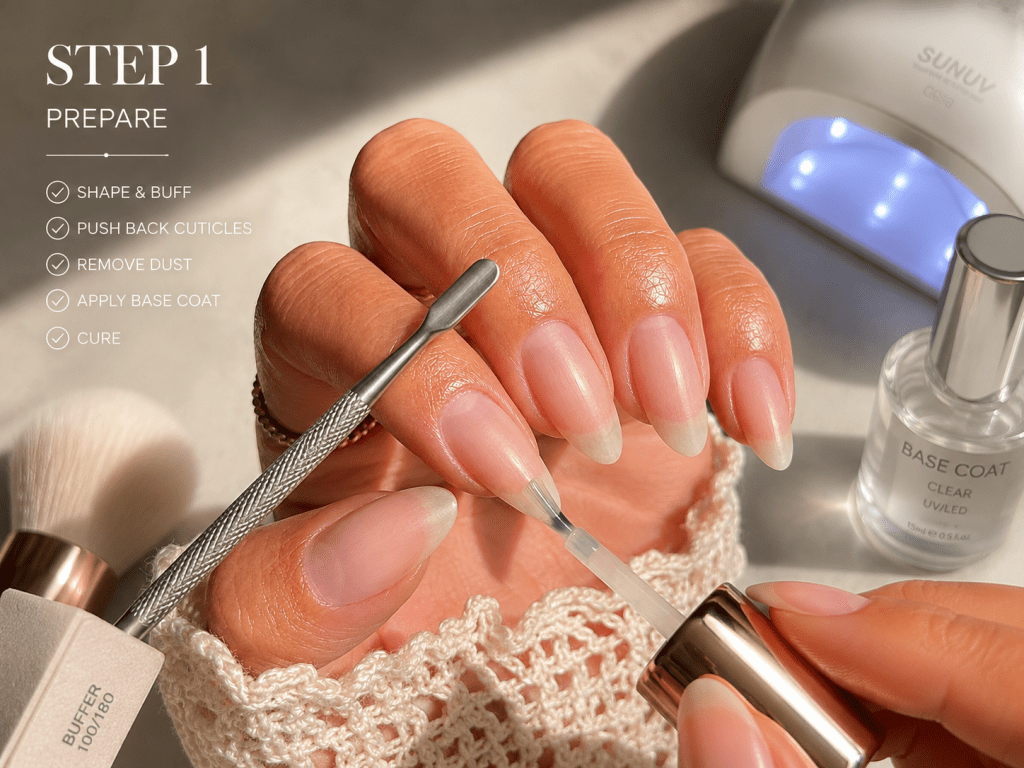
File the nails into an almond or oval shape. Gently push back the cuticles, lightly buff the nail surface and remove all dust and oil. Apply a thin layer of base coat and cure according to the product instructions.
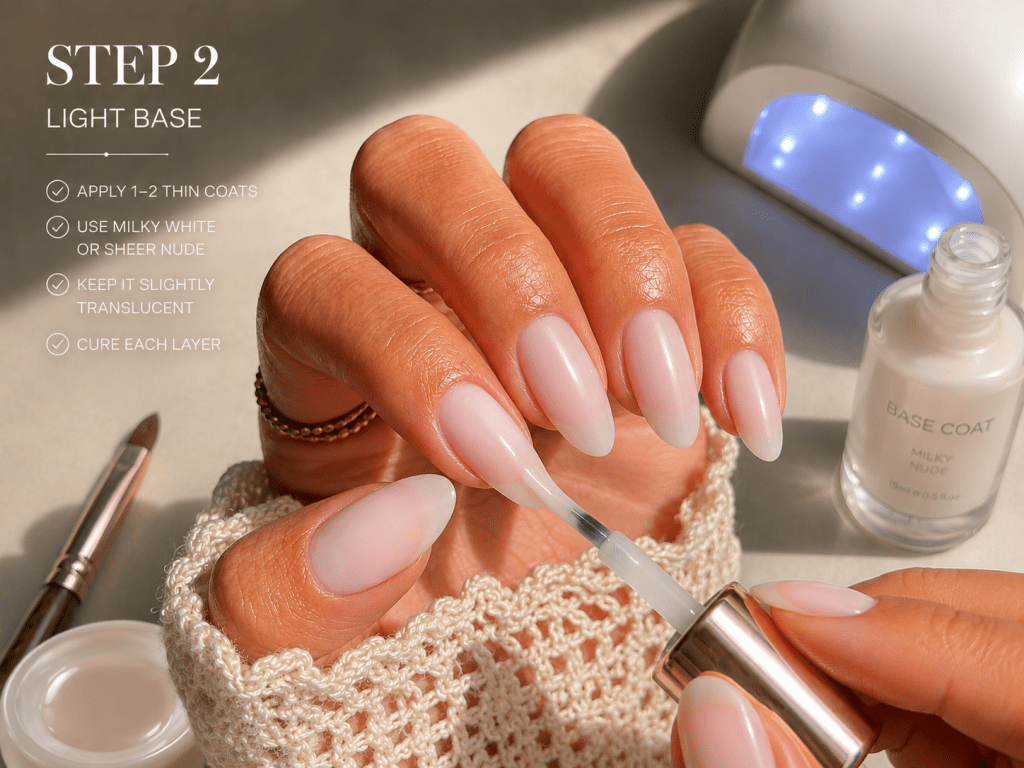
Apply one or two very thin coats of milky white or sheer nude gel polish. Cure each layer. The base should remain slightly translucent to give the finished design more depth.
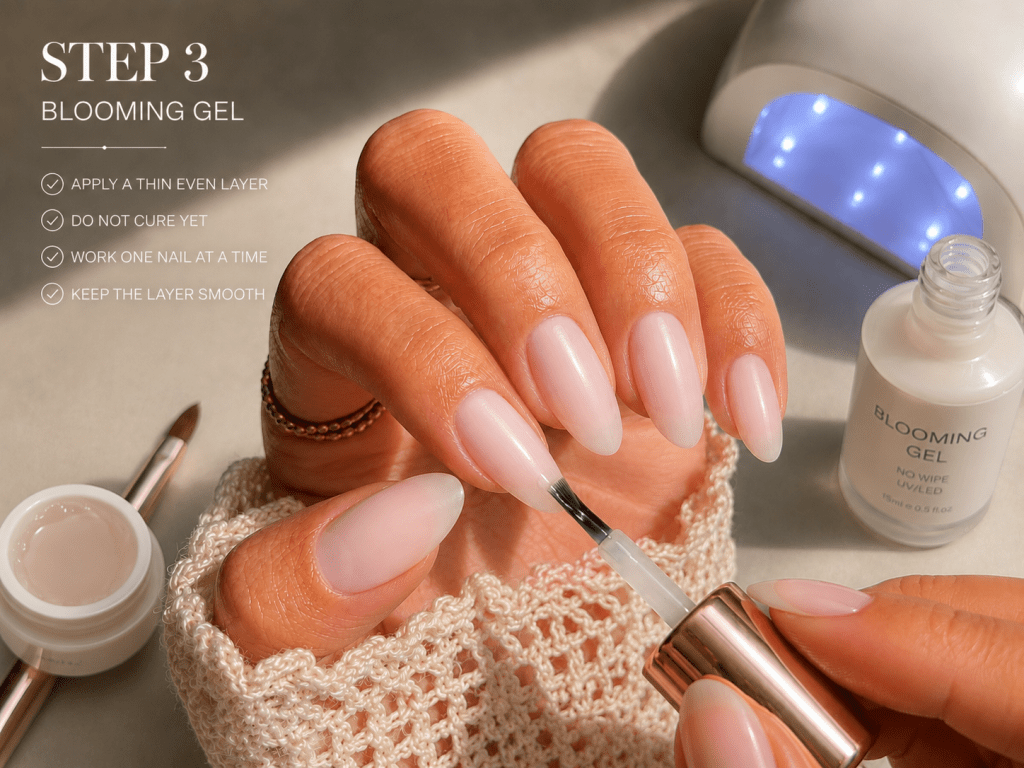
Apply a thin, even layer of blooming gel, but do not cure it yet. Work on one nail at a time. Otherwise, the colors may spread too far before you can control the pattern.
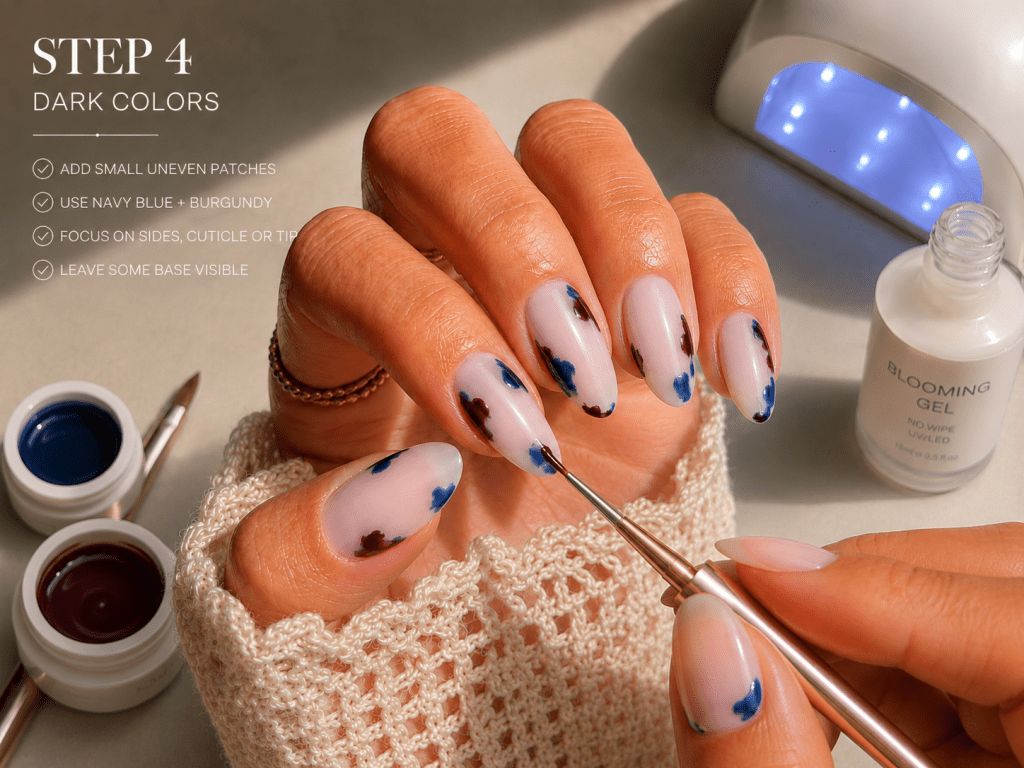
Place small, uneven areas of navy blue and burgundy gel onto the uncured blooming gel. Concentrate the colors around the sides, near the cuticle or towards the tip of the nail. Leave some of the light base visible.
Avoid creating straight lines. Instead, use small curves, dots and short, organic-looking strokes.
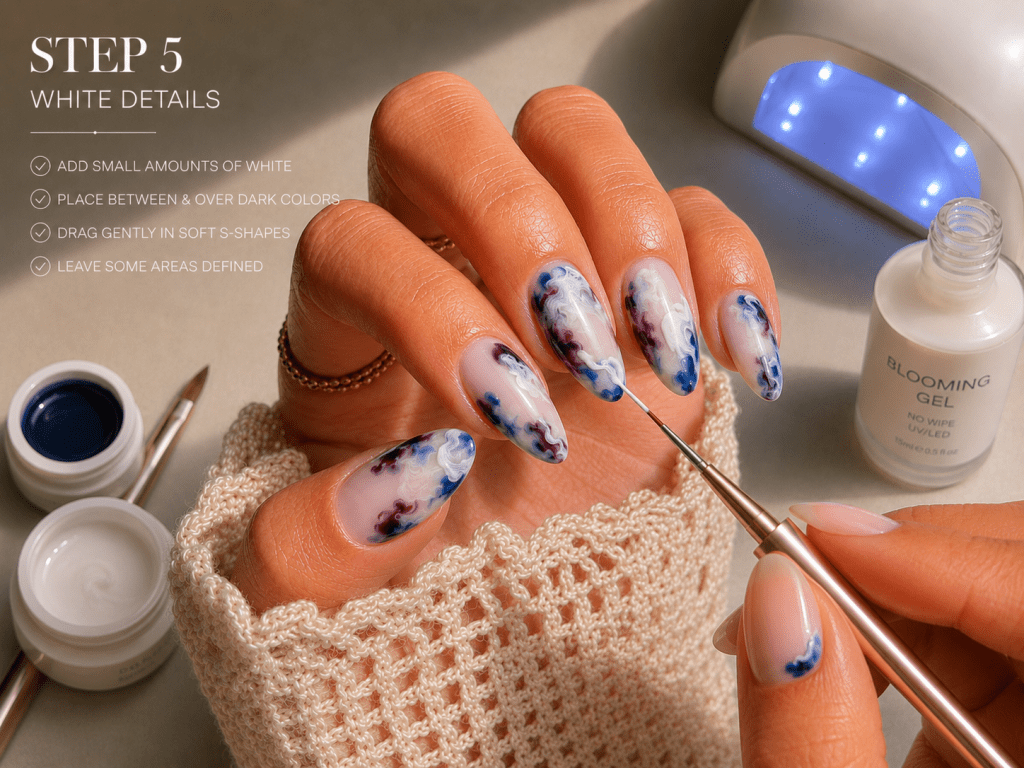
Add small amounts of white gel between and partly over the darker colors. Gently drag your brush through a few areas using soft S-shaped movements.
Do not blend everything together. Some sections should remain more defined, while others should spread softly like ink moving through water.
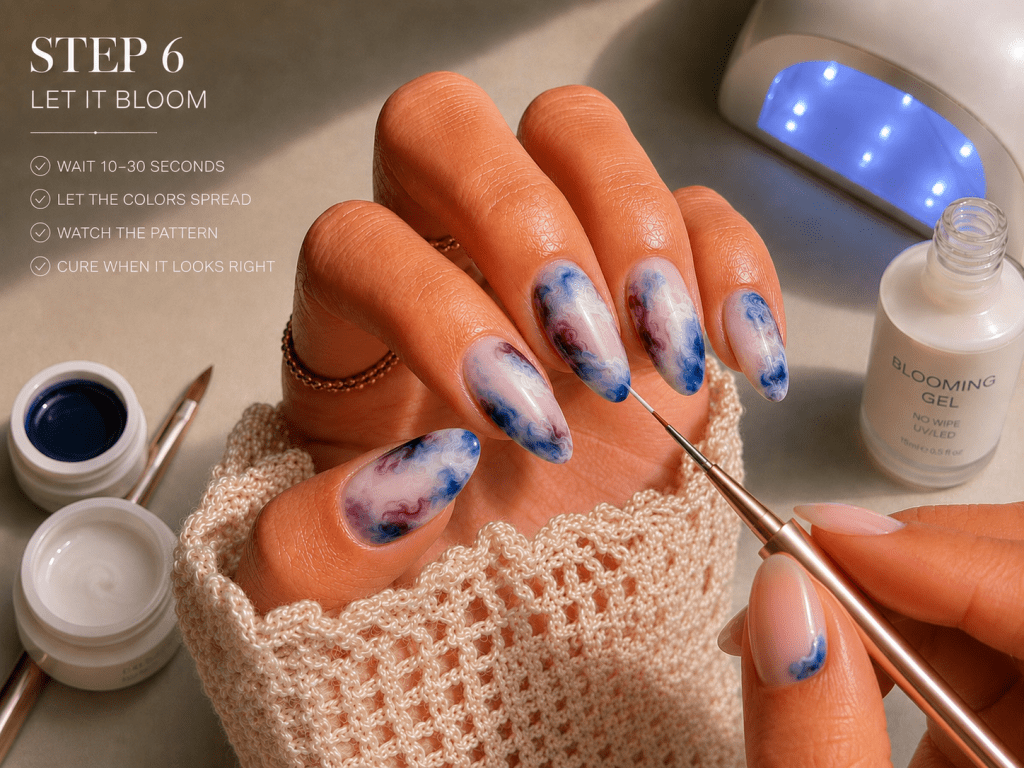
Wait approximately 10 to 30 seconds while the blooming gel spreads the colors. Watch the design carefully. Once the pattern has developed soft, feathered edges, cure the nail.
When the colors spread too much, use less product on the next nail or cure it sooner.
After curing, add a few extra details with a fine nail-art brush:
A dark navy line around selected edges
Small burgundy details beneath or between the white clouds
Fine white veins running through the design
A little translucent blue over selected areas
Cure the nail again. This layered technique creates the deep, glass-like finish seen in the photograph.
8. Finishing Touches
Apply a thin layer of clear builder gel or a slightly thicker top coat when the surface feels uneven. Allow it to self-level for a few seconds before curing.
To finish, apply glossy top coat over the entire nail and seal the free edge. Cure thoroughly. Remove the sticky layer when required and finish with cuticle oil.
Tips for a More Natural-Looking Result
Create a slightly different pattern on every nail while keeping the same color palette throughout the set. Some nails can feature more blue, while others can contain more burgundy or white.
Leave a few areas almost completely translucent. This creates the fluid, semi-precious stone effect rather than making the design look like solid tie-dye.
Avoid getting uncured gel on the skin. Remove any product from the skin before curing, and use compatible products from the same system whenever possible to reduce the risk of incomplete curing and skin reactions.
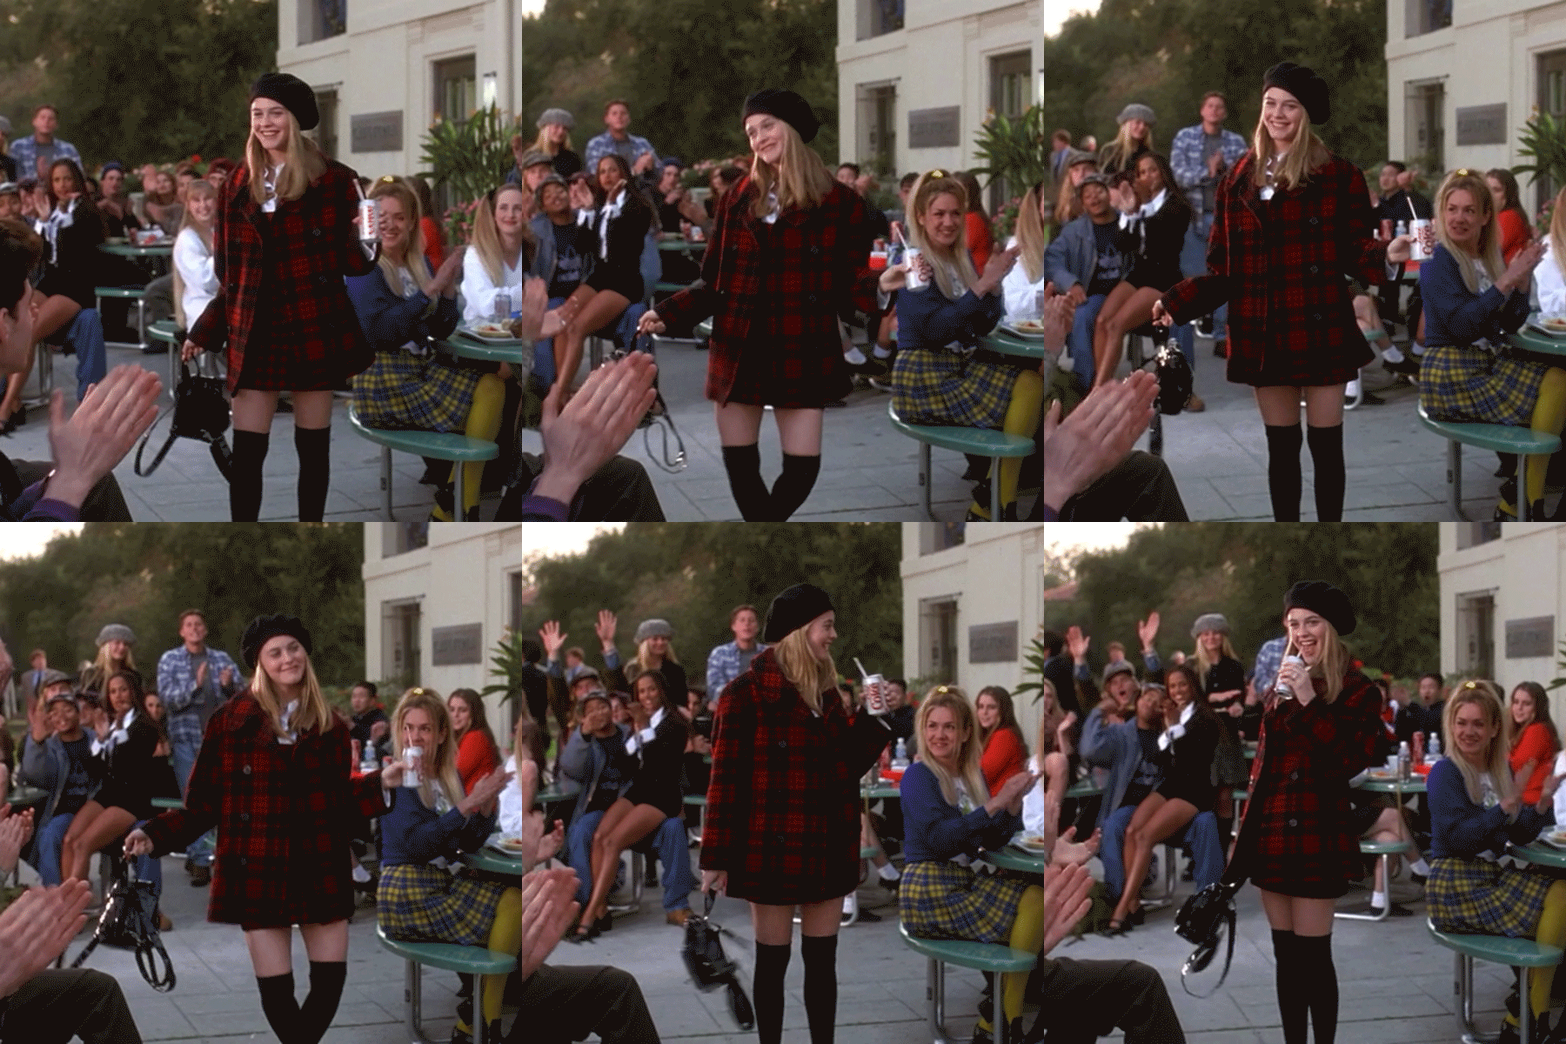
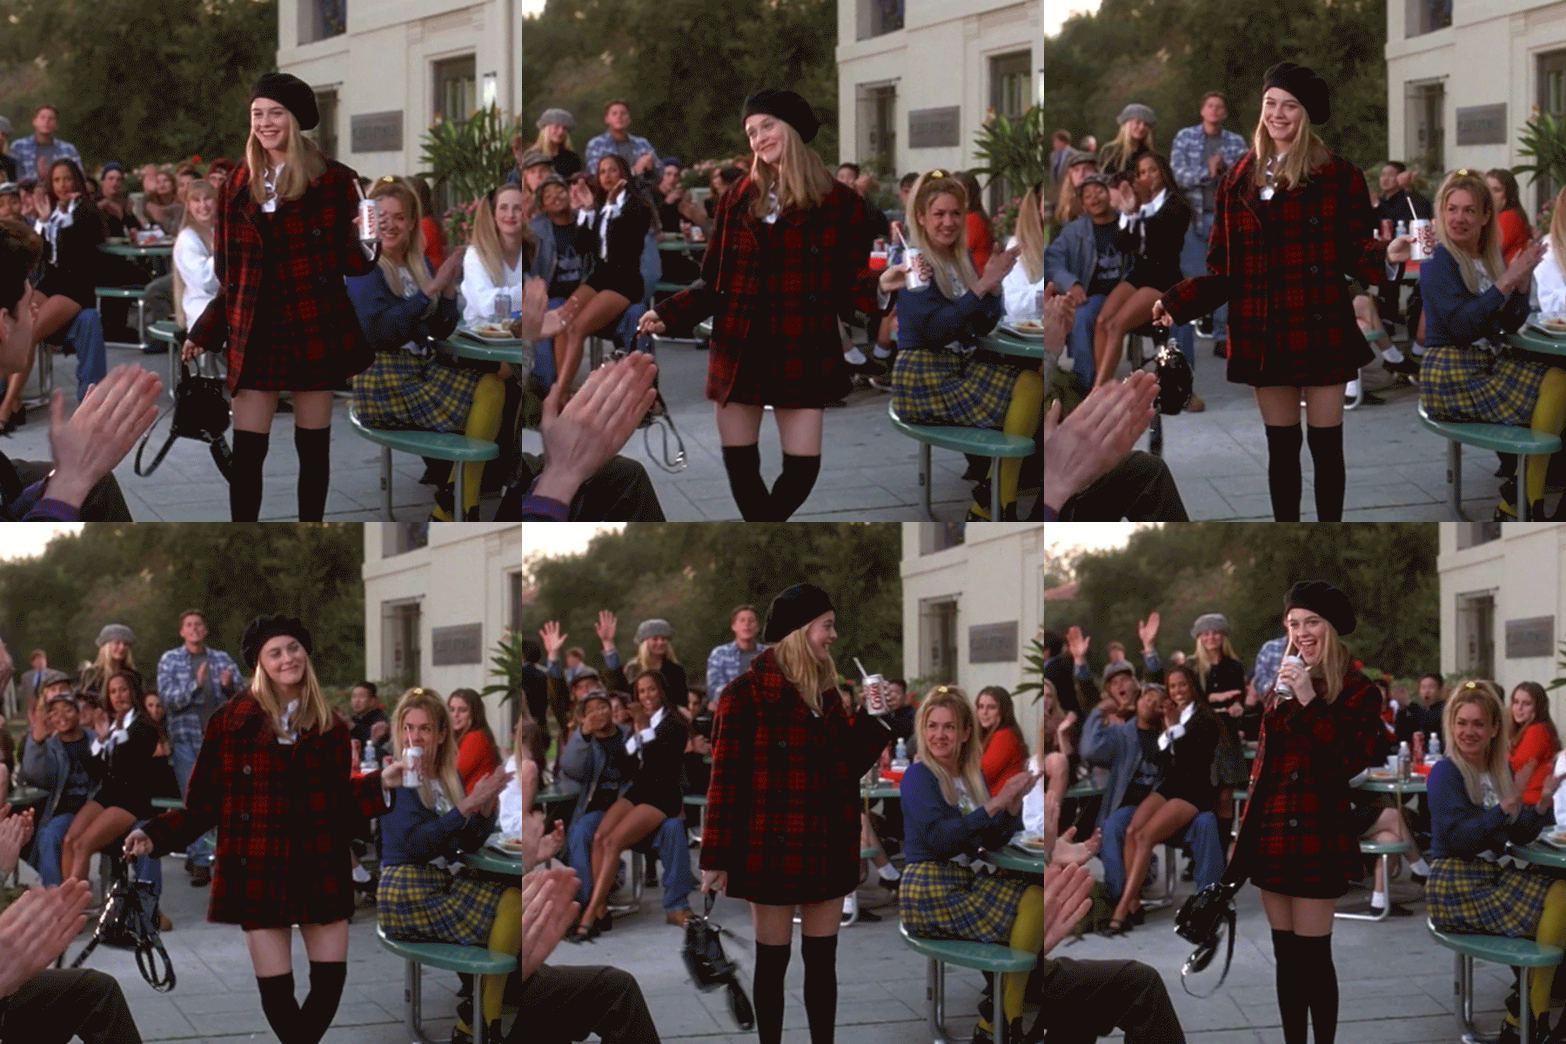
Cher Horowitz rocking the mini Leather Backpack in Clueless late 90s
The leather backpack has officially escaped its school-bag era. Today’s versions feel more like a beautifully structured handbag that happens to leave both hands free, which is precisely the kind of practical luxury we can get behind.
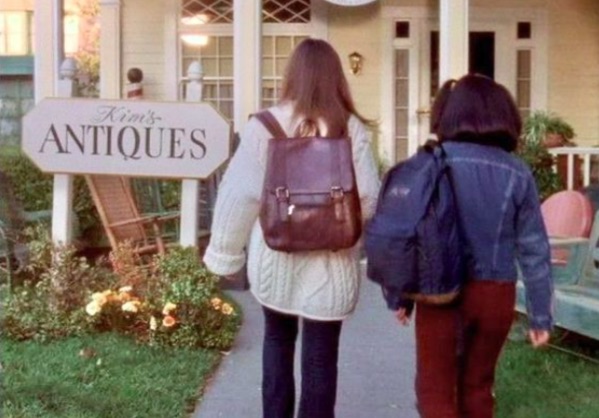
Leather backpacks were everywhere around the turn of the millennium, when practical school bags became part of the effortlessly cool Y2K uniform. Cher Horowitz had already given the mini backpack its fashion credentials in Clueless, while Rory Gilmore carried a beautiful brown leather backpack in the 2000 pilot episode of Gilmore Girls, paired with her signature knits, denim and slightly bookish preppy style. (Vogue) Now the look is firmly back, fuelled by our renewed obsession with early-2000s wardrobes and nostalgic accessories. Jennifer Lawrence has even been spotted carrying a vintage Fendi mini backpack, proving that the style can feel just as polished with ballet flats and a slip dress as it does with jeans, loafers and an oversized leather jacket. (whowhatwear.com)
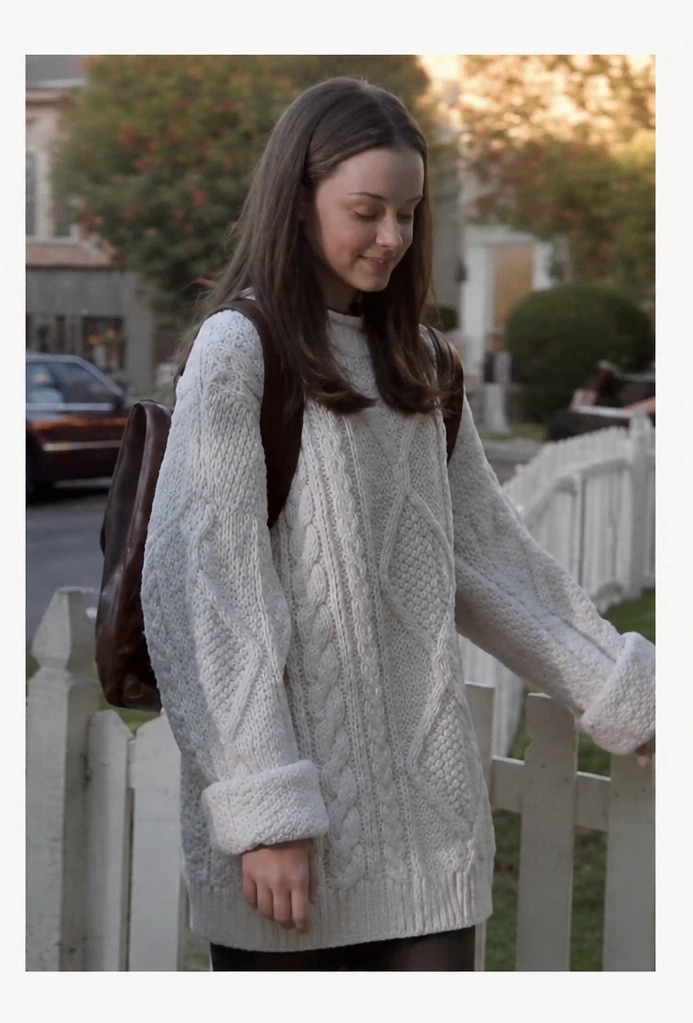
Rory Gilmores iconic White Cable Sweater and Leather Backpack
Below, you’ll find a curated selection of some of the best leather backpacks on Amazon right now, including polished work bags, roomy everyday styles and budget-friendly options with that nostalgic Y2K feel. Simply click the images to explore each backpack and check the latest price, colors and availability. As an Amazon Associate, I earn from qualifying purchases at no additional cost to you. Consider it a little finder’s fee for doing the scrolling, comparing and suspiciously serious zipper research on your behalf.
Disclosure: This post contains affiliate links. As an Amazon Associate, I earn from qualifying purchases at no additional cost to you. Thank you for supporting Capsules by Caroline and my very thorough bag research.
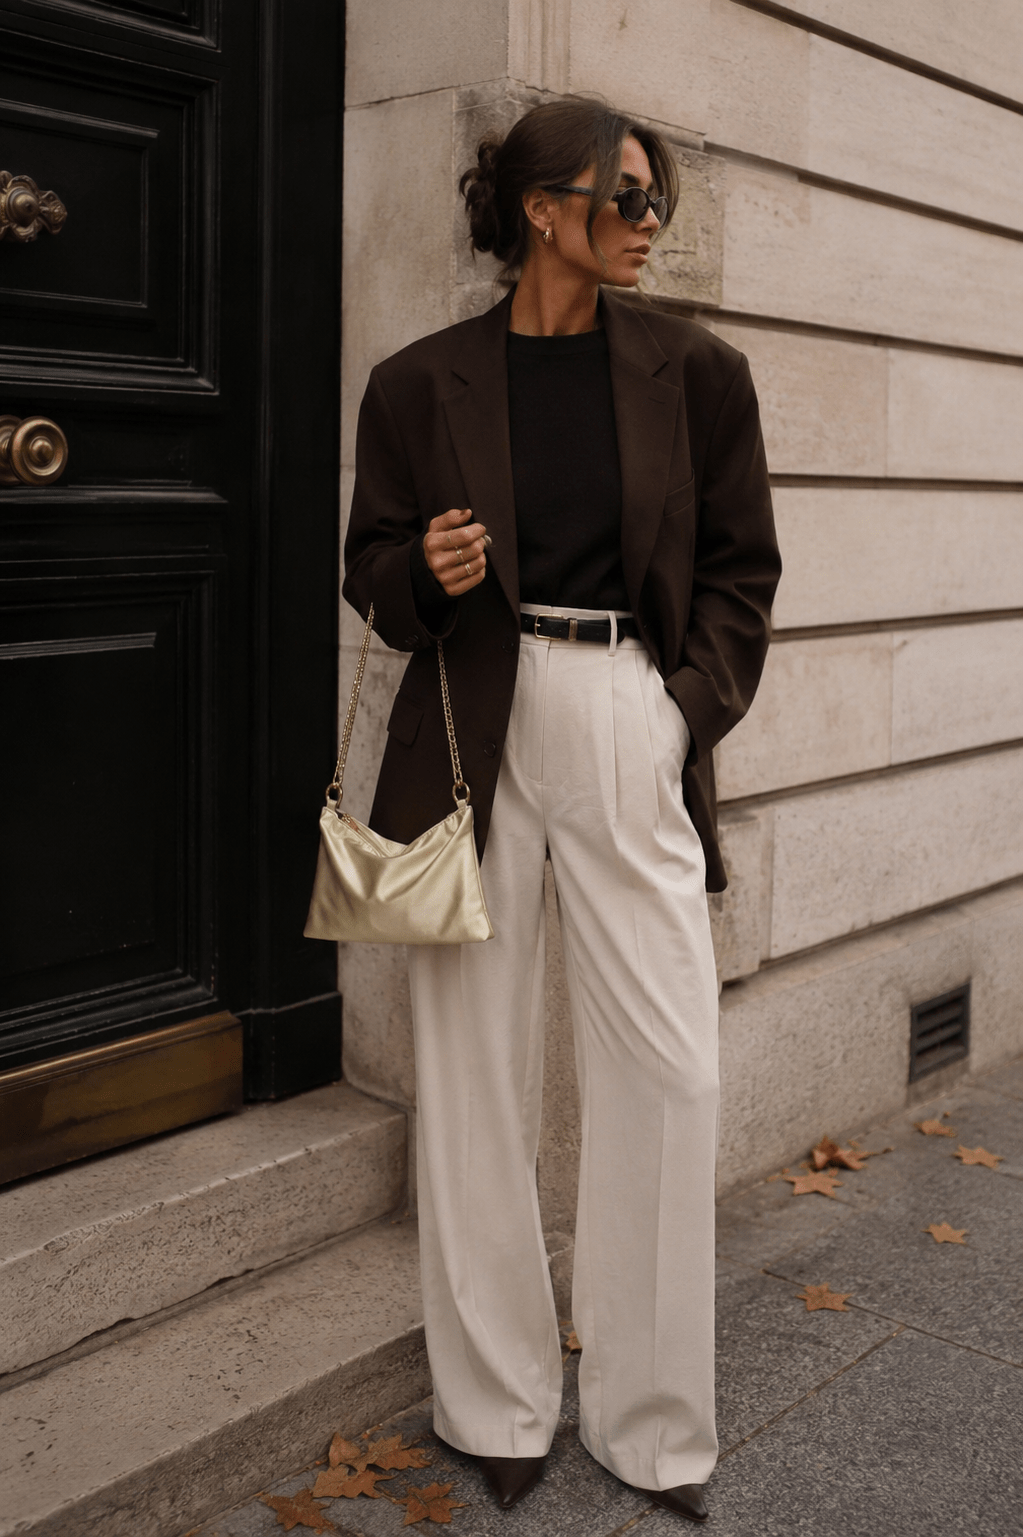
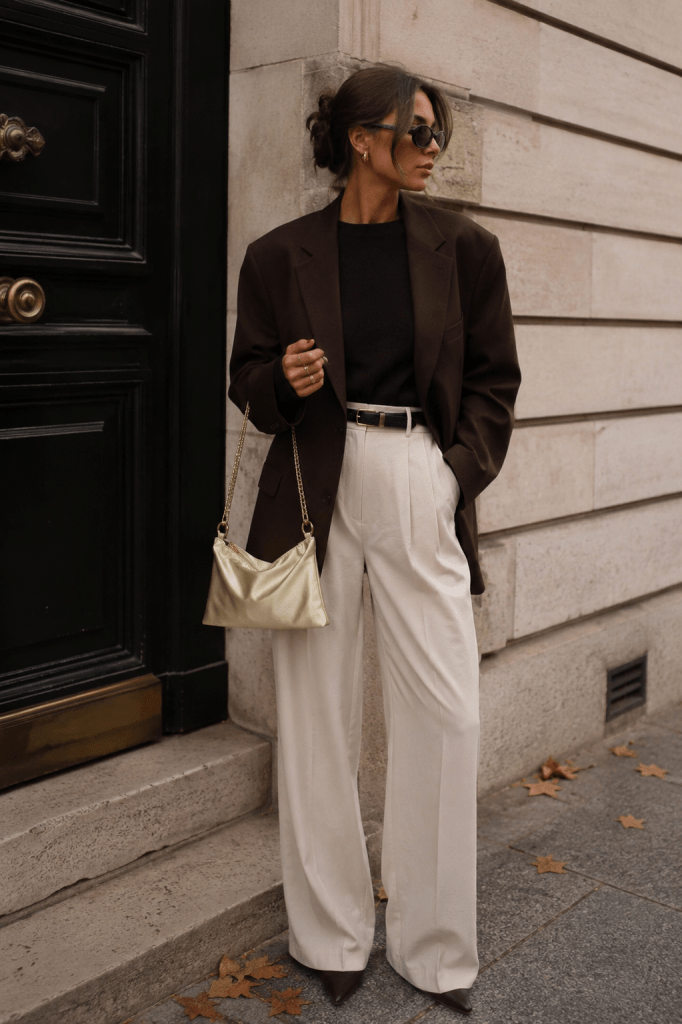
Satin Bag Outfit with White Tailored Pants and Blazer
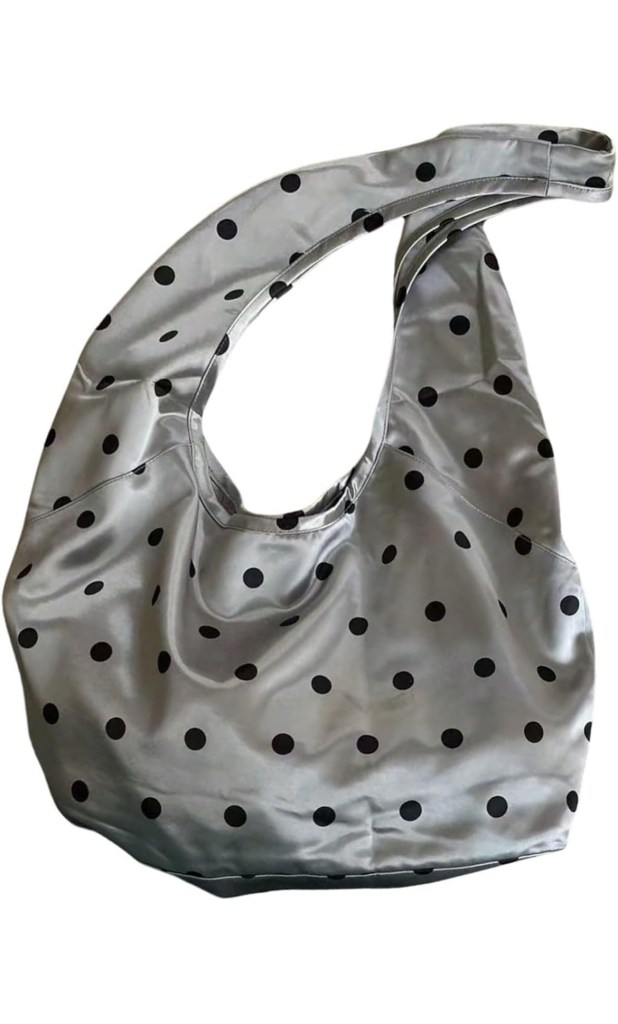
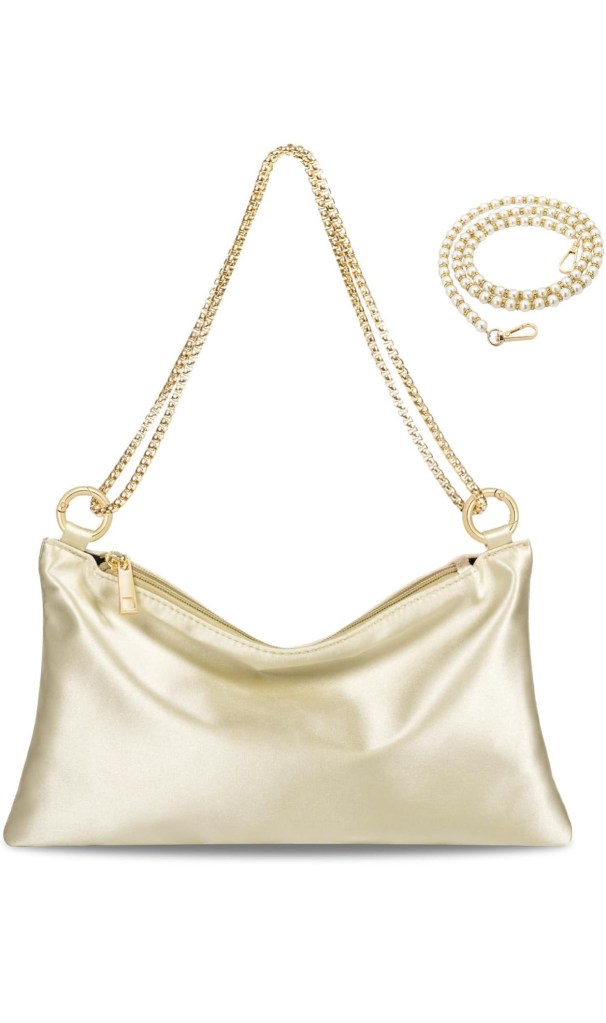
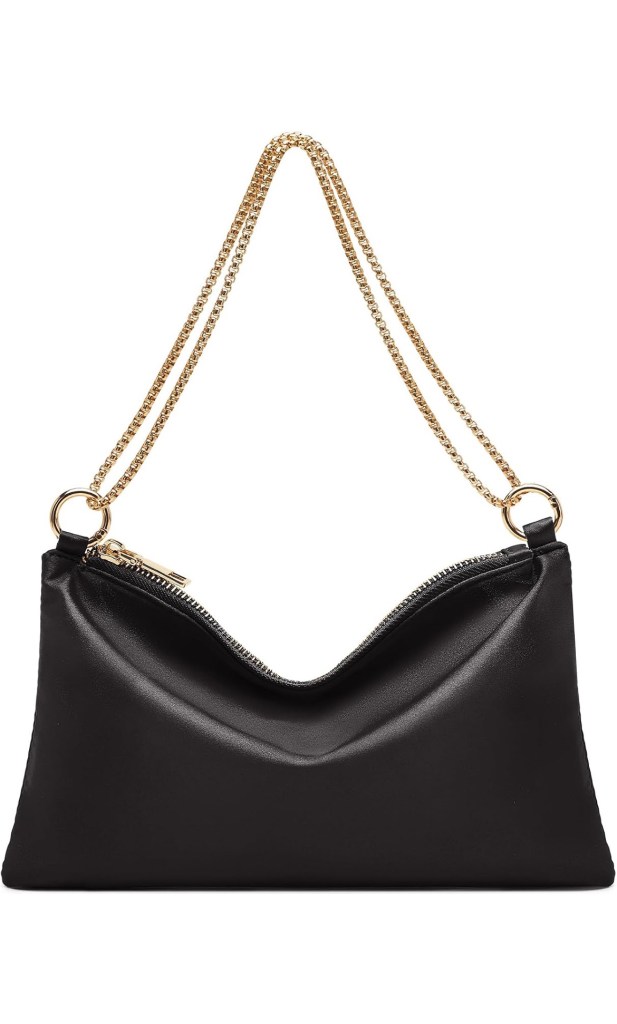
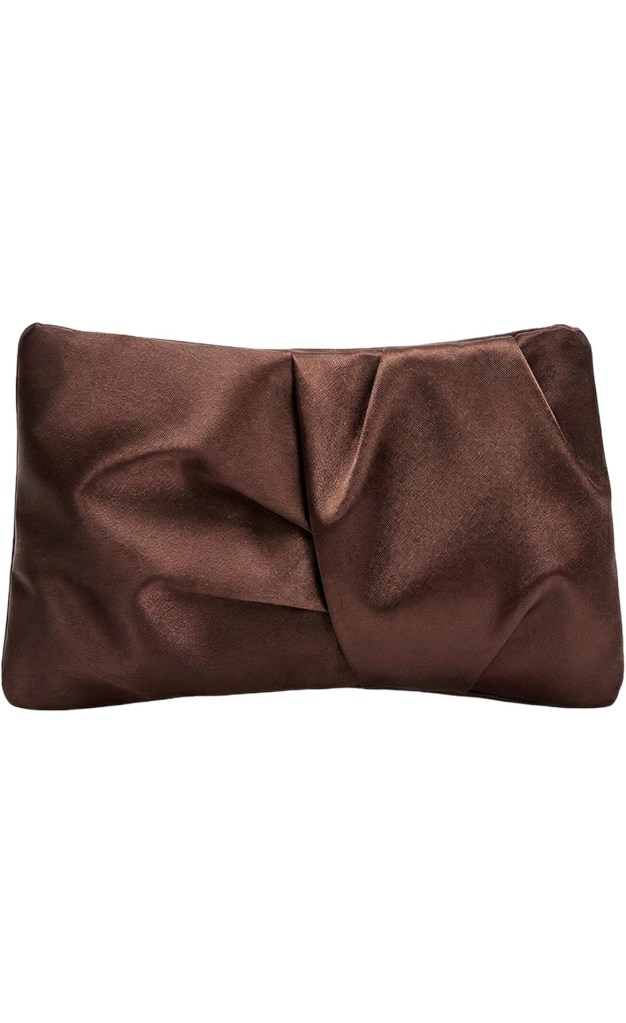
Satin bags are having a major moment this year, proving that soft textures and understated elegance are just as important as bold statement pieces. Vogue has highlighted sleek satin handbags as one of the standout accessory trends of the season, with everything from structured shoulder bags to relaxed pouches appearing on both the runway and in street style. The glossy finish instantly elevates an outfit, giving even the simplest wardrobe staples a refined, luxurious feel. (vogue.com)
One of the best things about a satin bag is its versatility. Pair a black satin shoulder bag with tailored trousers, loafers and a crisp button-down shirt for an effortless office look, or style one with vintage-inspired denim, a leather jacket and gold jewelry for an elevated everyday outfit. For evenings, satin naturally complements slip dresses, polka dots and other feminine textures, but it can also add an unexpected contrast to oversized blazers, relaxed denim and minimalist capsule wardrobes. The result is a look that feels polished without trying too hard.
Below you’ll find a curated collection of satin bags that capture this trend, from timeless neutrals to eye-catching statement pieces. Some of the links in this post are affiliate links, which means I may earn a small commission, at no extra cost to you, if you choose to make a purchase. As an Amazon Associate, I earn from qualifying purchases. Thank you for supporting Capsules by Caroline and helping me continue creating outfit inspiration and carefully curated fashion finds.
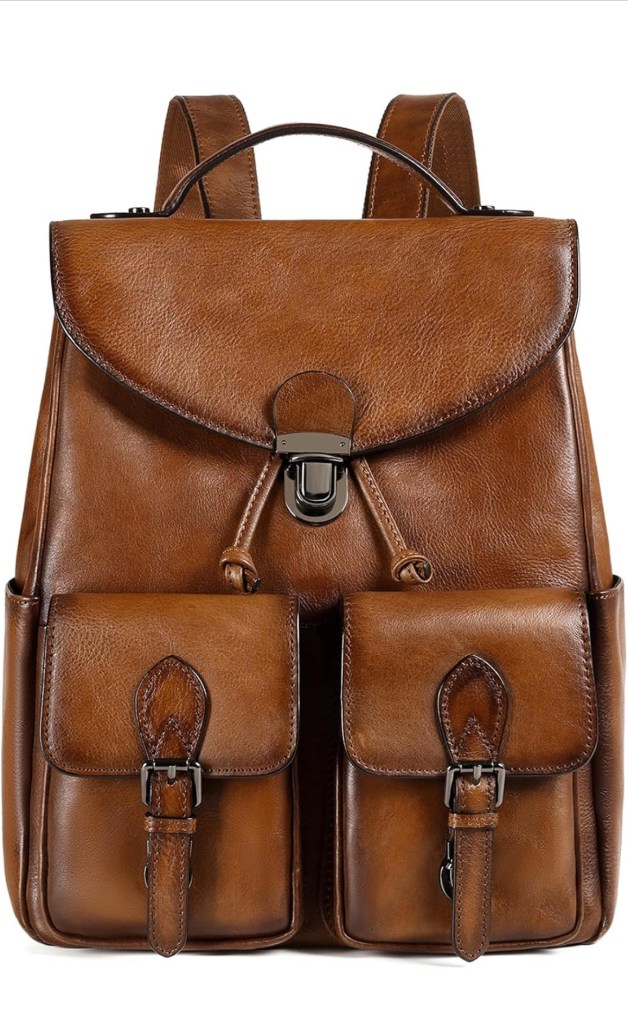
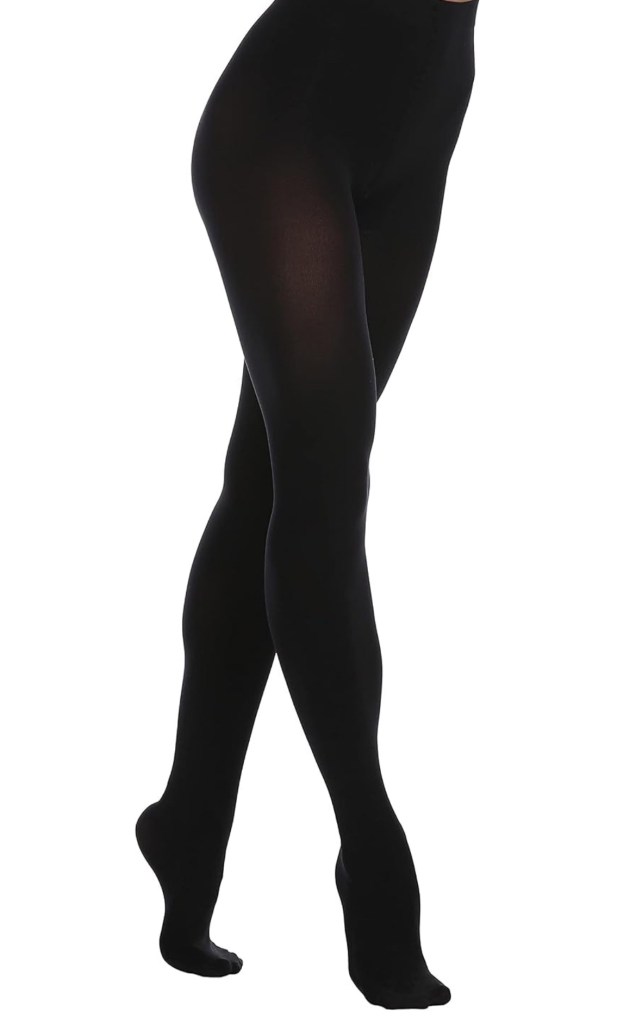
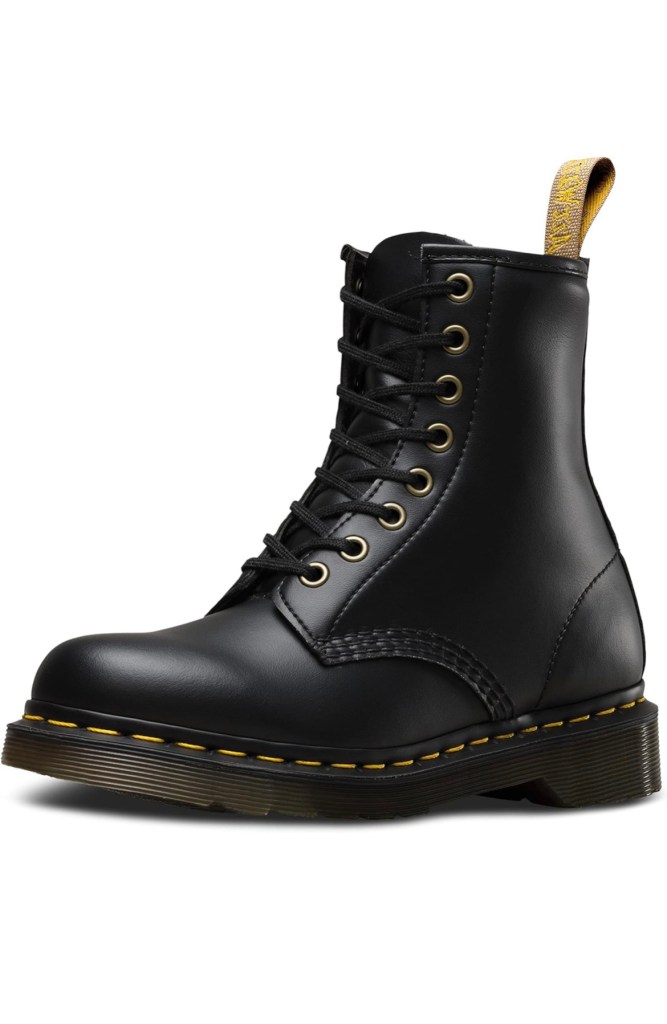
Few TV characters captured effortless fall dressing quite like Rory Gilmore. Her oversized cable knit sweaters, simple backpacks, tights and lace-up boots became staples of the early 2000s, creating a look that still feels timeless today. This outfit perfectly captures that cozy Y2K fall fashion aesthetic, blending comfort with classic preppy style. It’s the kind of outfit that works just as well for a coffee run, a library afternoon or a crisp autumn walk.
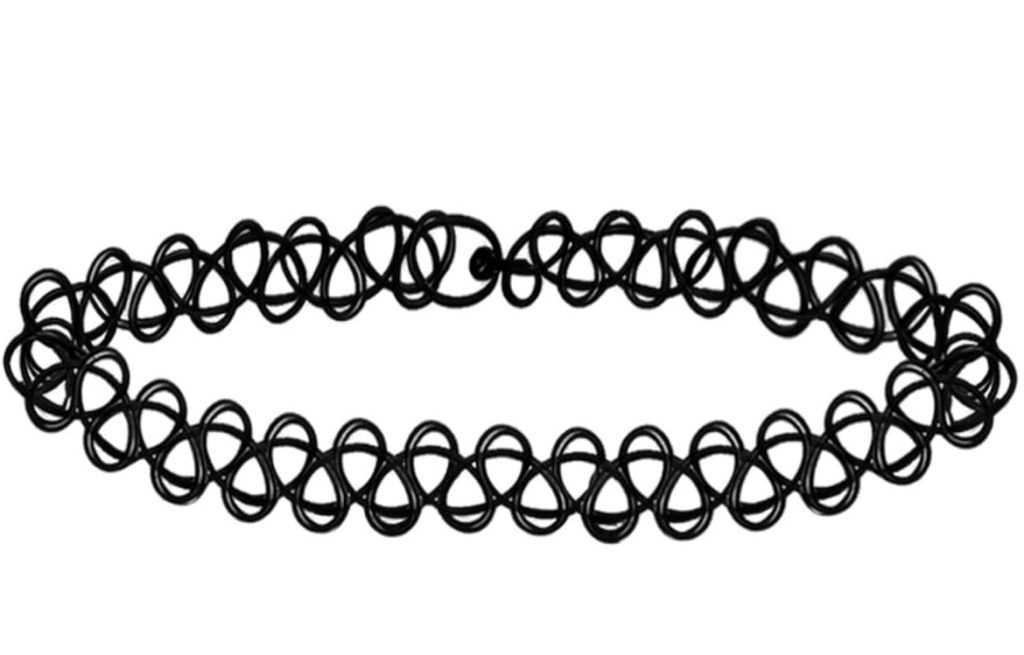
The beauty of Rory’s style is its simplicity. A chunky cream cable knit paired with black tights, sturdy boots and a vintage-inspired backpack creates an outfit that feels relaxed, practical and effortlessly put together. Add a classic tattoo choker for an authentic early 2000s touch, or swap the backpack for a leather satchel for a more modern take. It’s a reminder that some of the most memorable TV fashion moments weren’t about following trends, but about wearing pieces that never really go out of style.
Some links in this post may be affiliate links, which means I may earn a small commission if you shop through them, at no extra cost to you. Thank you for supporting Capsules by Caroline and helping me continue creating nostalgic outfit inspiration and carefully curated fashion finds.
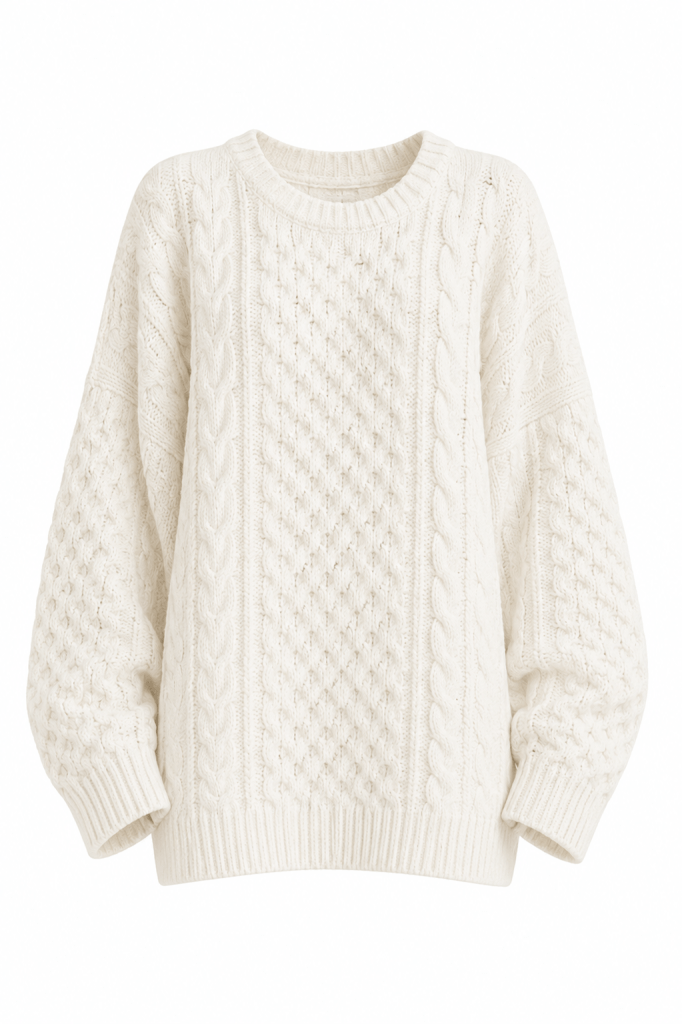
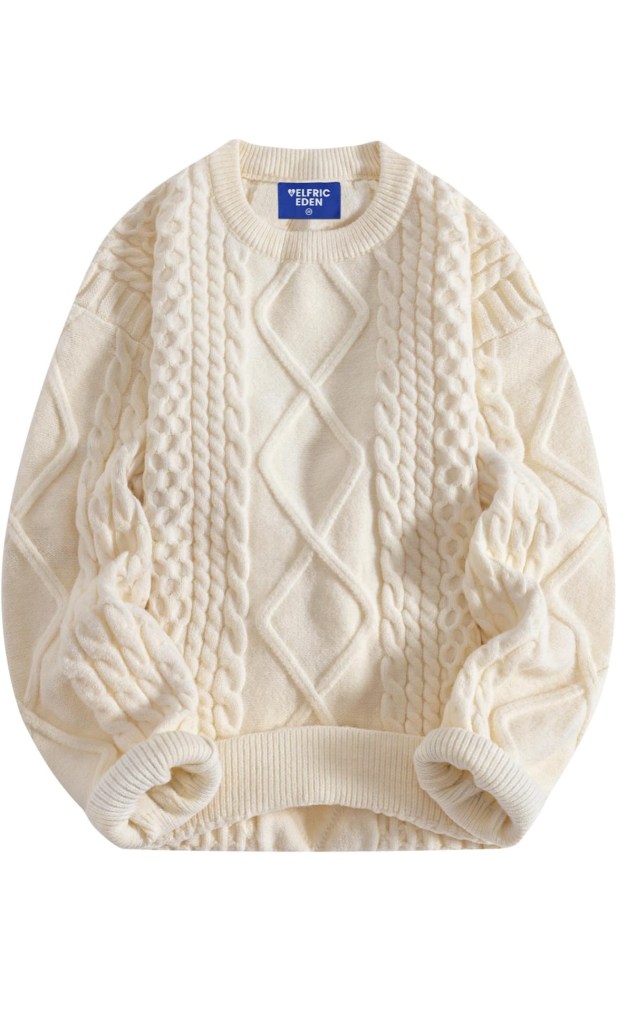
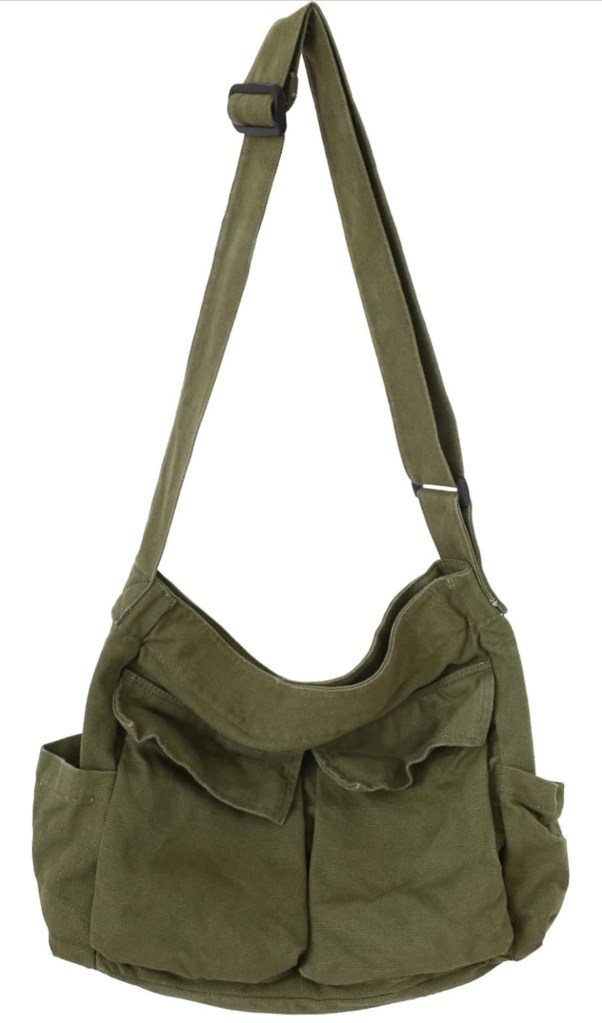
White Oversized Cable Sweater DressWhite Oversized Cable Sweater ala Rory GilmoreBlack Lace ChokerBrown Vintage Genuine Leather BackpackBlack Tights
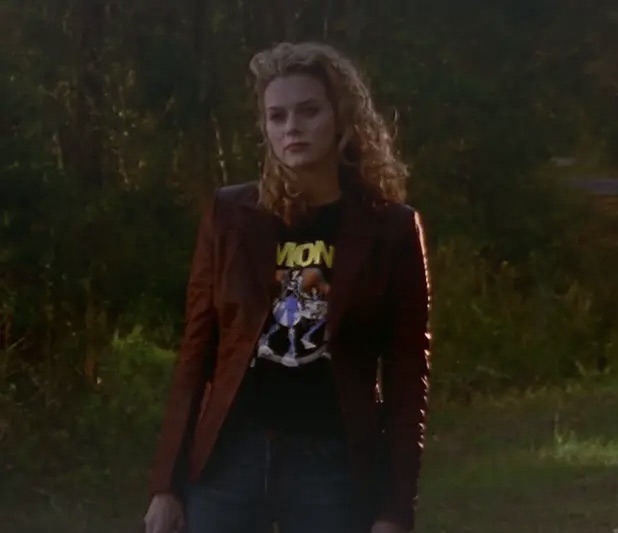
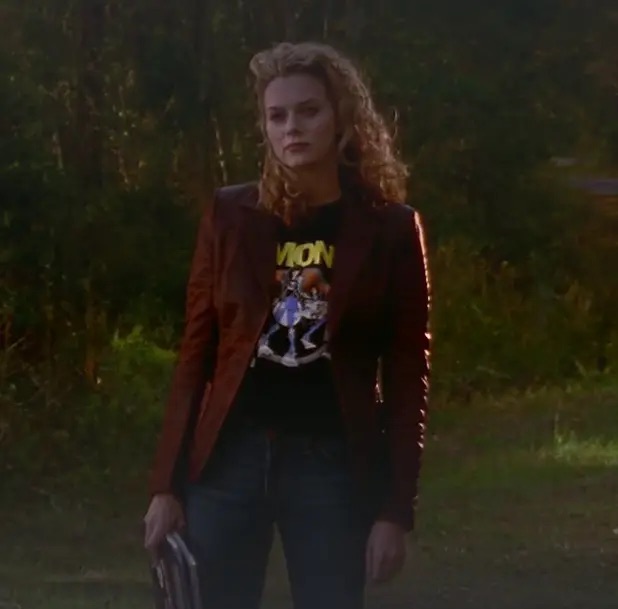
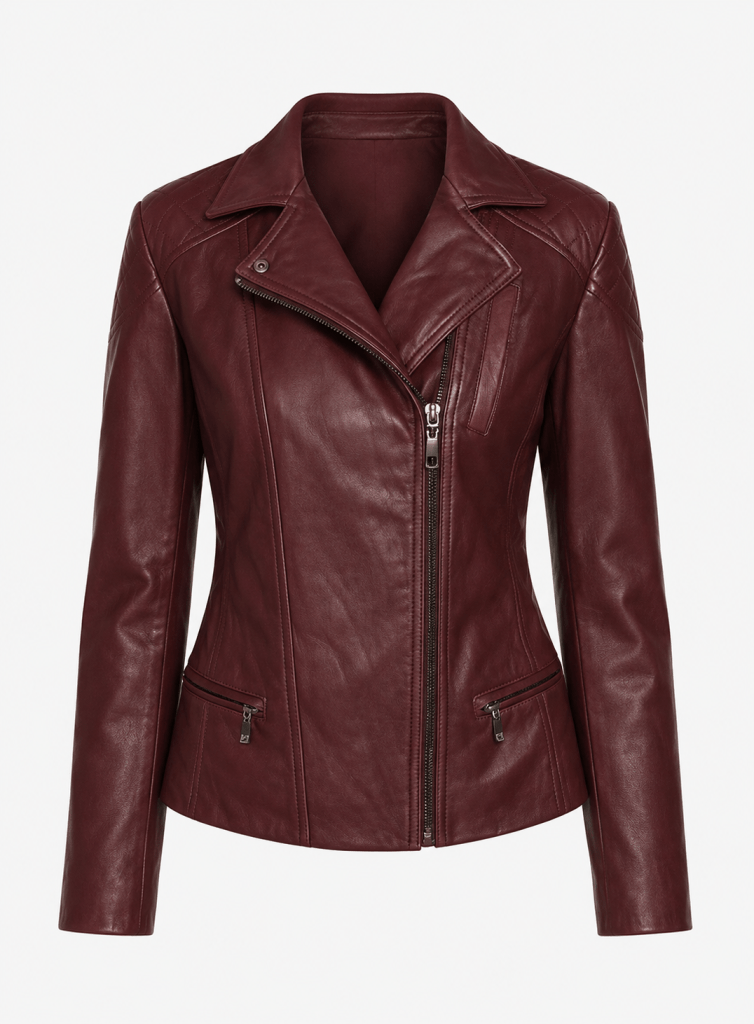
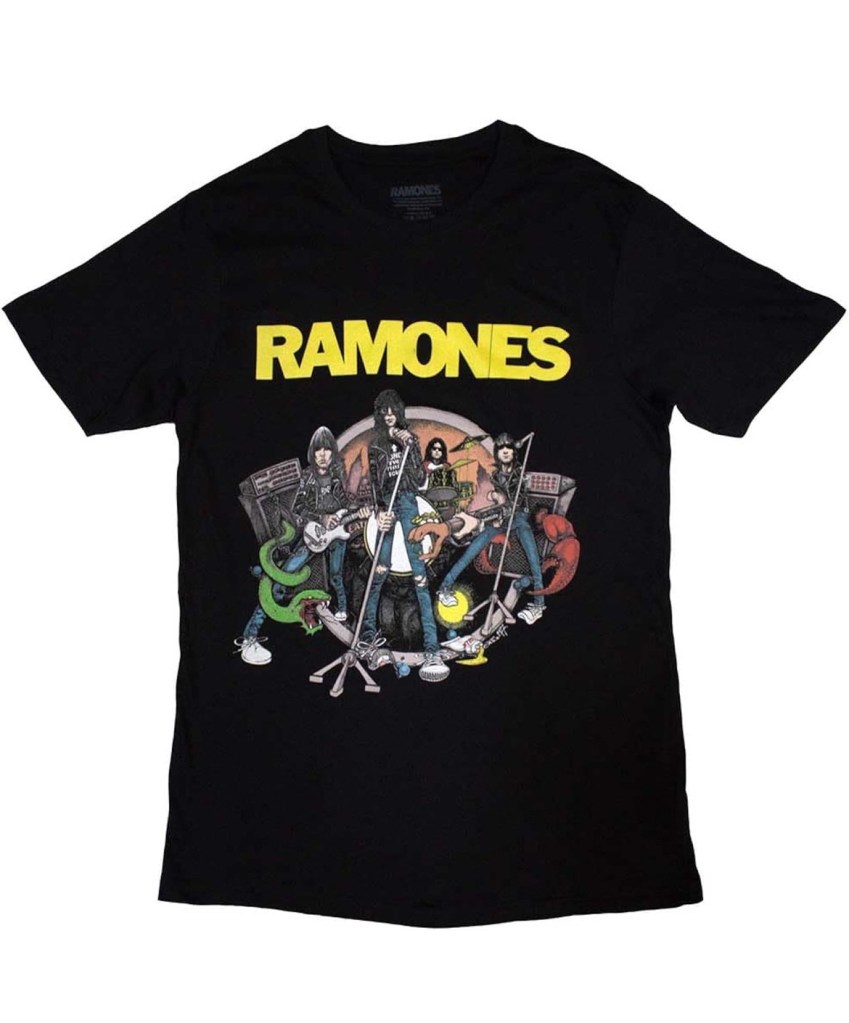
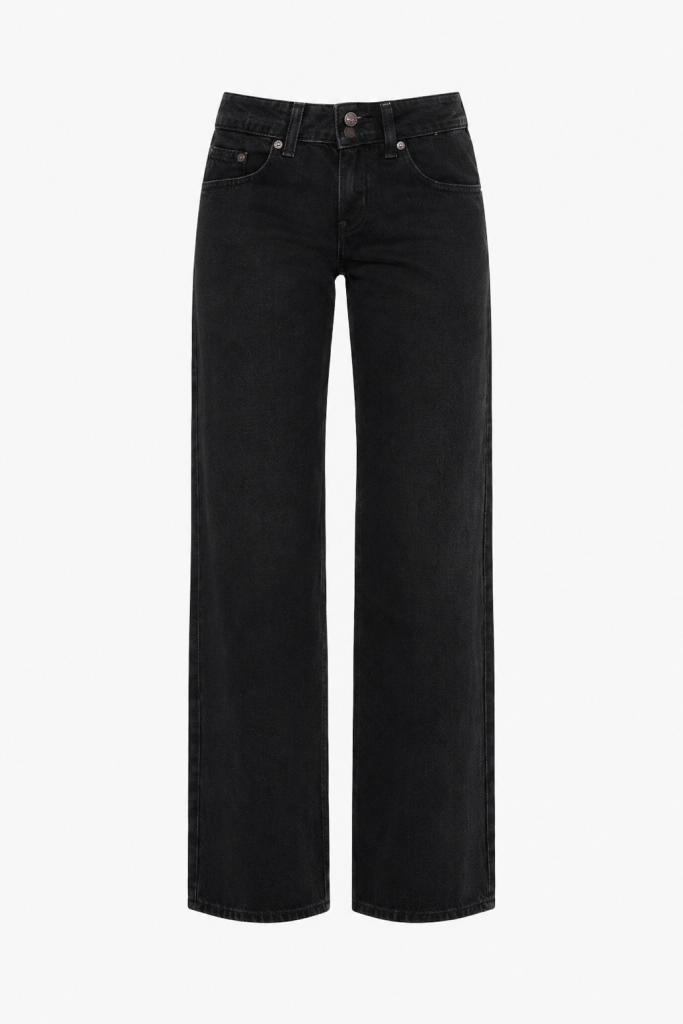
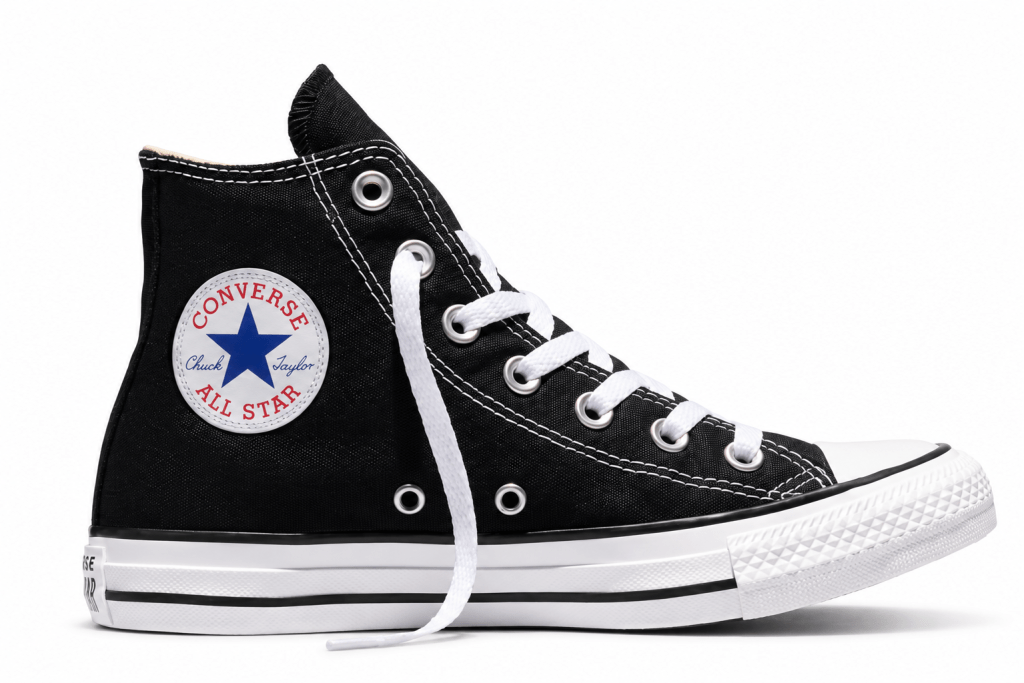
Some outfits feel less like a trend and more like a tiny time capsule, and Peyton Sawyer’s One Tree Hill look is exactly that. The burgundy leather jacket, black band tee, dark denim, canvas bag and classic high-top sneakers create the perfect early 2000s grunge outfit: a little moody, a little effortless, and still surprisingly easy to wear today. It has that TV-character magic where every piece looks casual on its own, but together it becomes a full personality.
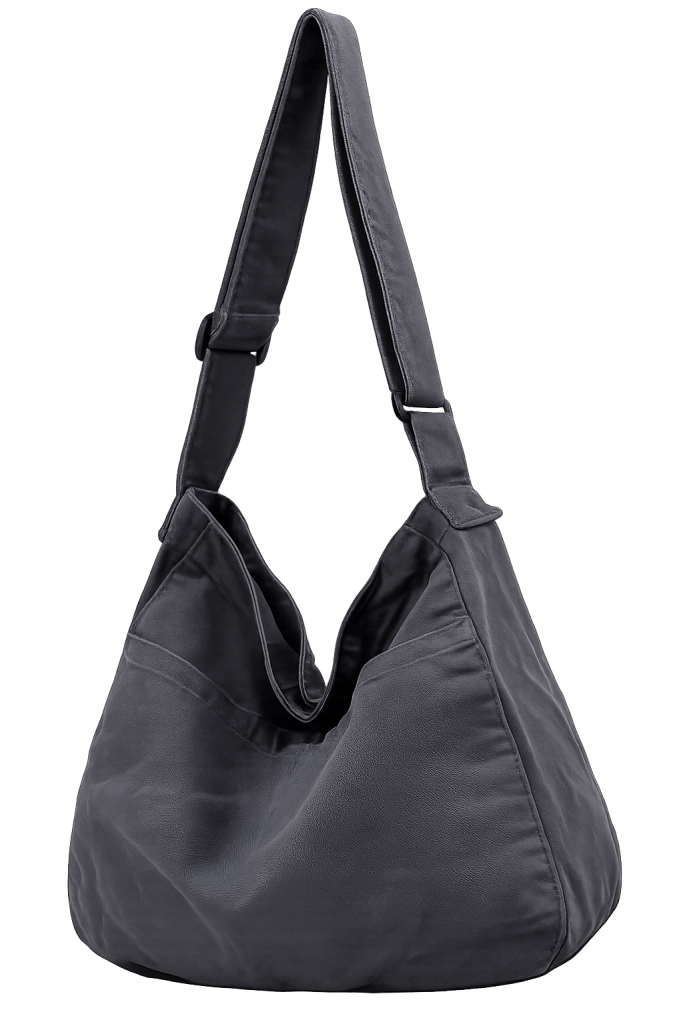
What makes this outfit work now is that it does not feel overly costume-like or stuck in the Y2K glitter drawer. It is more wearable 00s fashion with a soft grunge edge: a graphic tee, straight-leg jeans, a leather jacket with attitude, and sneakers you can actually walk in. To recreate the look, start with a burgundy, brown or black leather jacket, add a band tee or vintage-style graphic tee, then keep the rest simple with black jeans and Converse-style sneakers. A slouchy olive or canvas bag gives the outfit that slightly undone, art-girl finish.
Some links in this post may be affiliate links, which means I may earn a small commission if you shop through them, at no extra cost to you. Think of it as a tiny coffee-fund thank you for helping me keep curating nostalgic outfits, capsule pieces and wearable fashion finds.
Dark Burgundy Leather JacketRamones T-ShirtLevis Low Rise Black JeansGreen Messenger/hobo bagBlack Converse Shoes